Most people will tell you that 1 week in Japan is not nearly enough. And even if you did 1 week in Japan, there's no way you would think of going anywhere outside of the main cities - possibly Tokyo, Kyoto, and Osaka and that's it. But for experience seekers like us, this might be the itinerary for you, or at the very least, inspiration to add to your longer trip! We had already been to Japan once before (you can check out our last Japan Travel Guide blog post!) This time we had a few goals in mind - eat all the good food, bring back a luggage full of souvenirs, and experience authentic Japanese ryokans (traditional Japanese inn) and onsens (hot springs) that we had loved so much from our last trip. Most of the places we visited were ones few travel guides had listed, so it took hours of deep dive Google searching to plan out this trip. If you're ready for some travel inspiration, check out this 2023 travel guide with a 1-week Japan itinerary below!
|
|
|
|
|
|

|
Day 3: Gunma
- Get mochi donuts from Mister Donut in Takasaki Station
- Grab a lunch bento from Torihei Takasaki Montres in Takasaki Station
- Ride the 15-minute train ride to Jomokogen Station, where the shuttle bus for Takaragawa Onsen will be waiting for you (they will email you ahead of time to make reservations)
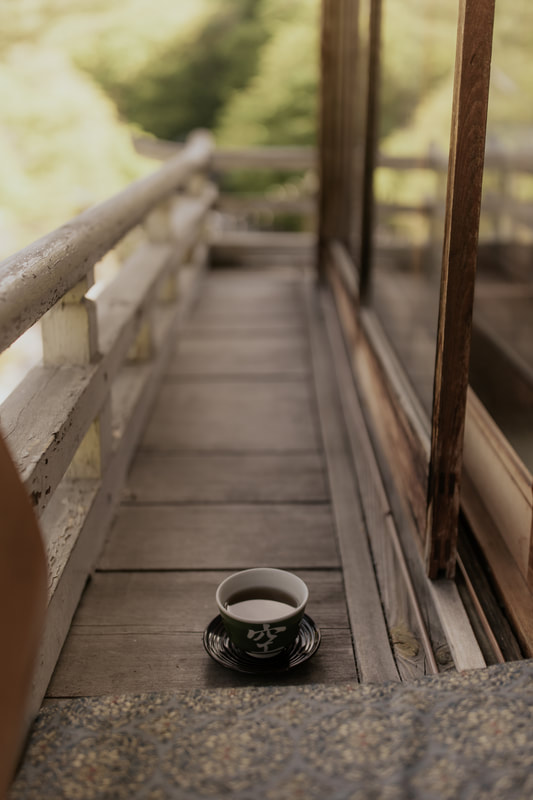
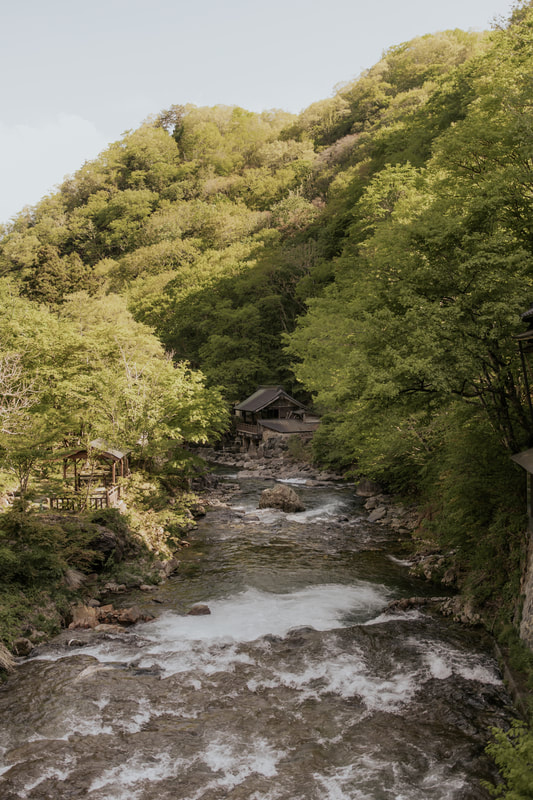
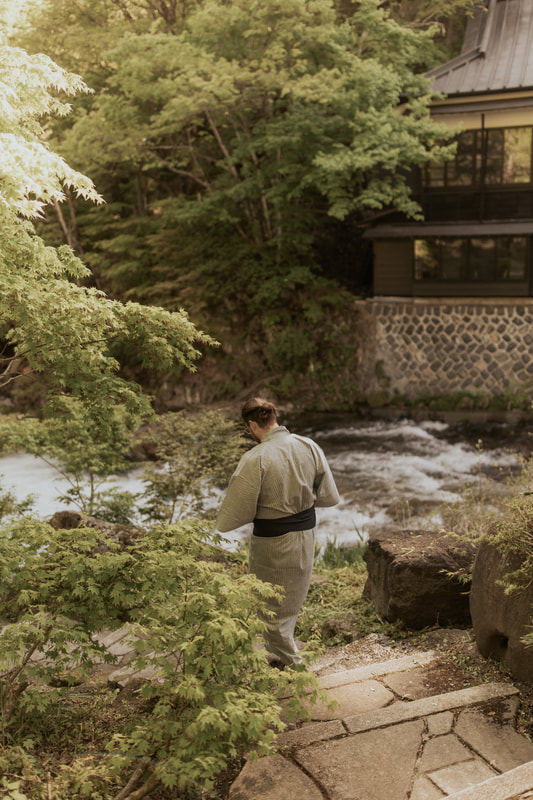
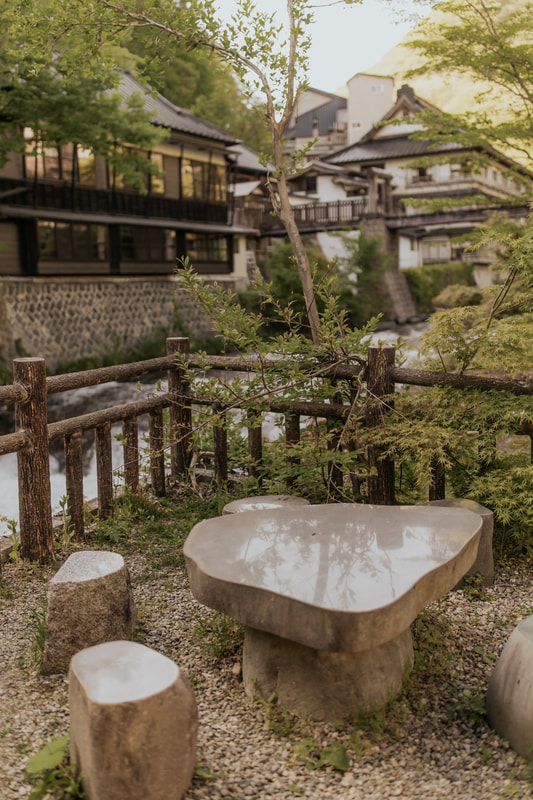
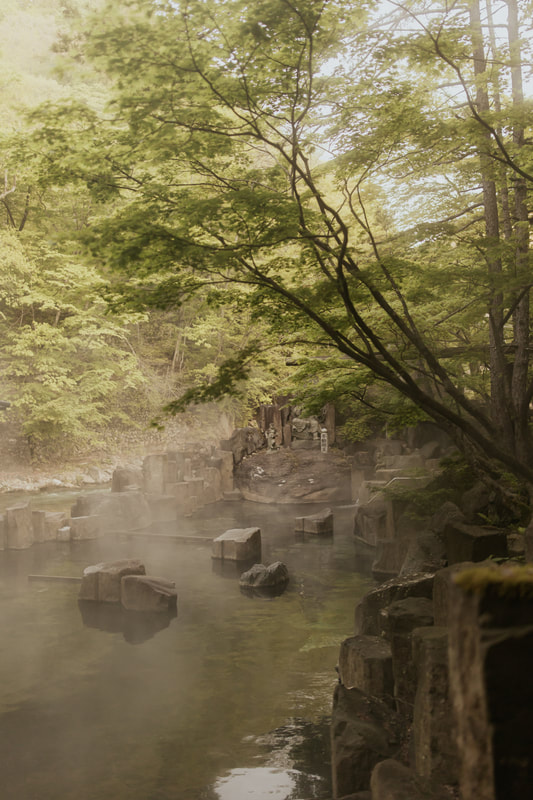
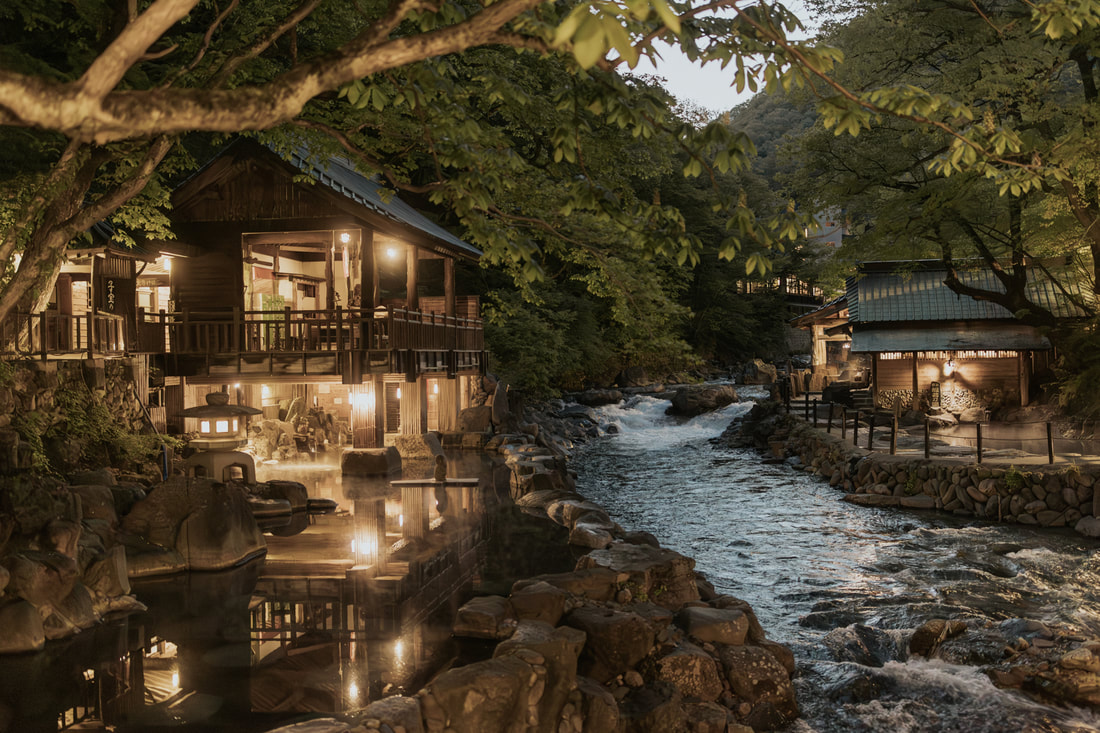
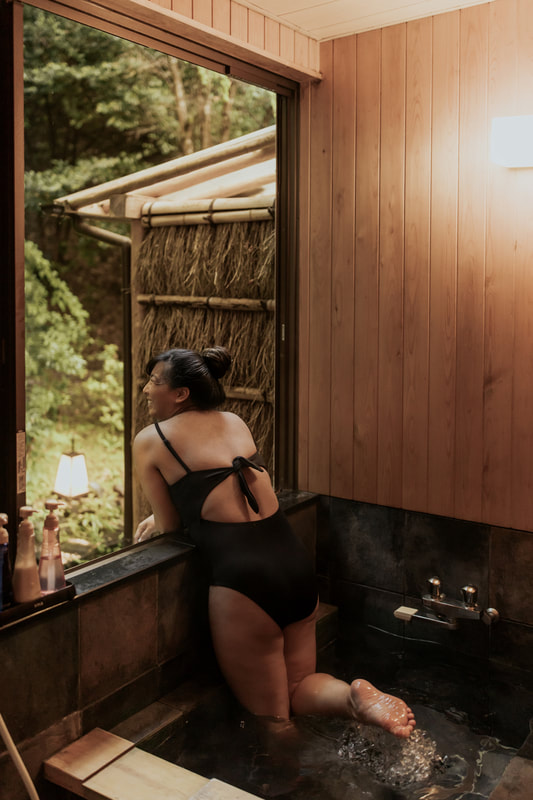
- Stay the night at Takawaraga Onsen, where you can walk along the river and soak in the outdoor onsens overlooking the river
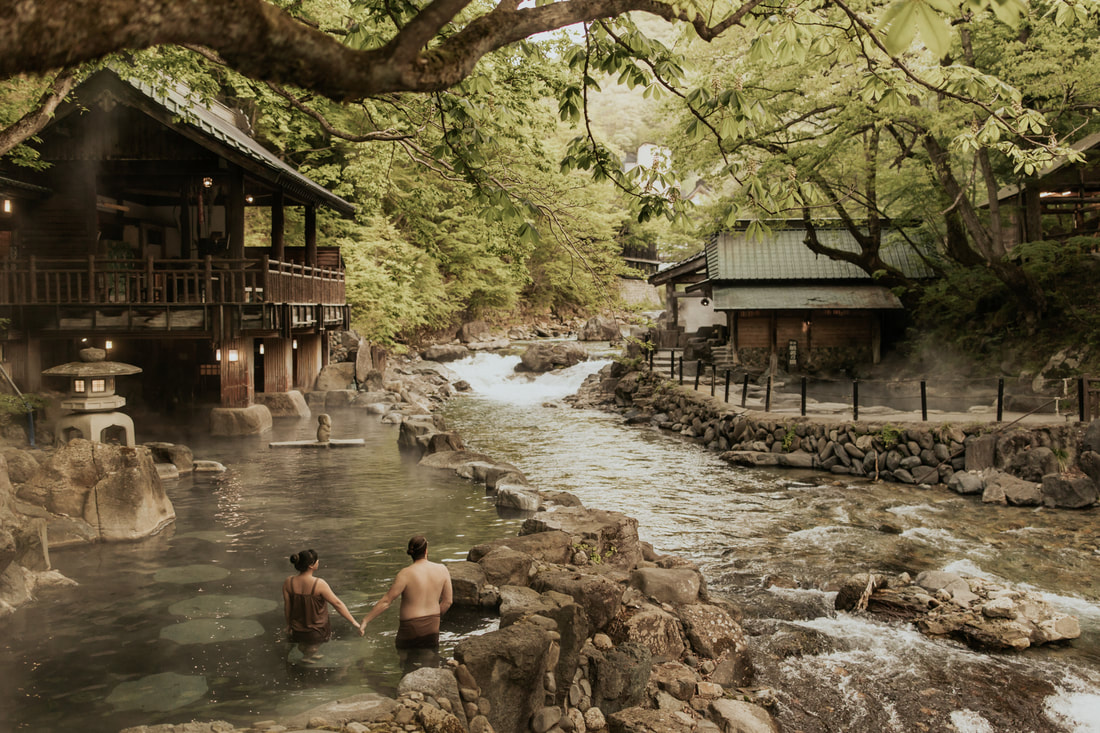
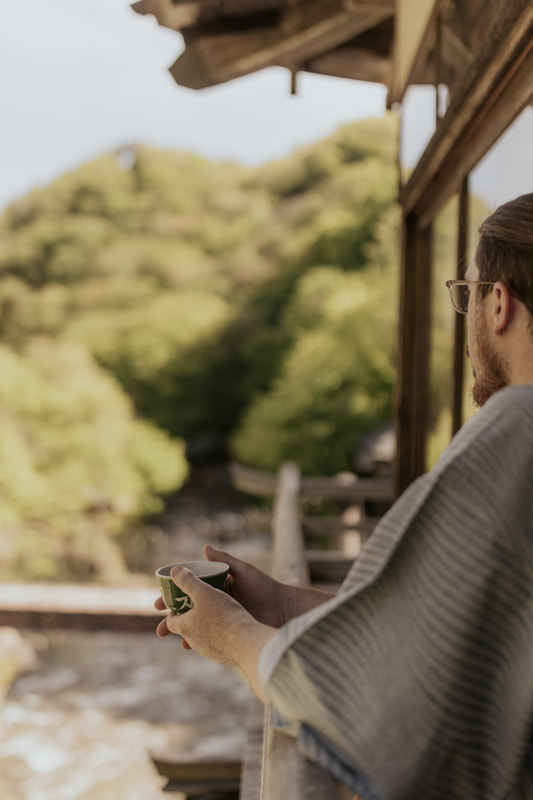
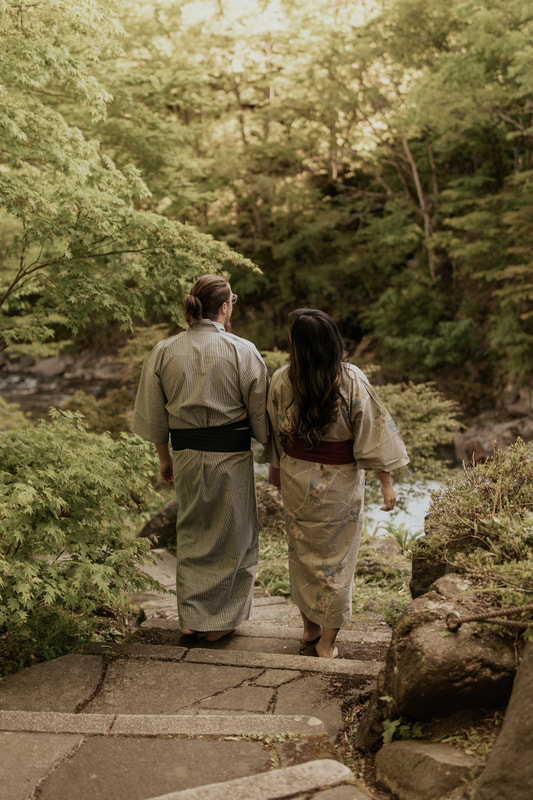
When I was researching onsens, Takarawaga Onsen was one that stood out. It had such a beautiful location, and was one of the few mixed gender, outdoor onsens. This place truly met and even exceeded our expectations. The moment we arrived, we were in awe of how beautiful, romantic, and peaceful it was. We loved hanging in the sitting room sipping tea, where all the shoji screens could be opened for a view of the river (we did book the corner room which was just a bit more expensive - 100% worth it!). Takaragawa also provides yukatas and slippers to wear around the property, for the onsen, and for meals. And the craziest thing was, a 1-night stay with the corner room was only ¥35,800 (≈ $262 USD), which included the shuttle bus, dinner, breakfast, and unlimited onsen access.
Now about onsen etiquette. One very important thing to note is that you aren't allowed to take photos or videos of the hot springs to respect other guests' privacy, which totally makes sense as they don't want guests feeling uncomfortable when they're only wearing bathing dresses. You might ask - how did you get photos there then?! We definitely did not want to disrespect other guests' privacy, so we purposefully went to the onsen early at 5 AM before anyone else arrived. Once we saw that we were the only ones there, we quickly captured a few photos before putting our cameras away to just enjoy the experience. Other helpful things to note:
- You'll be provided bathing dresses to wear in the onsen, as you aren't allowed to wear swimsuits in the hot springs.
- There are changing rooms next to each hot spring where you can leave your belongings.
- The most picturesque onsen overlooking the river is not the warmest - we quickly moved to the other warmer hot springs after enjoying the views.
- You can visit Takaragawa on a day trip without booking a stay there, but I highly recommend staying there overnight. It's so worth it to get to enjoy the onsen in the early morning without the crowds, and stay in the traditional ryokan for the full experience.
- If you go to other onsens, you may find that they have other rules. Most onsens have men-only and women-only onsens, and traditionally people go in naked in order to keep it clean. Tattoos are also oftentimes not allowed in onsens, which means you have to cover them up or may not be allowed in. This ryokan did not have any rules about tattoos.
If there was one negative thing to say about Takaragawa, it would be that the meals were not much to talk about. They were served in multiple courses, and some foods were a bit odd even for our taste. All in all though, we highly recommend staying here and easily found this to be the highlight of our trip!
|
|
|
|
|
|
|
|
Day 4: Tokyo
- Take the shuttle bus back to Jomokogen, and train back to Tokyo
- Take the train to Akihabara Station and have lunch at Uogashi Nihon-ichi (Standing Bar Sushi)
- Take the train to Ueno Station and shop at Kappabashi Dougu Street, known as kitchen street
- Check out pottery at Dengama and minimalist home/kitchen goods at Fu Wa Ri, Utsuwazoshi, and Baise, and Japanese knives at many shops along the street (but do your research ahead of time)
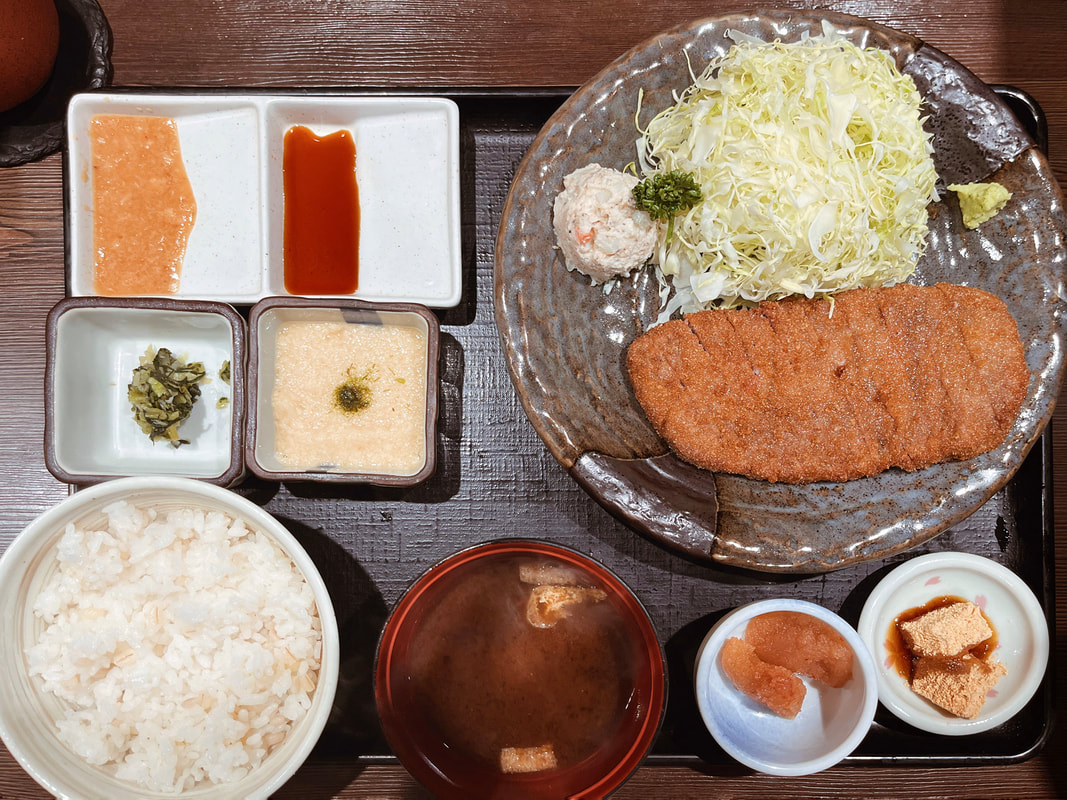
- Eat dinner at Gyukatsu Motomura
If you don't already know, Keith is a very passionate home chef, so we couldn't miss going to Kappabashi Dougu Street for shopping. We had flown on Zipair, a low cost airline that flies direct from SJC and only allows 7kg of carry on baggage per person. We barely made the weight limit going there even with packing light summer clothes and skipping our tripod and laptop for this trip, but we knew we'd be doing a lot of shopping and would need to pay for check-in baggage on our way home. So we brought a Gonex foldable duffle bag to pack all the things we bought, and we definitely are glad we did (it was completely full and weighed 10kg going back!) At Kappabashi Dougu Street, we did quite a bit of shopping. It can be a bit overwhelming because of the sheer multitude of shops, but luckily we had done research ahead of time and already knew general prices for items we wanted to buy and shops that had good reviews.
Chef knives are a popular purchase in Japan, especially because many knives are made by Japanese companies. Many shops even offer free engravings, and with tax-free shopping, it sounds like a great deal. But before shopping for a chef knife, we read this incredibly well-written post "I'm traveling to Japan, what knife should I buy?" on Reddit. We did check out a few knife shops, but ended up not purchasing anything.
After shopping, we walked back to Ueno Station for dinner at Gyukatsu Motomura, a very popular restaurant with multiple locations in Tokyo. You order a set meal which includes beef cutlet, sauces, and sides, and you grill the meat before eating. We each ordered the smallest set for ¥1630 (≈$11 USD), and it was the perfect amount of food. The lines usually go out the door, but luckily we got in just in time and only waited about 15 minutes. We loved the sauces that went with the beef cutlet, and it was an incredible meal for its price. Just don't go during peak times when the wait can be 1-1.5 hour long!
Day 5: Kyoto
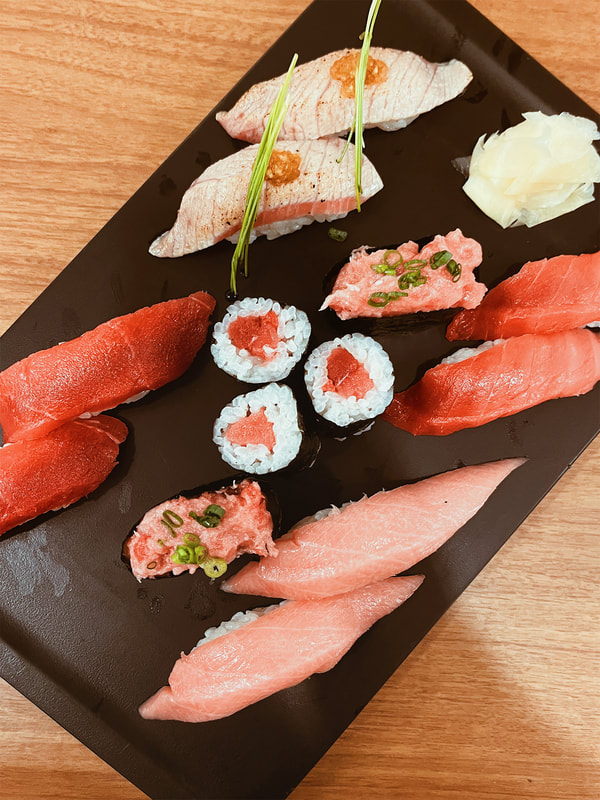
- Eat morning sushi at Sushi Zanmai Shimbashi (this location is close to Shimbashi Station, a 4-minute ride from Tokyo Station, and open from 11 AM - 5 AM)
- Take the 2.5 hour train ride to Kyoto Station
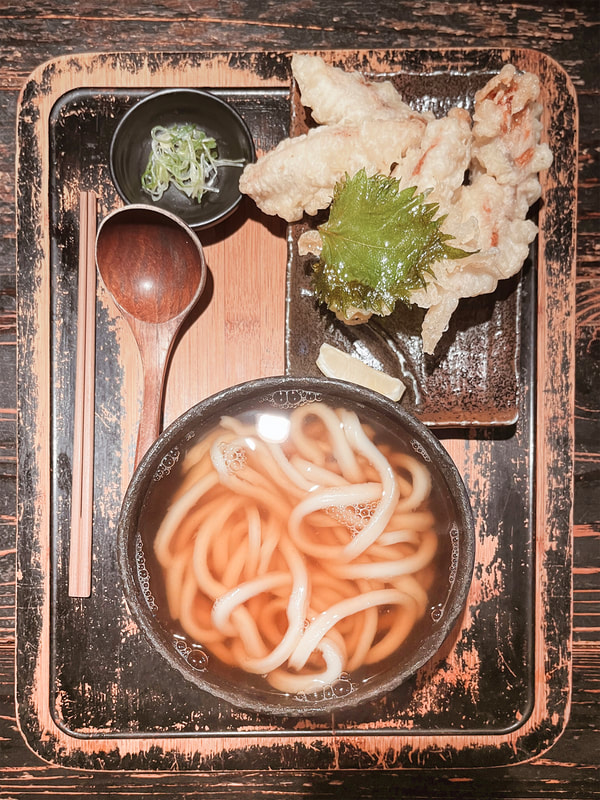
- Have udon for lunch at Yamamoto Menzou
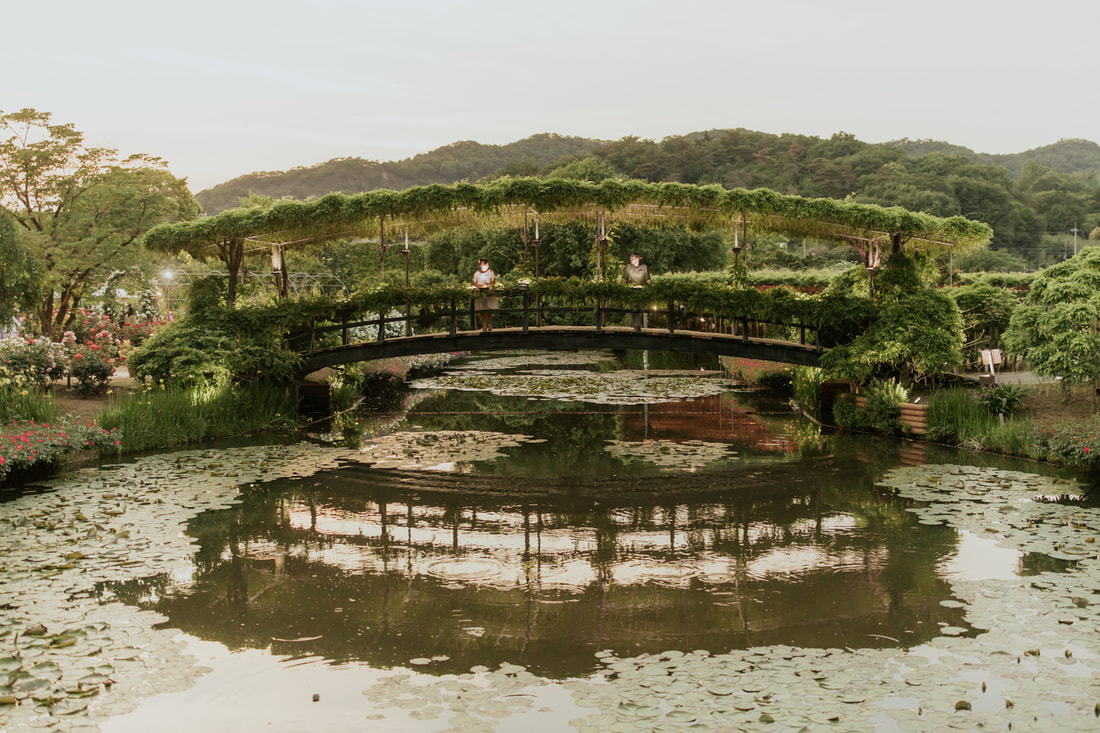
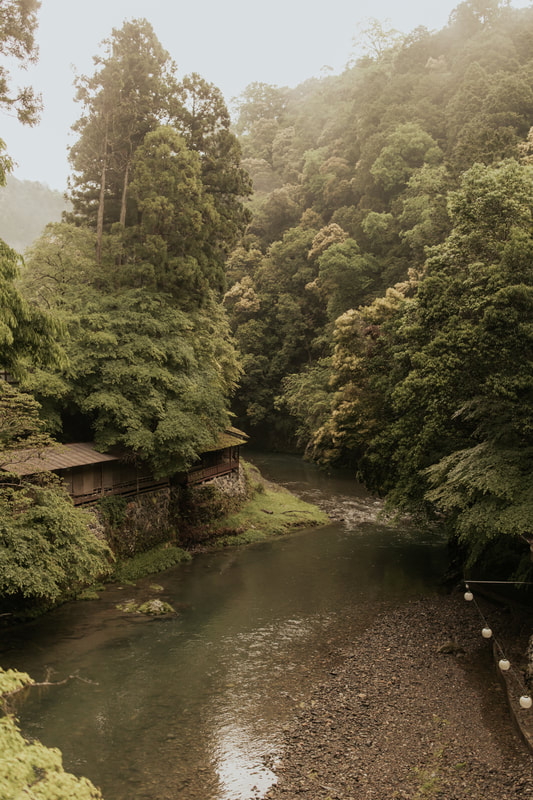
- Stay the night at Momijiya Bekkan Kawanoiori, a ryokan along the river
We knew that we didn't have a ton of time this day between getting from Tokyo to Kyoto and needing to catch the 3:10 PM shuttle bus from Hanazono Station to get to our ryokan. But we also didn't want to miss out on trying Sushi Zanmai, one of the popular cheap sushi restaurants in Tokyo, so we concocted an insane itinerary where we took the train from Tokyo Station to Shimbashi station at 4:30 AM, had sushi for breakfast at 5 AM (last call for orders was at 5 AM, so we got there just in time), headed back to Tokyo Station to grab our luggage, then took the Shinkansen (bullet train) to Kyoto Station.
Why the rush to get to Kyoto so early you might ask? As a last minute decision, we found out that the Heian Raku Ichi Market at Heian-jingu Shrine was happening (it is held on the second Saturday of every month). Near Heian-jingu Shrine is Yamamoto Menzou, a popular udon restaurant. This restaurant typically takes calls for reservations starting at 9 AM that day, but reviews said that oftentimes you have to call over and over again since so many other people are calling at the same time. Since we didn't have minutes on our data plan, we decided to head to the restaurant at 9 AM to make the reservation in person. With a lot of detailed research done ahead of time on the exact train routes, exits, and bus routes we needed to take, we managed to get there just in time!
Both Sushi Zanmai and Yamamoto Menzou ended up being some of our favorite restaurants in Japan. At Sushi Zanmai, we had a tuna set (the magurozanmai special), yellowtail, salmon, and sweet shrimp. Most pieces of sushi were between ¥140-327 (≈$1-3 USD), which was a great deal! Yamamoto Menzou surprised us - we hadn't originally planned on going there since it wasn't near any other tourist attractions, but it was worth the detour. Keith had the original noodles for ¥1200 (≈$9 USD) which included a delicious fried rice cake and egg, and I had the chicken tempura noodles for ¥1050 (≈$8 USD).
|
|
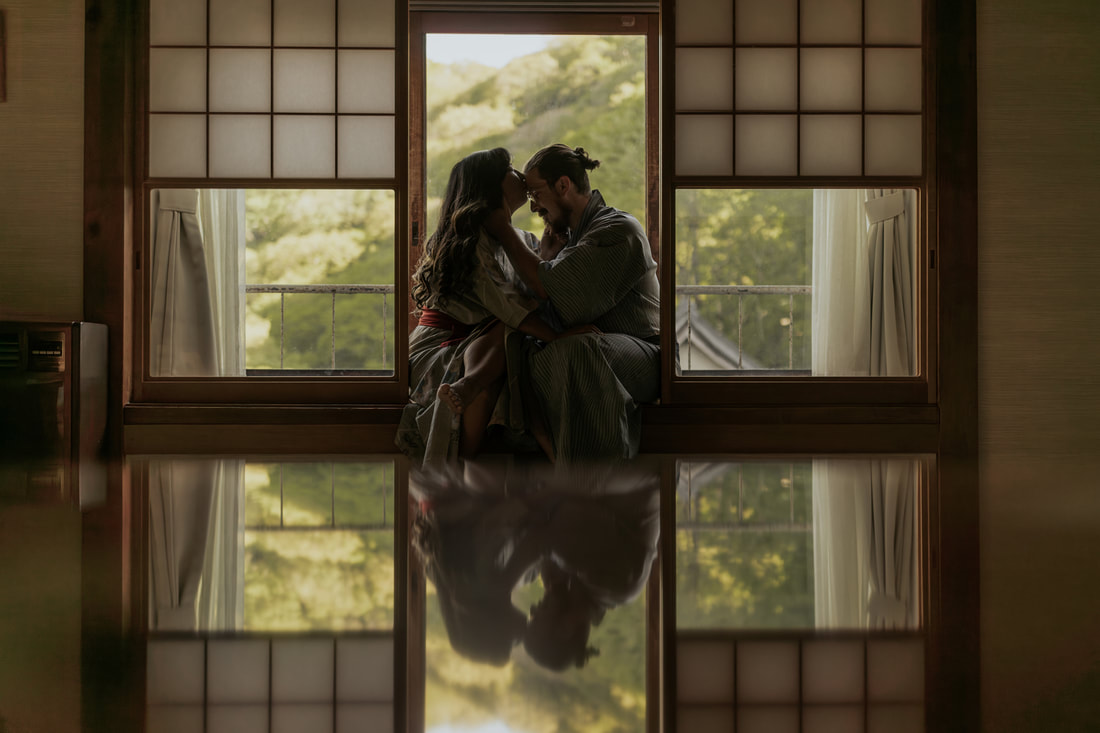
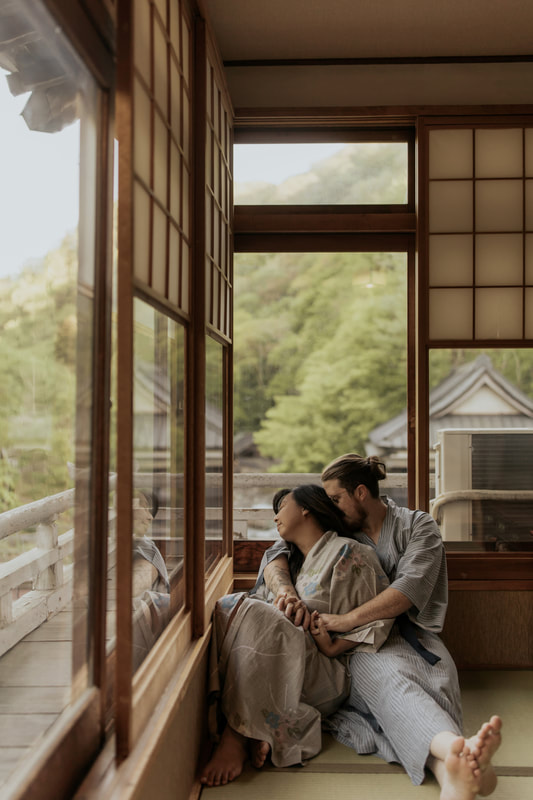
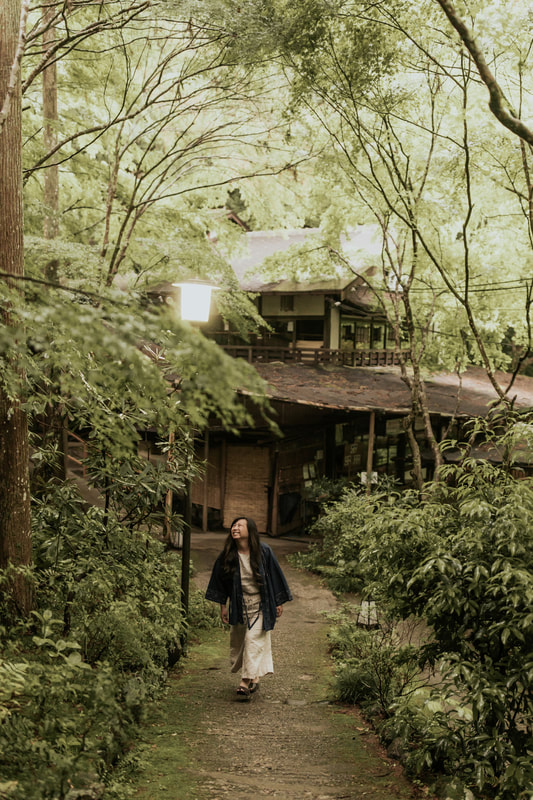
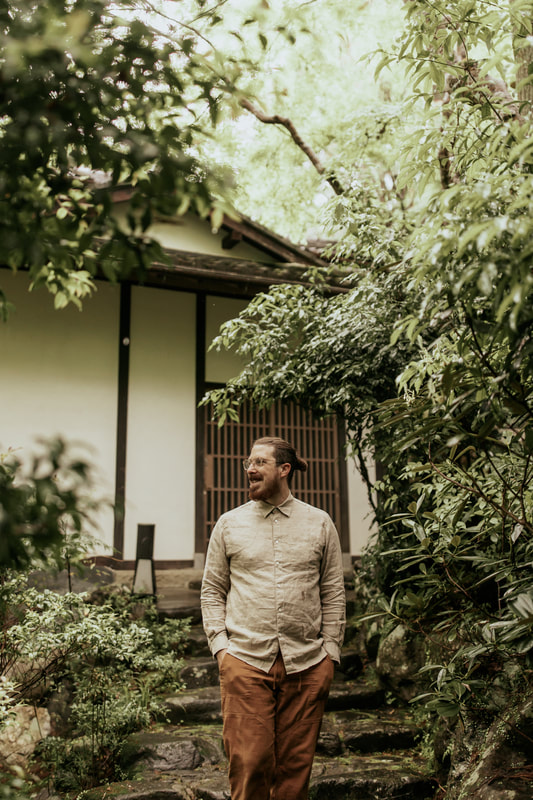
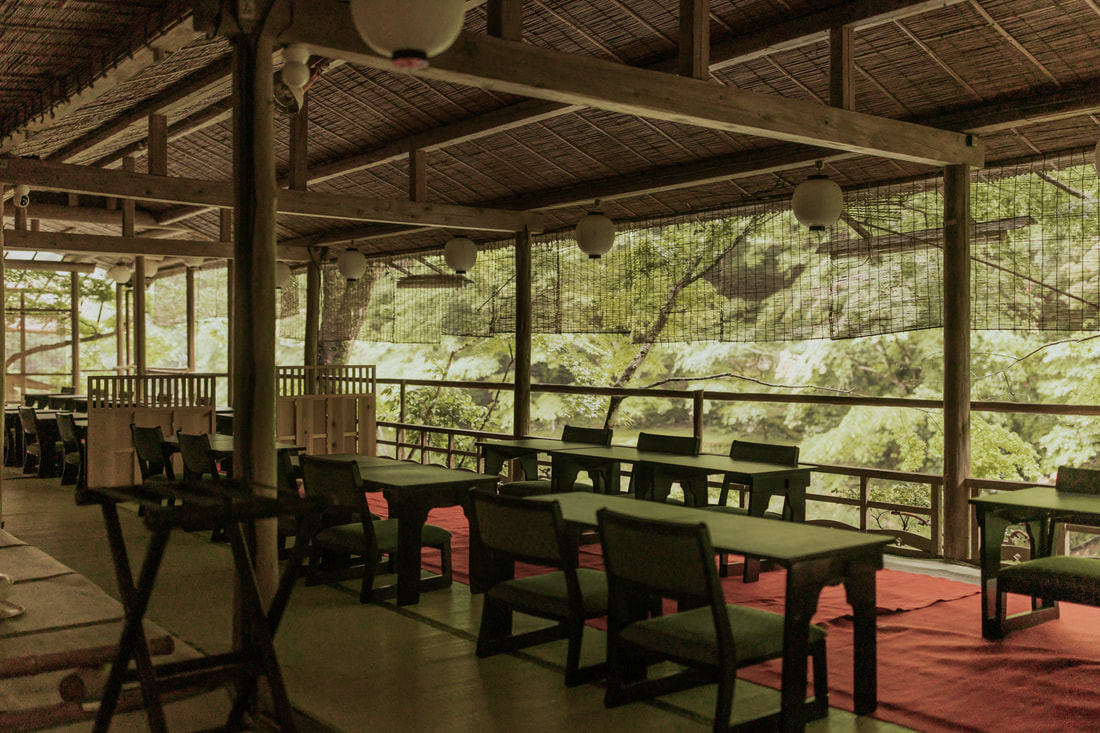
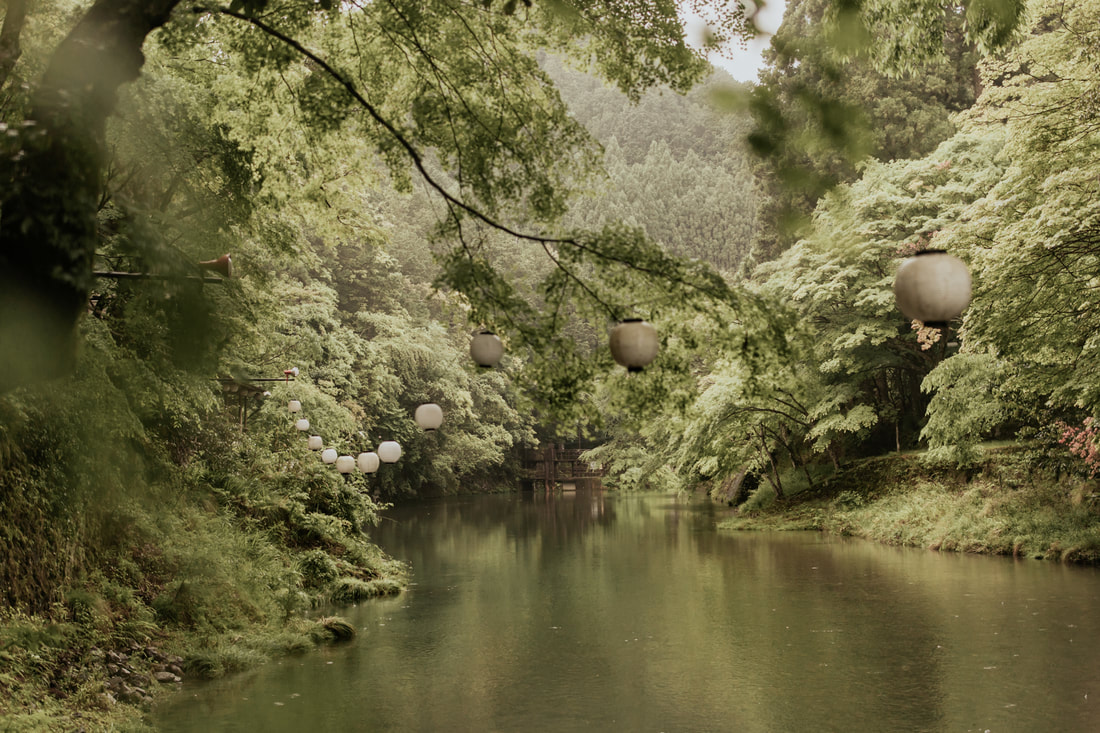
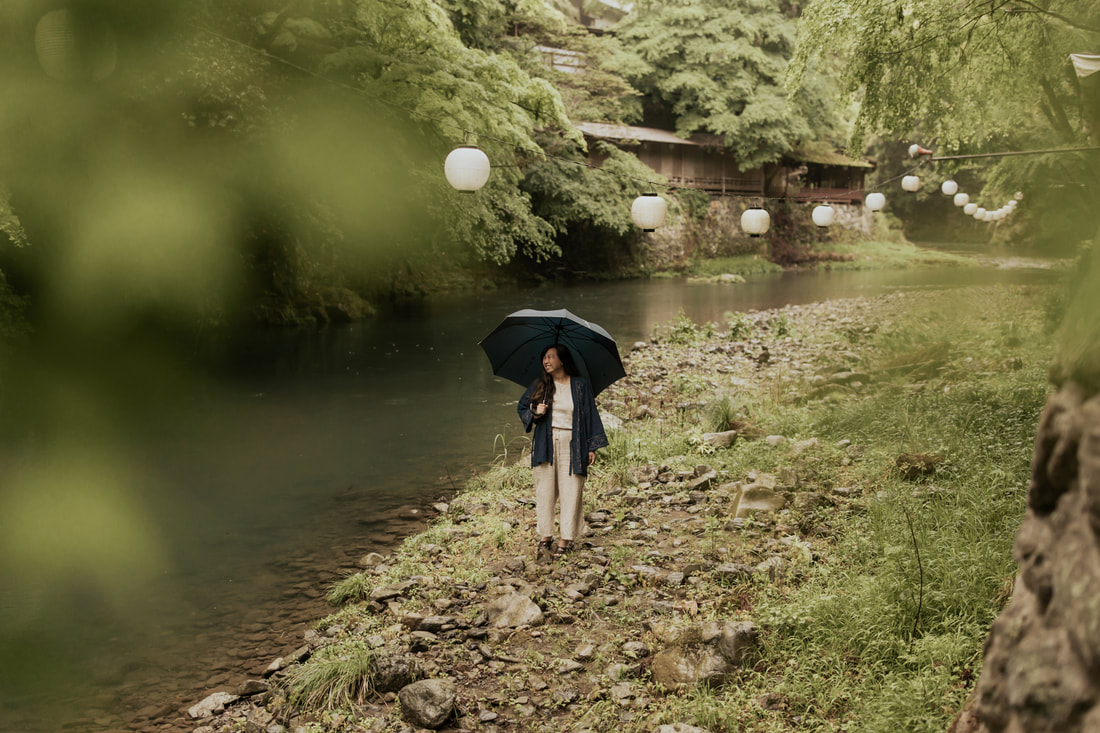
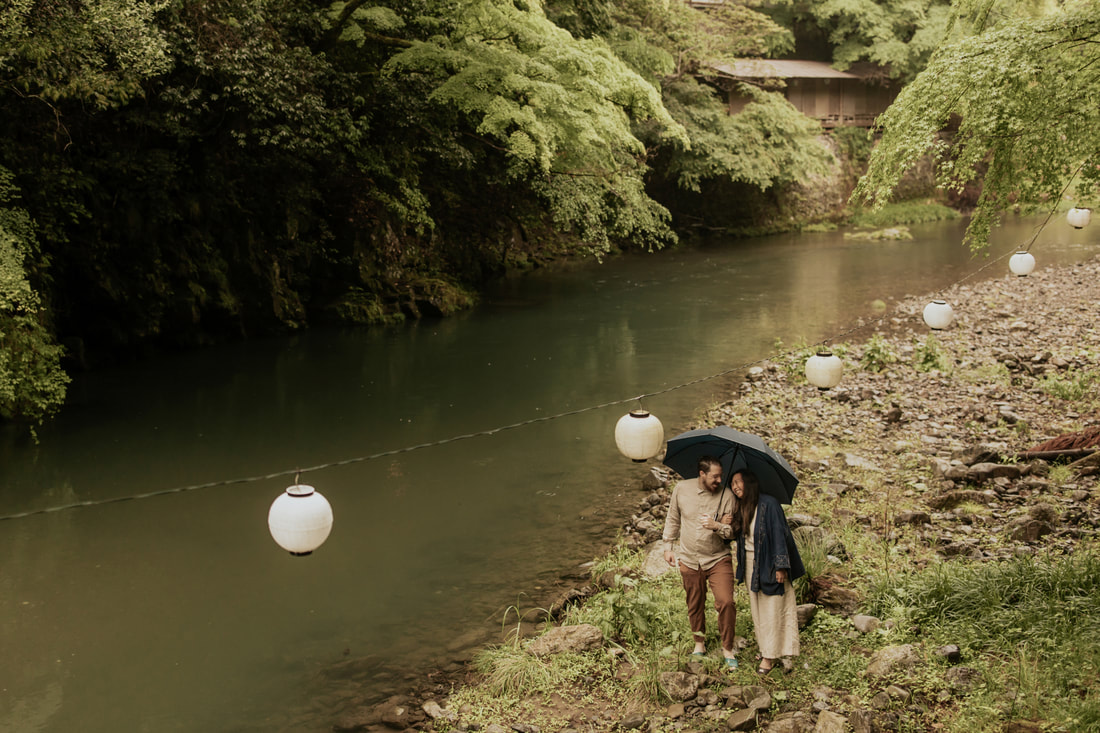
After lunch, we took the train back to Kyoto Station to grab our luggage and then to Hanazono Station where a shuttle bus was waiting to pick us up to go to our ryokan. When booking Momijiya, make sure you book Momijiya Bekkan Kawanoiori (which is more secluded and right by the river), not the neighboring ryokan Momijiya Honkan Takao. Some rooms have their own private onsens, but we booked one of the regular rooms. Luckily you can still book a private onsen for 45 minutes for ¥2200 (≈$16 USD). The room itself was $278 for 1 night, which was honestly an awesome deal for its price as it included the shuttle bus, dinner, and breakfast - and considering that it was a 20 minute shuttle bus ride to the nearest JR station, and then only a 15-minute ride to Kyoto Station.
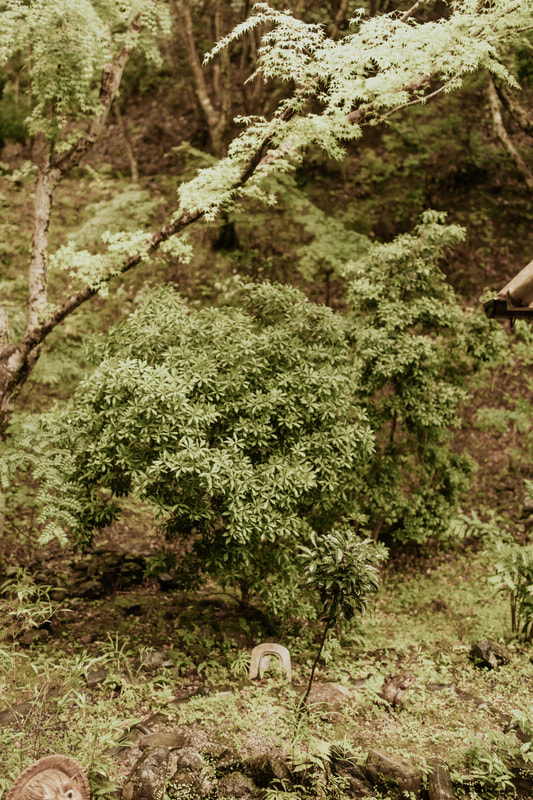
The service at Momijiya was incredible. It was raining when we arrived, so they had umbrellas ready for us as soon as we stepped off the shuttle bus. They carried our luggages all the way up the stairs to our rooms, and brought us to a beautiful riverside patio for dinner where we were served kaiseki, a traditional multi-course Japanese dinner. With all the lanterns lighting our way, it truly felt like we were transported to another place. In the morning, we woke up early to walk around the property and returned back for breakfast, tea, and coffee. When it was time to leave, they carried our luggages back to the shuttle bus and dropped us off back at Hanazono Station.
The service at Momijiya was incredible. It was raining when we arrived, so they had umbrellas ready for us as soon as we stepped off the shuttle bus. They carried our luggages all the way up the stairs to our rooms, and brought us to a beautiful riverside patio for dinner where we were served kaiseki, a traditional multi-course Japanese dinner. With all the lanterns lighting our way, it truly felt like we were transported to another place. In the morning, we woke up early to walk around the property and returned back for breakfast, tea, and coffee. When it was time to leave, they carried our luggages back to the shuttle bus and dropped us off back at Hanazono Station.
|
|
|
|
|
|
Day 6: Kyoto
- Get coffee at Weekenders Coffee Tominokoji
- Try all different kinds of foods at Nishiki Market - mochi, taiyaki, takoyaki just to name a few
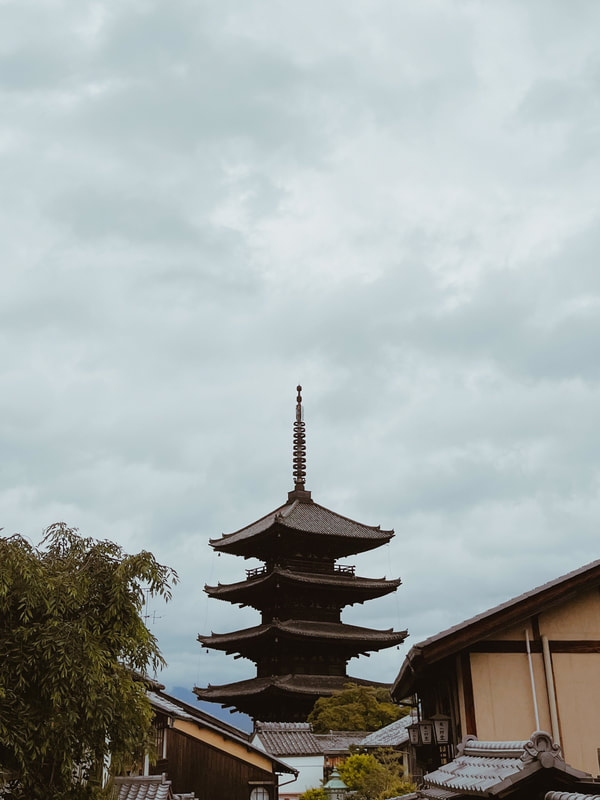
- Walk to Gion, also known as geisha district, and the historic streets of Higashiyama Ward, where you can see the famous view of Hokan-ji Temple
- Take the 1-hour bus to Arashiyama and sit by the river for coffee at % Arabica
- Walk along the river through Kameyama Park and the famous Arashiyama Bamboo Grove
- Have unagi for dinner at Unagi Hirokawa
While the JR pass can take you from Kyoto to popular spots like Arashiyama, Fushimi Inari, Nara, and Osaka, unfortunately it doesn't cover much within the center of Kyoto itself. We bought a 1-day bus pass for ¥700 (≈$5 USD) since we were taking over 3 bus rides and each ride is ¥230 (≈$2 USD) when purchased individually. Unfortunately this 1-day bus pass will no longer be sold after September 2023 to encourage more use of the subway, as the busses are oftentimes overcrowded. We found that certain bus routes had extremely long lines, meaning that you would have to wait for the next bus to board.
We had booked reservations for Unagi Hirokawa, which is famous for its unagi dishes. It wasn't taking any walk-ins that night, so it's definitely important to make reservations ahead of time! With that said, while it was very good, we felt like it wasn't worth it for its price when compared to all the other restaurants we had tried in Japan. You can order a medium unagi donburi for ¥3900 (≈$29 USD), though most people order a set meal with side dishes which range from ¥5300-¥13300 (≈$39-97 USD).
|
|
Day 7: Tokyo
- Walk a few minutes from Kyoto Station for morning coffee at Kurasu Kyoto Stand
- Take the Shinkansen to Tokyo Station, and the Narita Express to the airport
- Grab an ekiben (bento box) at Ekibenya Matsuri Gransta Tokyo at Tokyo Station
Final Thoughts
And that's it! Our packed 7-day itinerary for Japan. Once again, we definitely wouldn't recommend such a packed trip for first-time visitors in Japan, as we skipped many of the major tourist spots that we had already done on our last trip. But for those looking for something a little off-the-beaten-path (maybe for a honeymoon or anniversary trip too!), full of everything from romantic ryokans and hot springs to excellent food to lots of shopping for Japan-exclusive goods, this is for you!
1 Comment
Zizi
5/24/2024 05:49:19 am
Happy I found this while I’m searching for my trip.
Your comment will be posted after it is approved.
