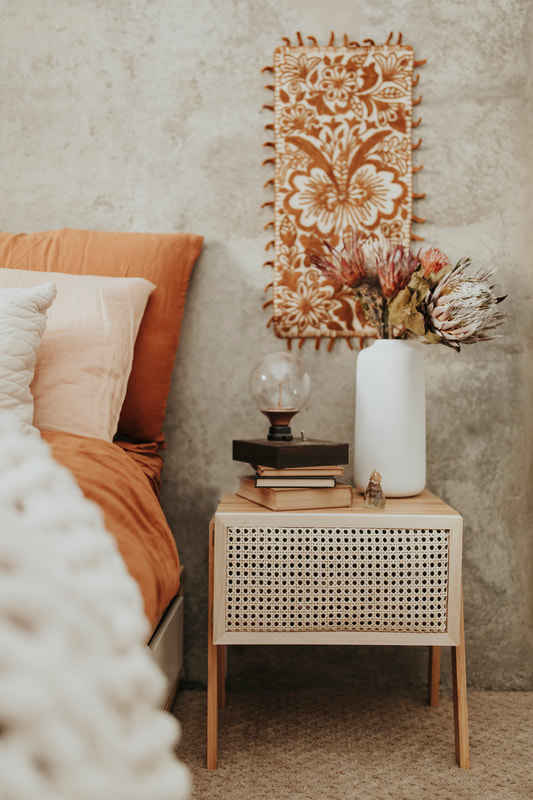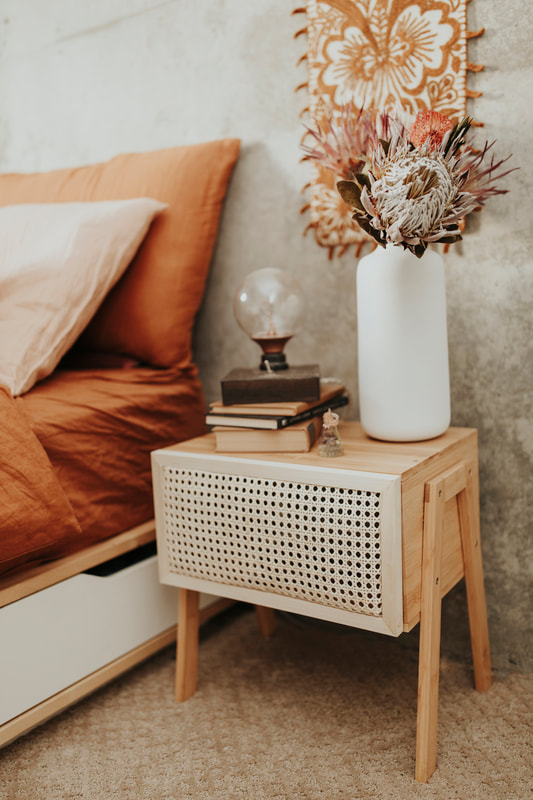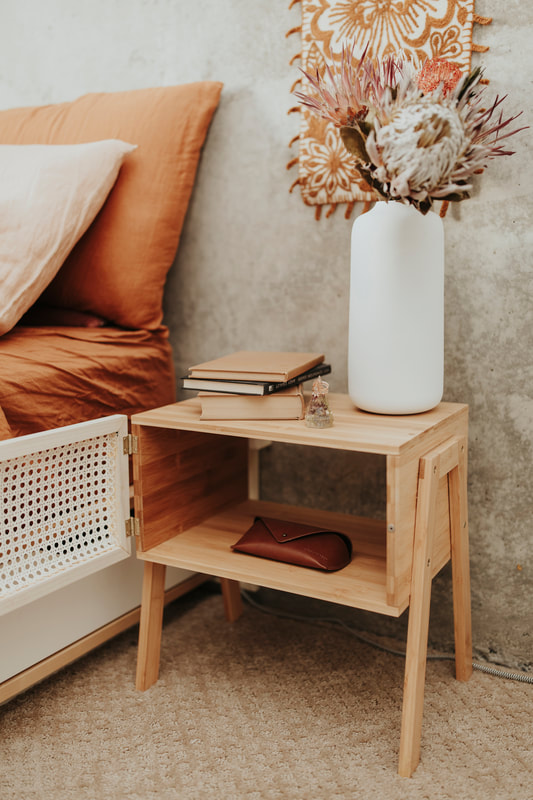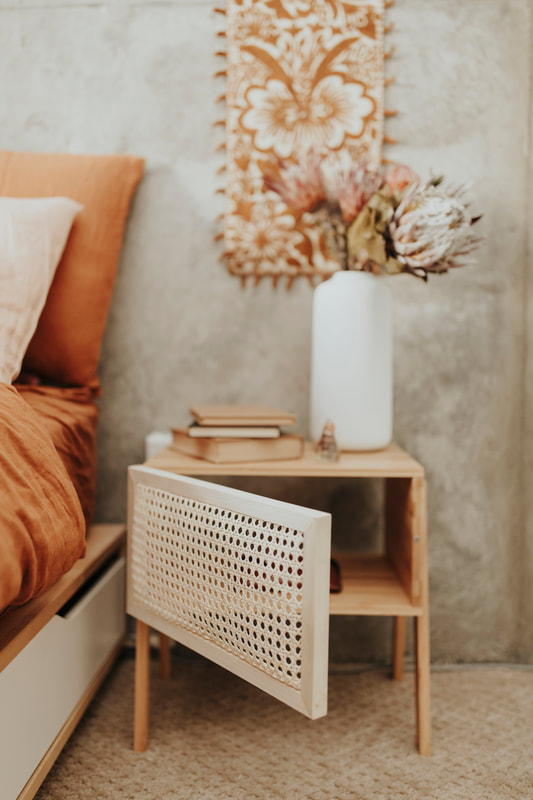

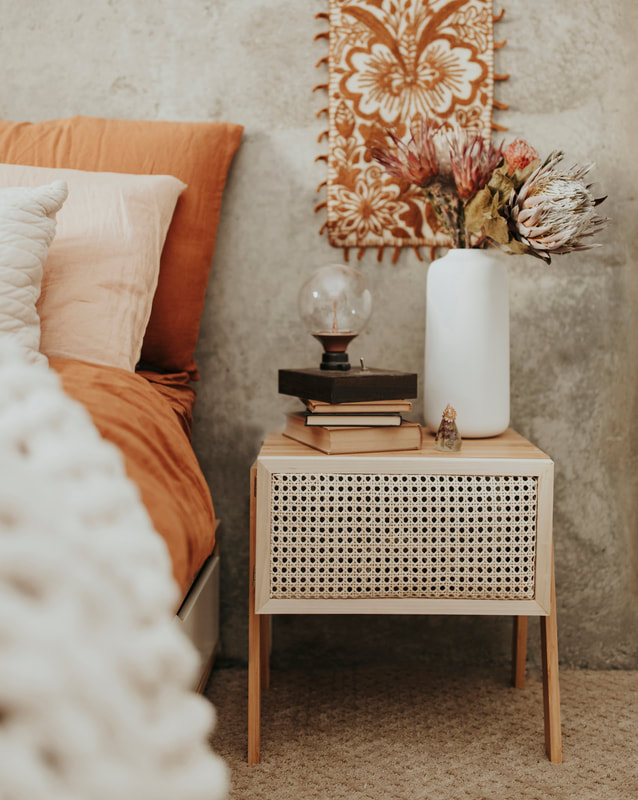
 When looking for nightstands, we loved the look of wicker/rattan/cane but couldn't find anything we liked in the right price point. So instead we found these inexpensive side tables and upcycled them into a boho wicker rattan cane nightstand! The end result was well worth it at the cost of $35 each / $70 for two nightstands vs. $113 for a similar one at Target. Level: Intermediate. We ran into a few problems that required troubleshooting in the making of this project. Making exact cuts and aligning everything properly was a bit tricky at first - we definitely had better luck with our second one once we got the hang of it! Materials for 2 Night Stands:
Instructions:
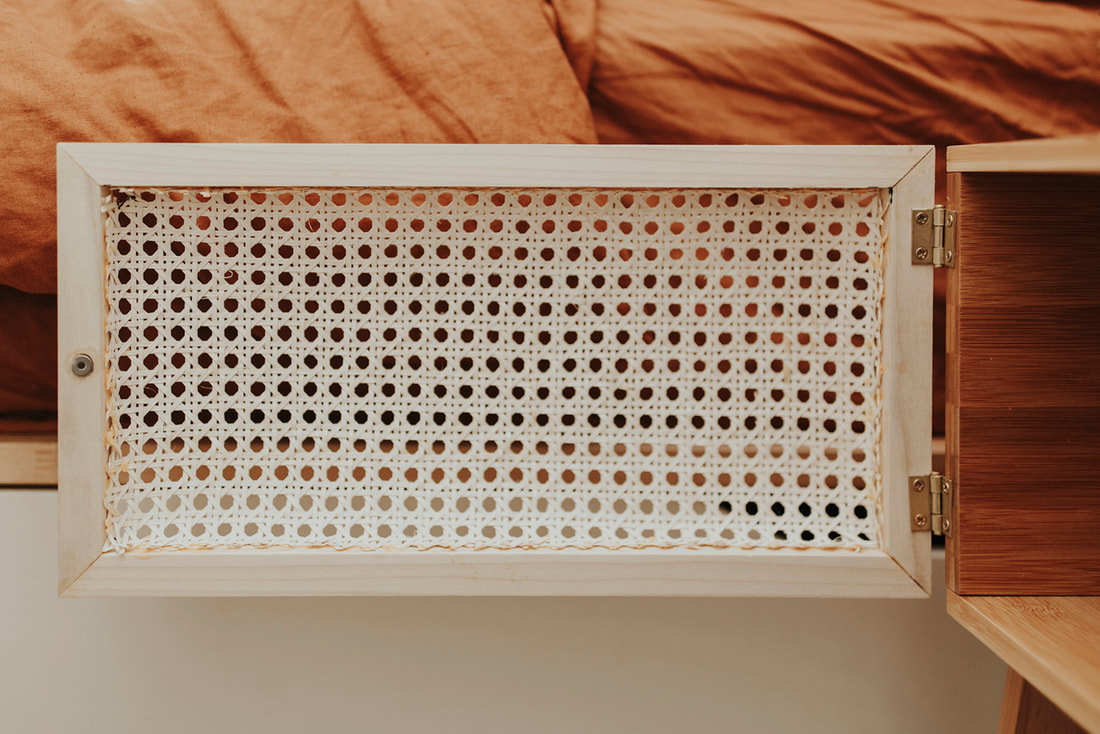
 Figure A 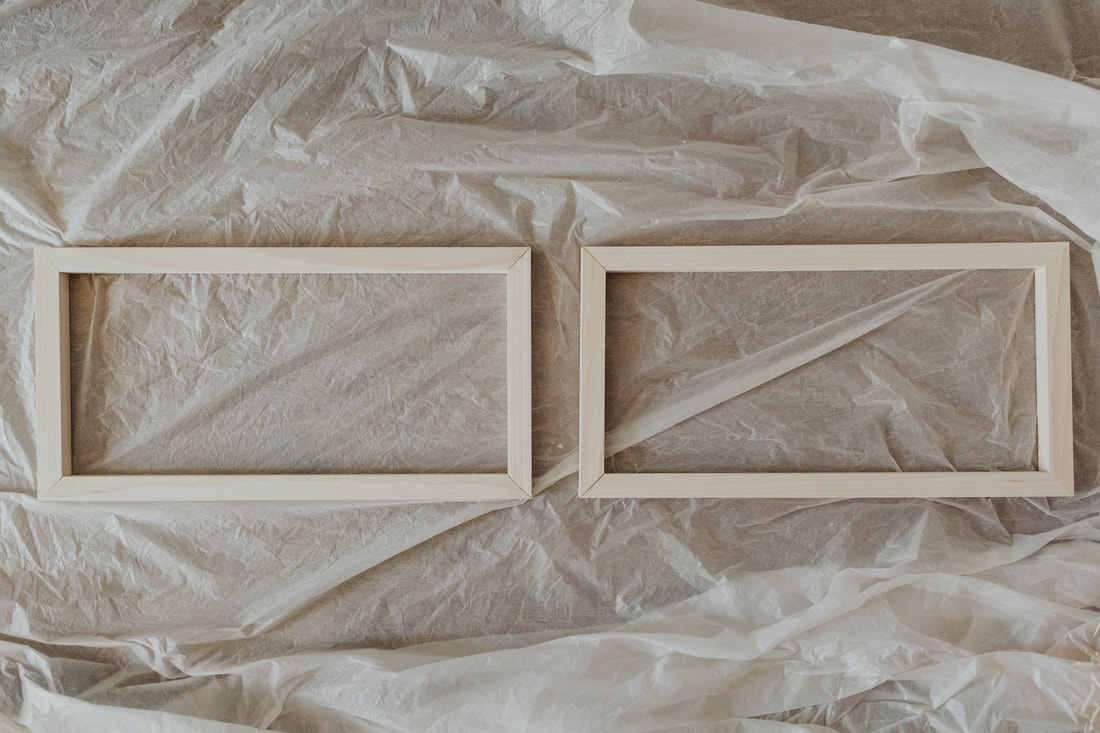 Figure B
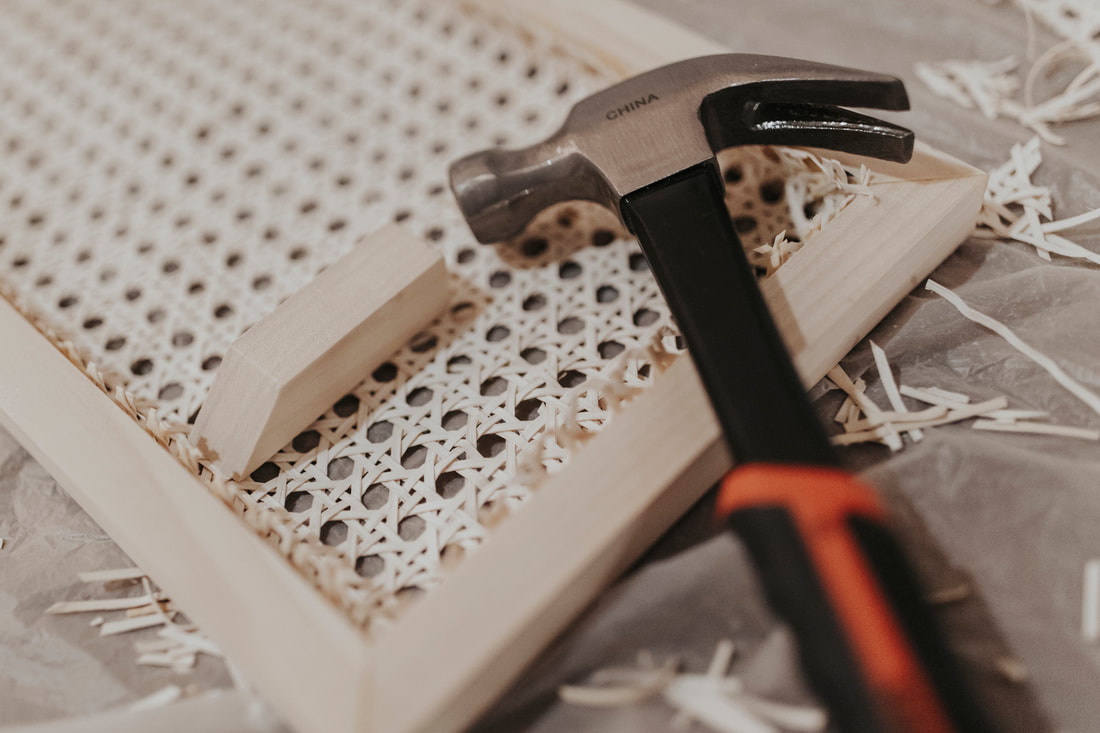 Figure D
15 Comments
Ry
11/13/2021 01:26:15 pm
WOW! I can't believe I randomly found this! And wow! I can't believe there is no comment! I too have been looking for a rattan nightstand for my new room/new look! And everything I liked so far is so expensive! This looks tricky but I really want to give this a go! And just as I'm finishing up my comment here, I realized you have the SAME BED AS ME!!! And I loved that bed, i looked endlessly to find it, even though Ikea stopped making it years ago. And I too did a similar headboard pillow situation. What pillow did you guys use, I like yours more! I've found my people! HAHAH! Love it! 1/2/2023 08:15:26 pm
A great day to read great article like this. Thanks for sharing this with us. 1/16/2023 11:11:05 pm
Thanks for sharing this amazing and informative post. keep sharing with us. 2/14/2023 11:34:23 pm
I like this blog. Thank you for sharing this information. 2/24/2023 06:38:31 am
I found your blog. This is a very well written article, Thank you for sharing this excellent article. 8/24/2023 04:26:46 am
The step-by-step instructions and accompanying photos make it seem achievable for anyone interested in trying their hand at DIY projects. The finished product looks absolutely stunning, and I'm inspired to give it a shot myself. 8/24/2023 04:27:54 am
Thanks for sharing this creative and budget-friendly way to elevate home decor with a touch of boho flair! 🛋️🌿🌼 10/25/2023 09:34:41 am
I came across your blog. This is a very nicely written post, and I appreciate you sharing it. 1/27/2024 05:00:45 am
Hello dear i like your post your post is very informative and knowledgable thanks for sharing this type of post 3/30/2024 01:25:45 am
I'm truly glad to say it's an intriguing post to read. I get new information from your article. 3/30/2024 01:39:16 am
Actually quite glad to say, your post is extremely fascinating to read. 4/6/2024 11:55:19 am
I never stop myself to express something about your nice work. You're working really hard. Your comment will be posted after it is approved.
Leave a Reply. |