Africa, a place known for its incredible wildlife and the Big 5 animals. We had never been to Africa before (we had tried to go to Morocco twice, but both times were unfortunately cancelled by COVID) so it took some planning to figure out the best itinerary for our trip. We ended up deciding to go on a 3-week trip to East Africa, starting from Kenya for the famous Giraffe Manor, then heading to Tanzania to see the Serengeti, then a stop in Zanzibar for some beach time, and finally to Rwanda and Uganda for gorilla trekking. So if you are into a little adventure with beautiful backdrops, incredible wildlife, luxury lodges, and the friendliest people to guide you on your way, then this Africa itinerary might be for you!
|
|
|
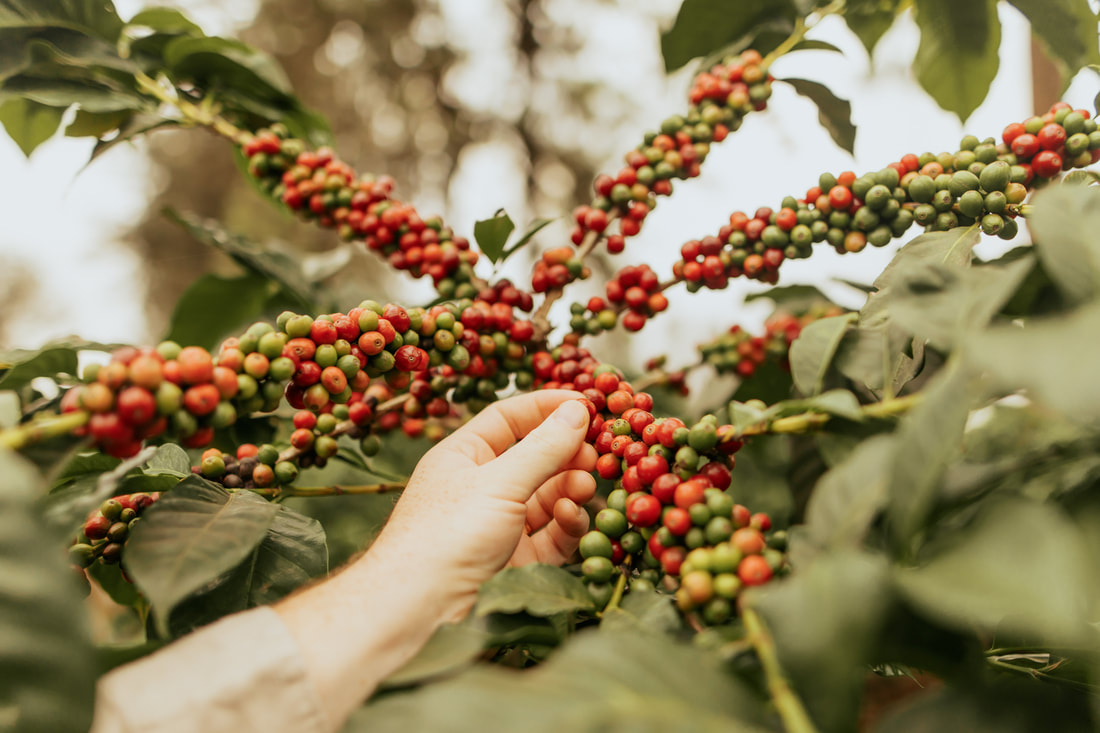
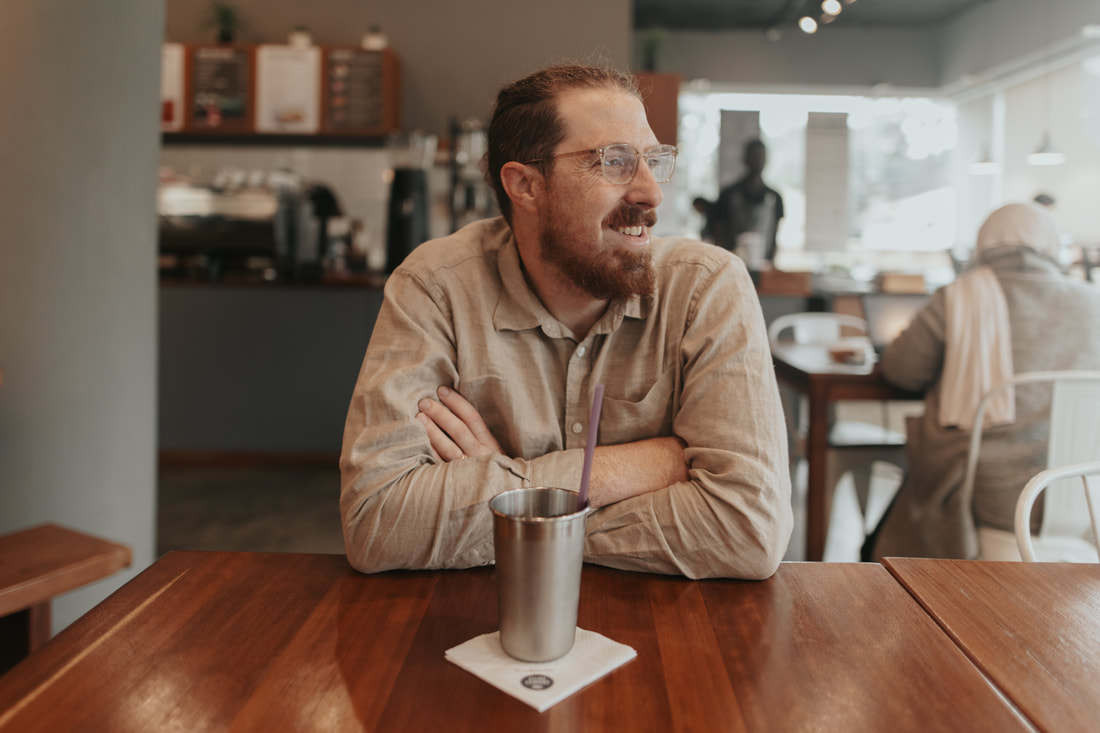
We did two different coffee experiences near Nairobi, one at Fairview Coffee Estate and one through Airbnb. Fairview Coffee Estate is a large operation owned by the former Kenyan ambassador to the US. The tour includes a walk through the fields, the coffee processing facilities and drying beds, a coffee cupping to taste the different coffees they offer, and a cup of coffee with biscuits in the gardens at the top of the estate. What stood out on this tour was the cupping at the end, which allowed us to really taste the difference between the coffees. It was a great experience - we really enjoyed chatting about how coffee culture is shifting in Kenya, and how they are processing coffee differently to appeal to locals vs tourists.
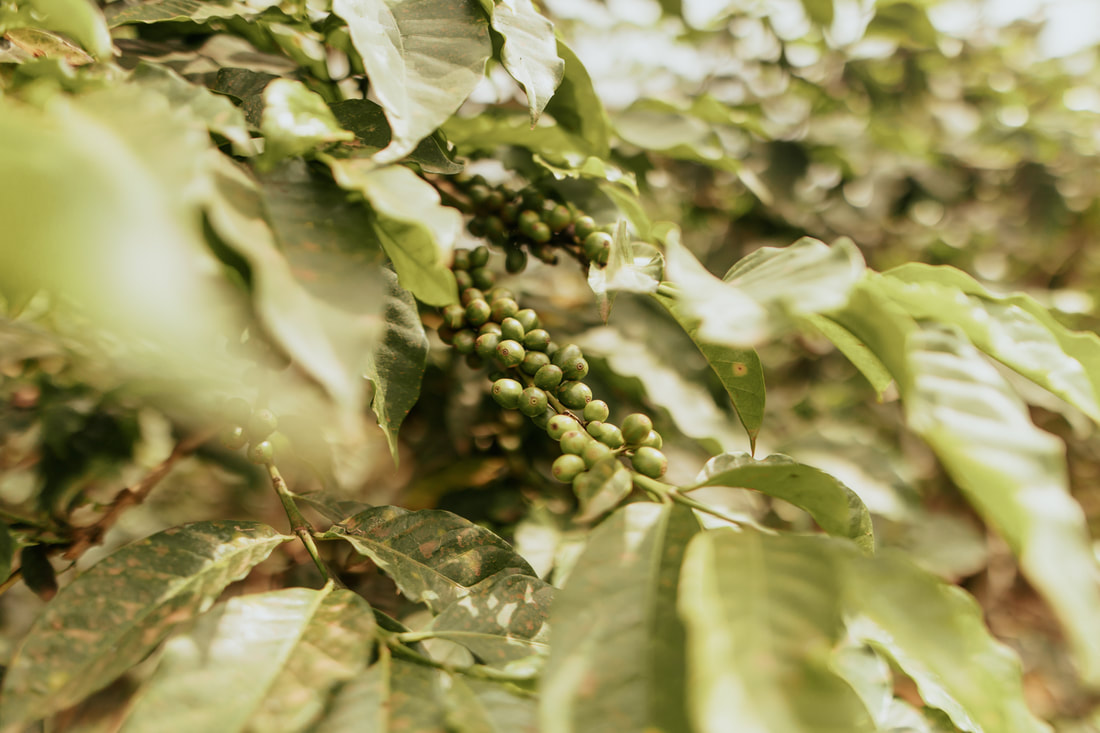
At the Airbnb experience, we went on a shorter tour of the grounds, walked through the fields of coffee trees, then went on an in-depth tour of the coffee processing facilities, which covered everything from seeing the new methods of drying green coffee to operating both historical and modern coffee sorting machines in the factory. Then we went back to the main building to roast green coffee ourselves, which we got to take home, and of course have a fresh cup with some pastries. What makes this experience different and special was how hands-on you got to be with the coffee making process here.
So which experience was better? The cupping at Fairview was great, and we wished that there was a cupping at the Airbnb experience. However, the quality of the coffee was better at the Airbnb experience, as they chose different brewing methods. To be honest, you can’t go wrong with either of them! If you are absolutely new to coffee and want something a little more catered, go to Fairview. If you are already knowledgeable about coffee, we would recommend the Airbnb coffee experience.
So which experience was better? The cupping at Fairview was great, and we wished that there was a cupping at the Airbnb experience. However, the quality of the coffee was better at the Airbnb experience, as they chose different brewing methods. To be honest, you can’t go wrong with either of them! If you are absolutely new to coffee and want something a little more catered, go to Fairview. If you are already knowledgeable about coffee, we would recommend the Airbnb coffee experience.

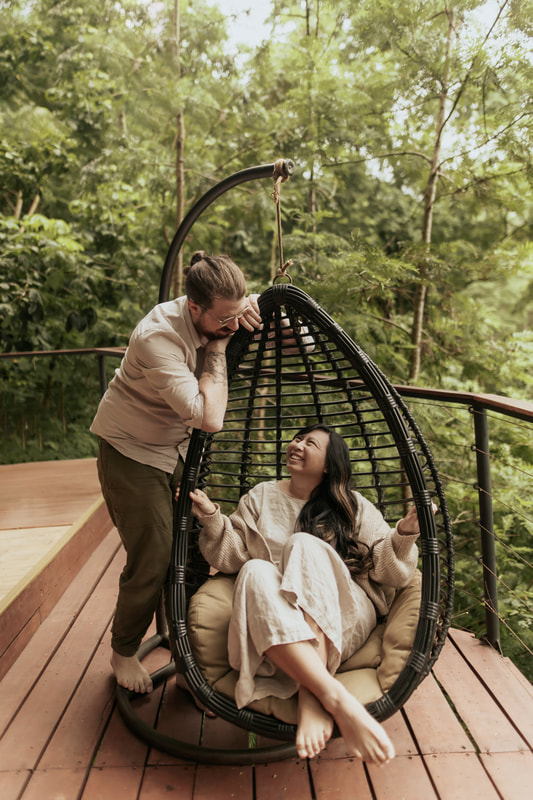
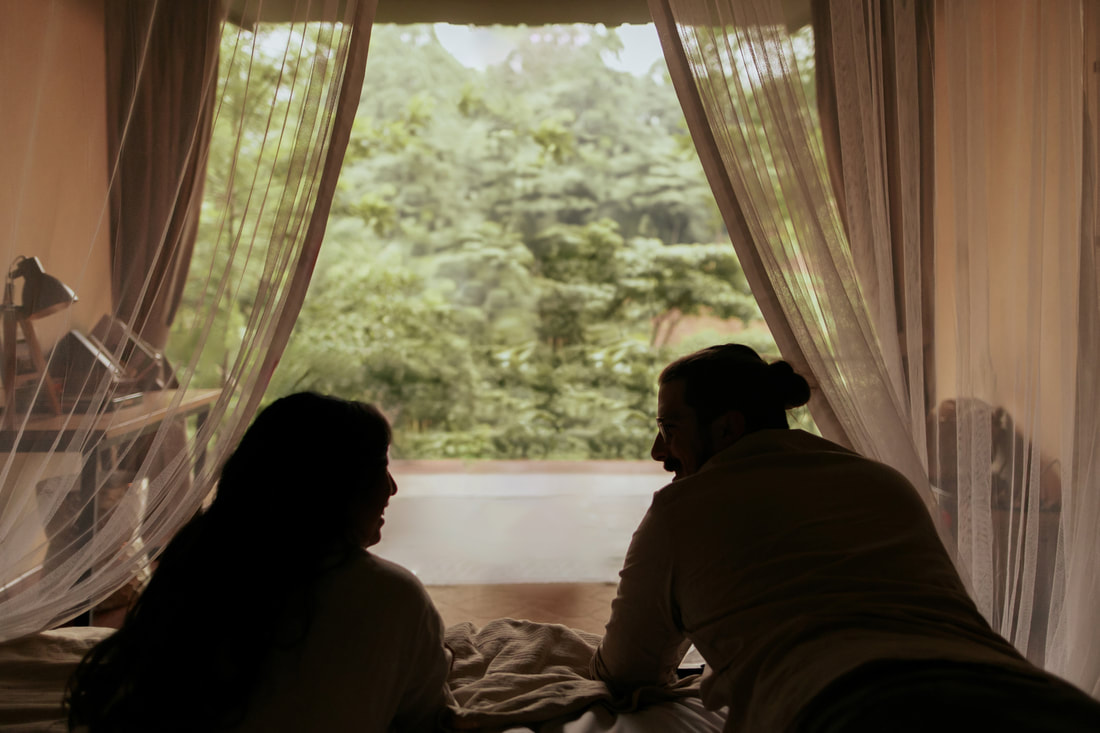
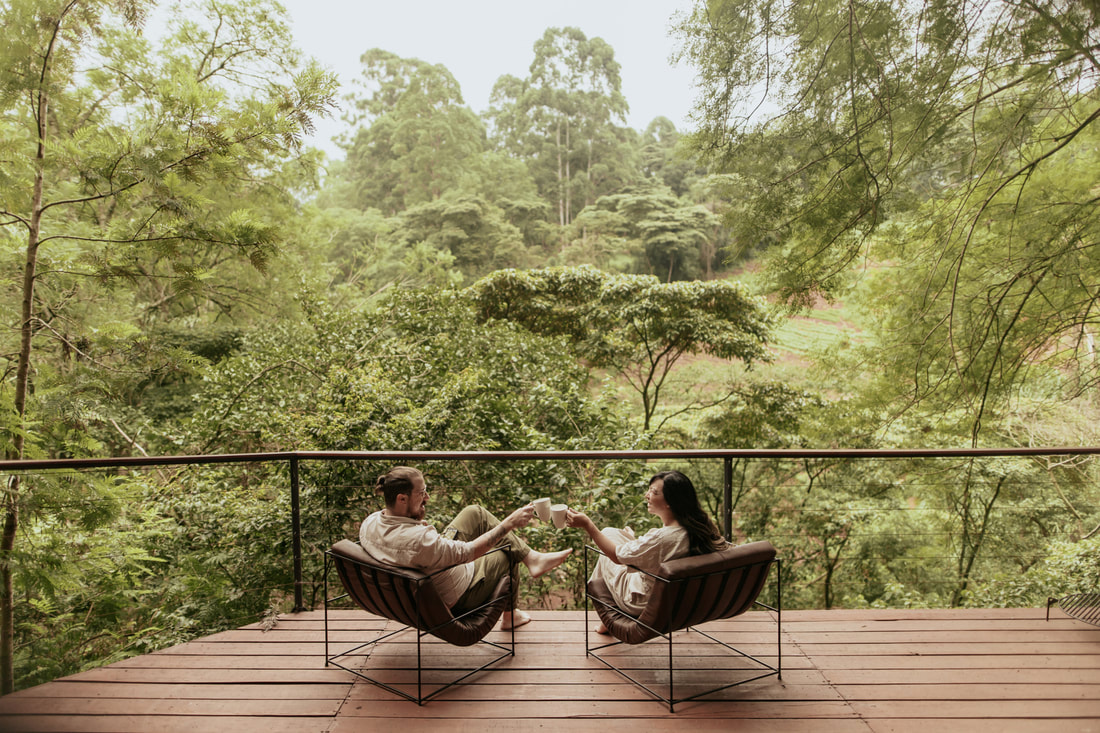
For our first few days in Nairobi, we stayed at the Dawn Chorus Airbnb. This Airbnb is out of the main part of the city, so it's not only extremely safe, but also a beautiful forest oasis. It's the perfect place to relax in the mornings and evenings with a beautiful balcony, clawfoot bathtub, firepit, and swinging egg chair. Just be prepared for a glamping experience! While there are curtains, the best way to experience Dawn Chorus is to leave the curtains open. The nights get a little noisy with all the birds chirping, but the view is worth it! A light breakfast of fruits, toast, and juice is brought down every morning. Since it's not in the city, having a private driver to pick you up and drop you off is definitely was the way to go.
|
|
Day 4: Nairobi, Kenya
- Start your morning with a cup of Kenyan coffee at Connect Coffee Roasters ($)
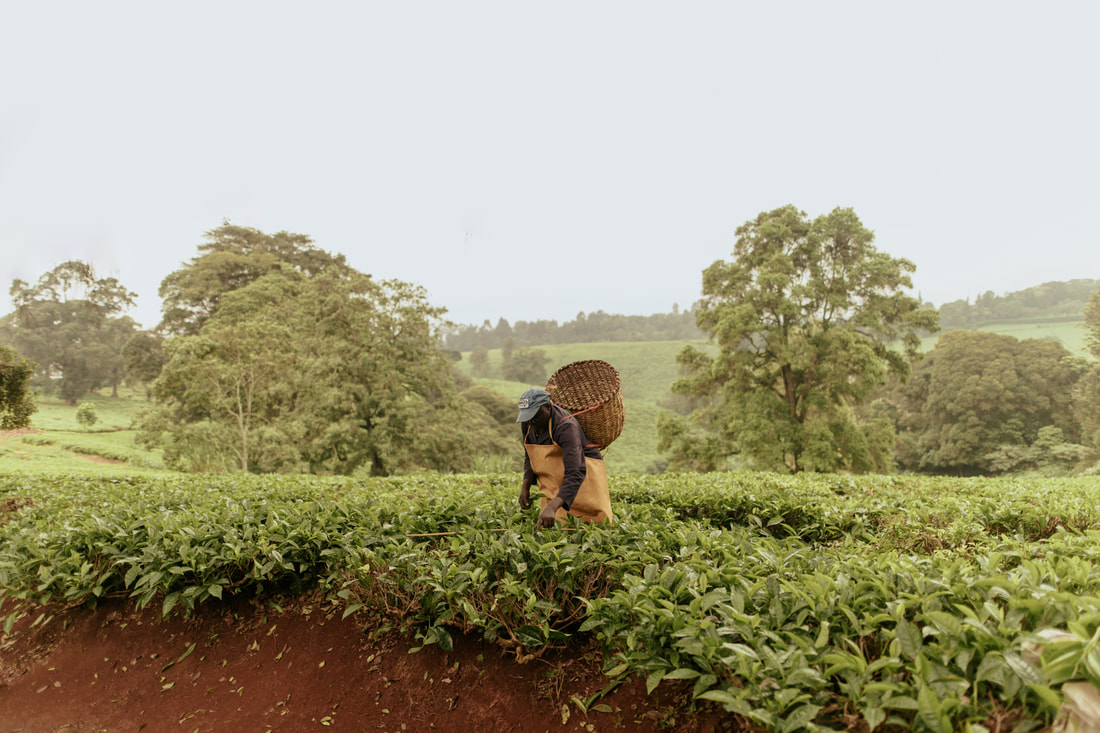
- Learn about how tea is grown and processed at Kiambethu Tea Farm ($$)
- Shop for local artisan goods at Spinner's Web ($$)
Kiembethu Tea Farm is an old tea farm that has been around since the 1910’s. The founder of the farm moved from the UK and set up a tea farm high in the mountains. He went on to build a school in the area, bringing in teachers from overseas so that the children of the farmers could be taken care of during the day. That school is still around today and has more than 2000 students! The tour includes a walk through the estates gardens, forest trails, farm, and gardens (which supply the lunch you will get as part of the tour) and of course, the tea fields. Because the farm is so far away from the city, the tour includes tea time, a 3 course lunch, and unlimited drinks. We learned all about the history of tea in Kenya, how tea is carefully picked and processed, and how it impacts the local environment and people. But honestly for the lunch alone, it was definitely worth the price!
Day 5: Nairobi, Kenya
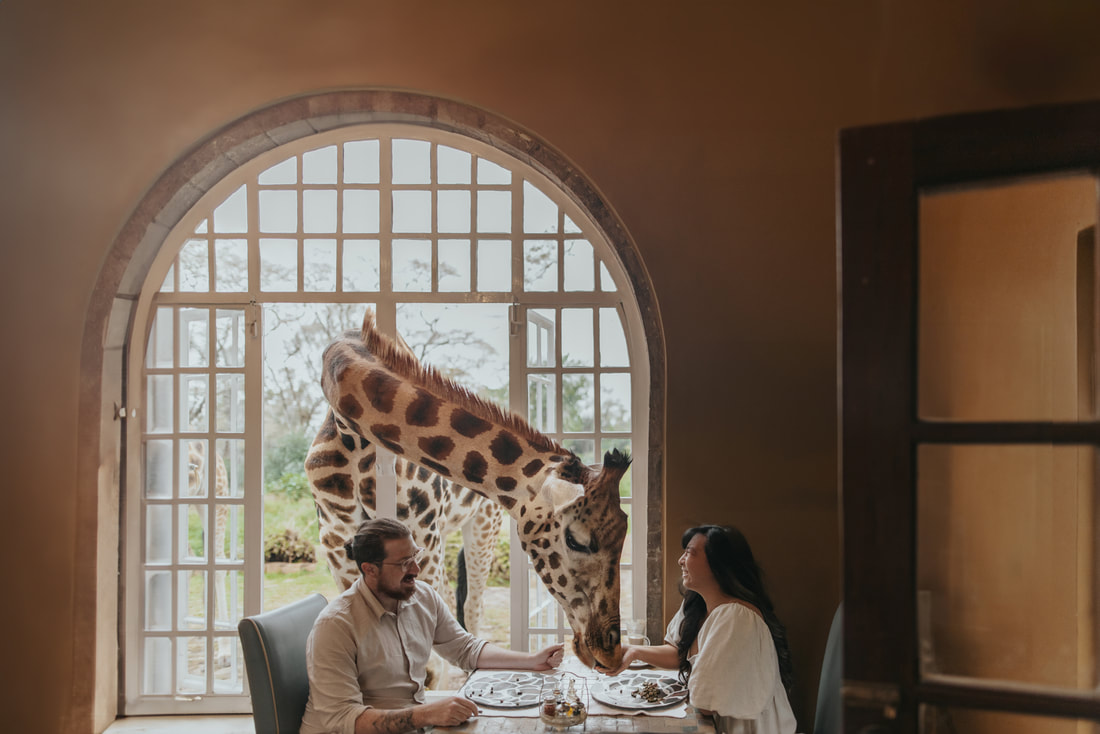
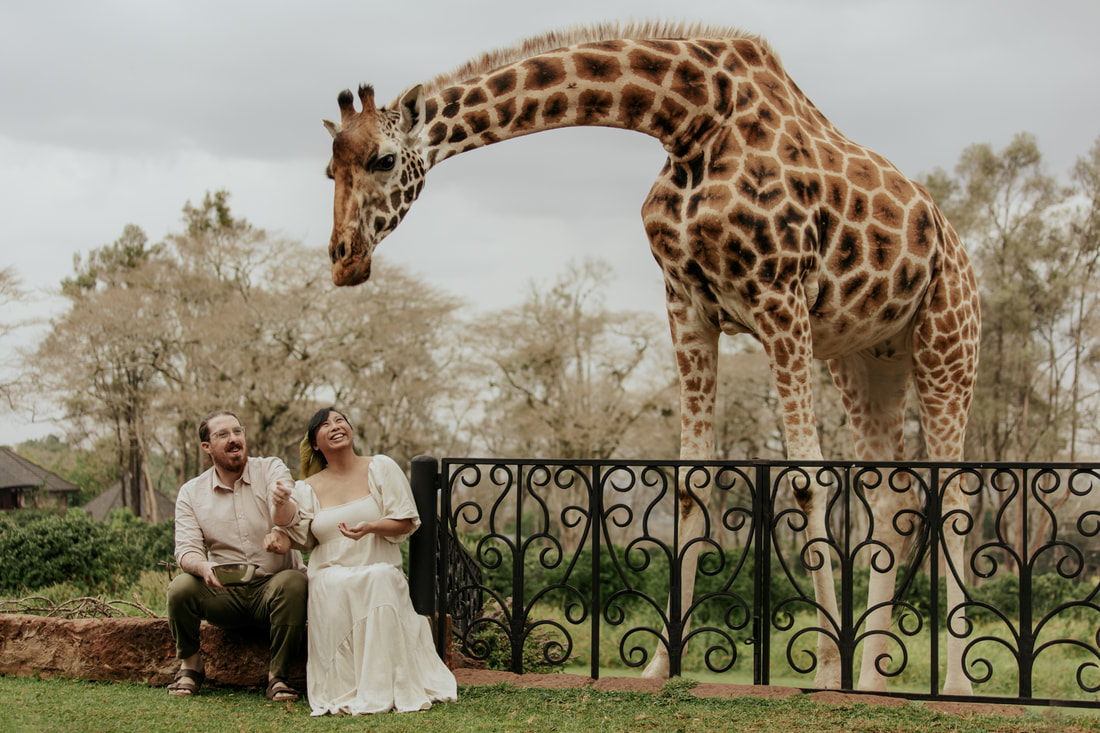
- Have lunch with giraffes roaming behind you at Giraffe Manor ($$$$)
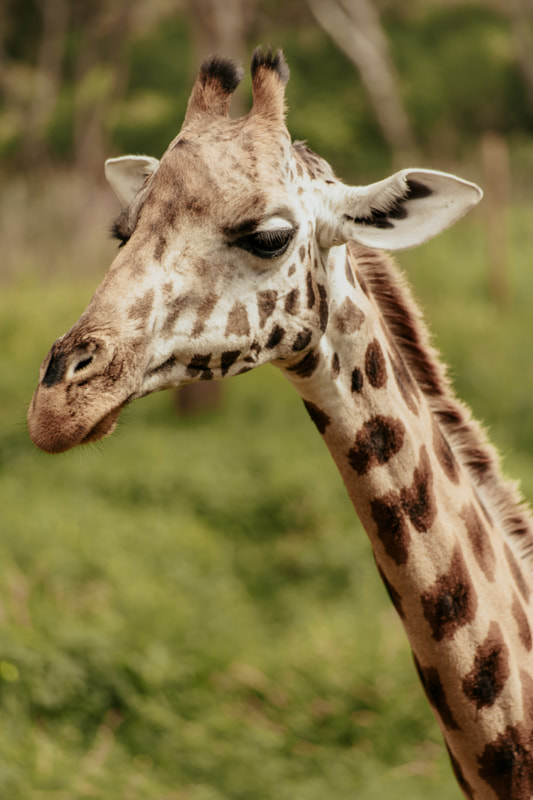
- Take a walk to the Giraffe Center, where you can learn more about the Rothchild's giraffes
- Watch the giraffes roam over as they get ready for afternoon tea at the Giraffe Manor
- Reserve a private dinner at the Orchid House
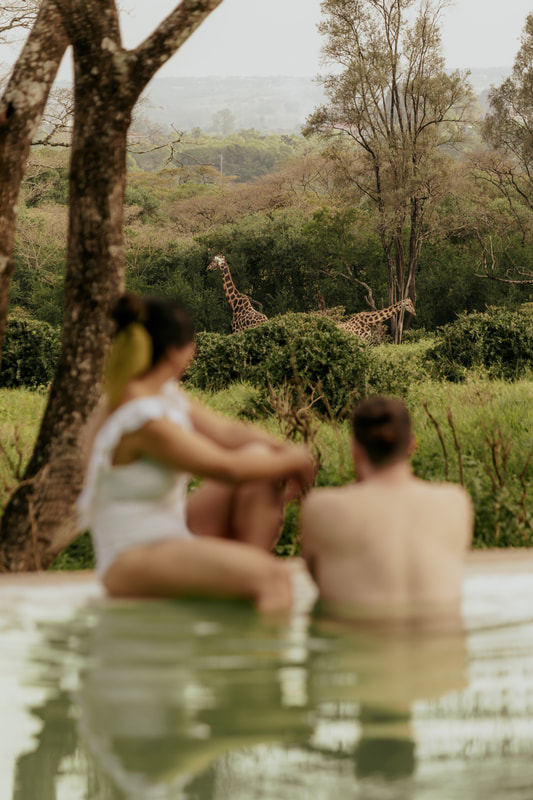
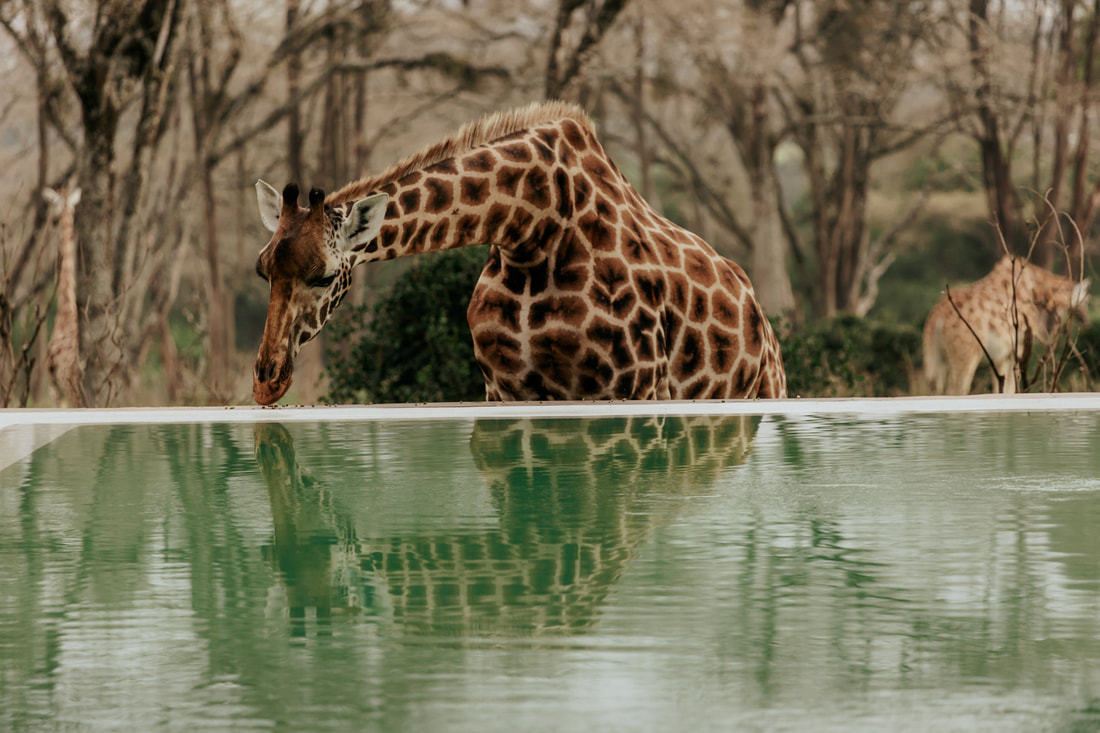
- Watch for giraffes at the infinity pool at The Retreat
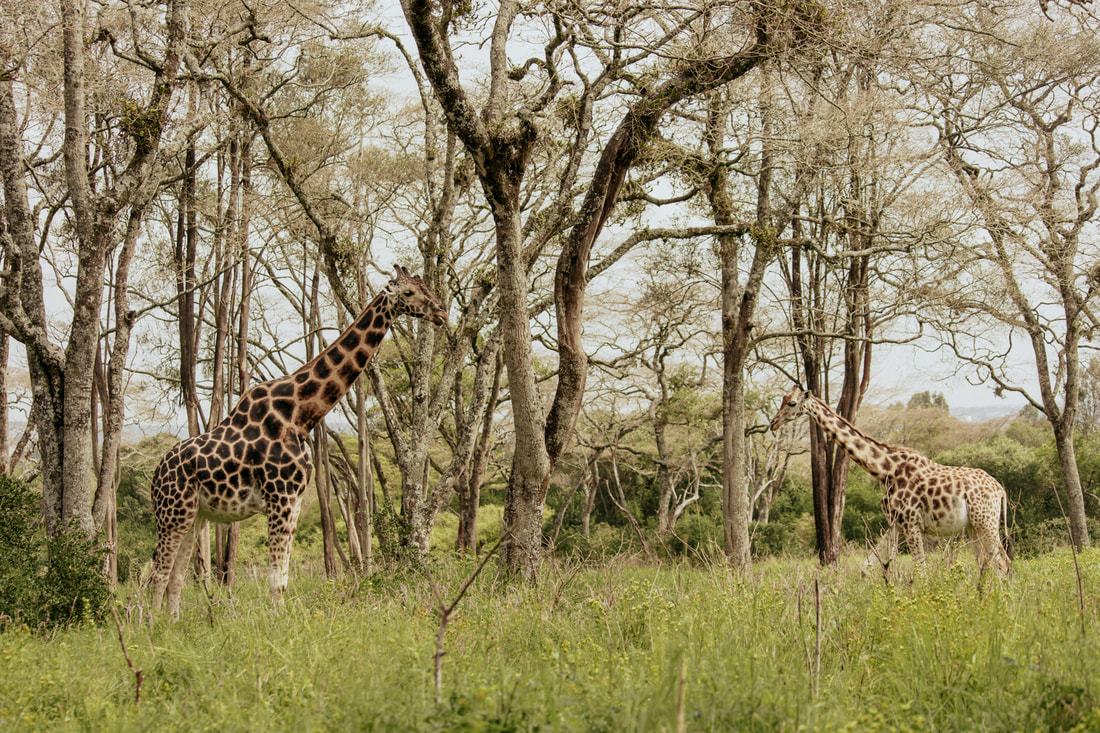
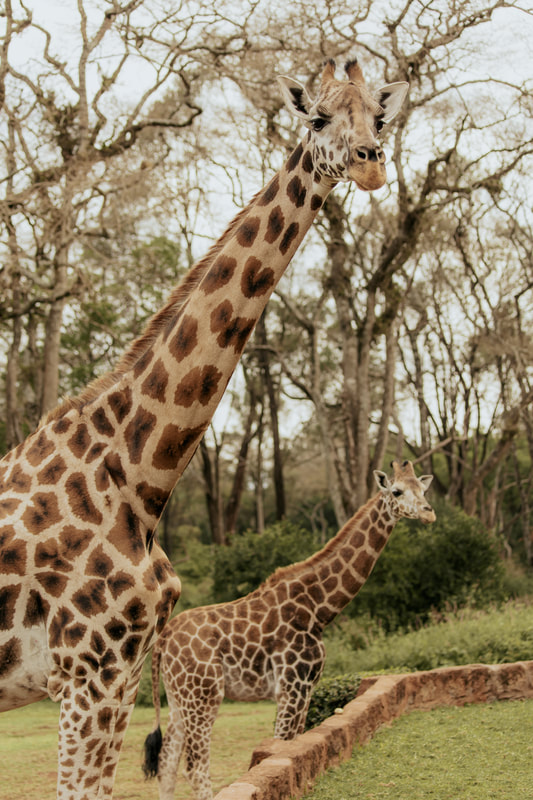
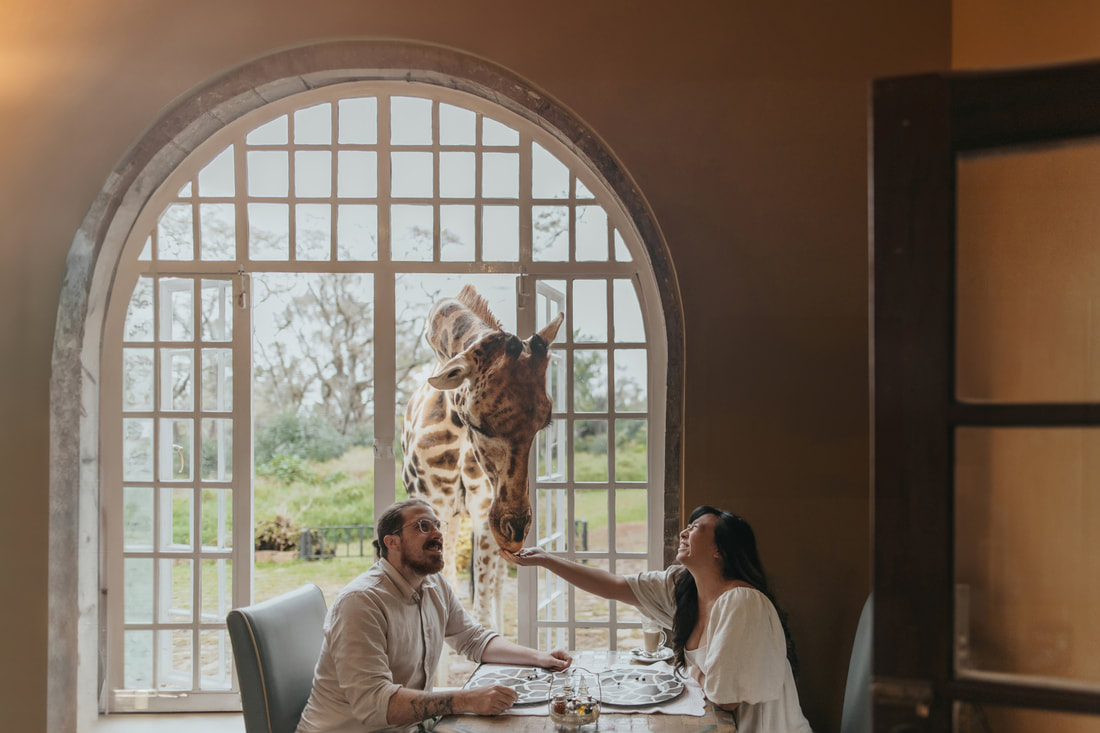
You might've seen Giraffe Manor on Instagram - it became hugely popular after a few influencers shared photos of this place. There are also a million articles on "Is the Giraffe Manor worth it?" because of its high price, which has only gotten higher over the years. We heavily debated whether to go, as it was quite expensive compared to what we were used to spending on trips. We typically try to book budget hotels in good locations, or experience hotels and Airbnbs that provide more than just a place to sleep. When we checked the availability of Giraffe Manor, we saw that there was only one night and one room available (and this was 9 months out from our trip when we started planning!) so we decided to just go for it! Our consensus: it was an absolutely incredible experience. If you have the money to spend, we definitely recommend going. All the experiences we had at the Manor - transportation to and from the Manor, all-inclusive meals and drinks, laundry service, a private tour of the Giraffe Manor, a private dinner at the Orchid House, swimming in the infinity pool, and feeding the giraffes at breakfast were included in the price. Being such a small boutique hotel with only 12 rooms, it offered incredible service. But if your trip took a long time to save up for, we might recommend spending your money elsewhere like even just taking a longer trip. We wouldn't have taken this trip in our 20's when we were still budgeting like crazy!
From the moment we arrived, we knew it was going to be an amazing experience. As we sat at check in watching a few distant giraffes feeding on trees, we grew more and more excited the more they told us about our stay. After a multi-course lunch, we had a private tour of the Giraffe Sanctuary, where we got to learn about the program the Giraffe Manor participates in to breed and release the Rothschild's giraffes. We then returned to the manor where we took a swim break at The Retreat and got to watch the giraffes from the infinity pool. The giraffes know exactly when and where food is being served, so they started moving from the Giraffe Center to the Giraffe Manor at 5 PM like clockwork for tea time and feeding. We retired to our rooms after a very full day to get to bed early so we could be up to feed the giraffes in the morning.
|
|
|

|


Day 6: Nairobi, Kenya to Arusha, Tanzania
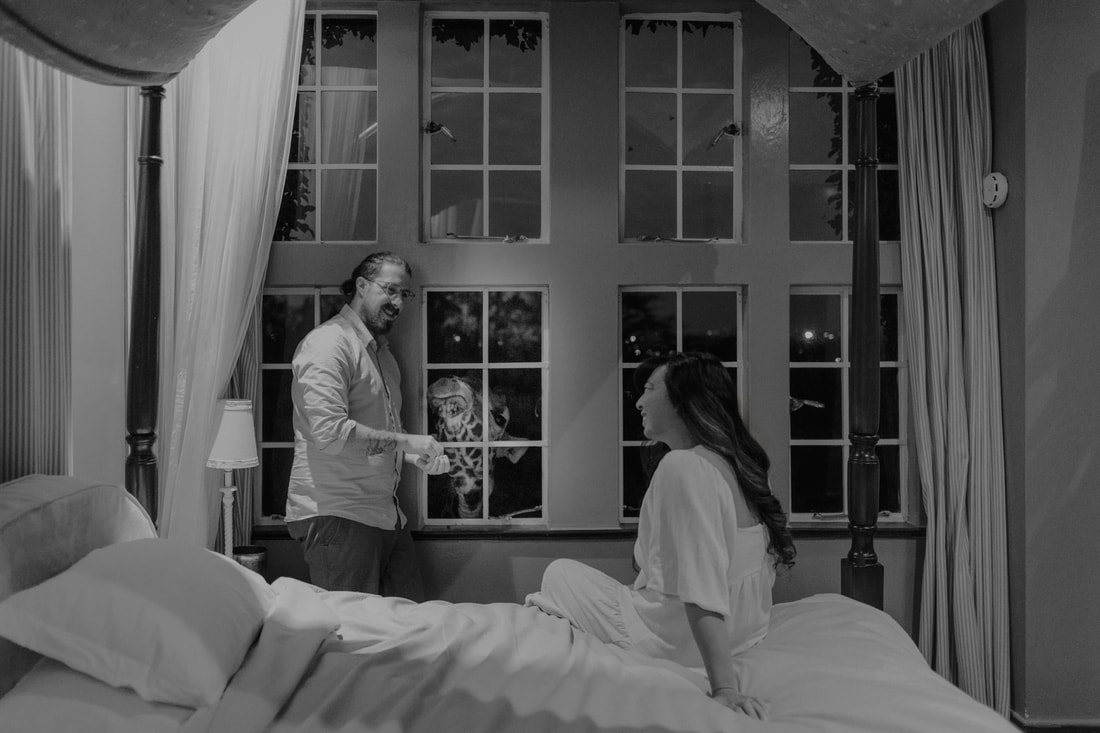
- Wake up early to feed the giraffes from your window at Giraffe Manor
- Go down to breakfast to feed the giraffes at Giraffe Manor
- Shop for local artisan goods at Utamaduni Craft Centre ($$) and Langata Link Shops ($$)
- Take a shuttle bus to Arusha ($)
We stayed in the Jock room, which was a corner room. This meant that we had the first room the giraffes would visit in the morning! But don't worry - the giraffes went to each room. So at 6 AM sharp, we opened our windows on the second floor to a waiting crowd of giraffes in search of a morning meal. After feeding the giraffes from our window, we headed down to breakfast where the giraffes poked their head through the windows in search for food. Pro tip: You'll need at least a 24mm lens to capture the window and giraffes. But don't stress about getting your photos - the workers are always happy to help you take photos and videos with your phone or camera and will make sure that you have enough time to feed them! There's absolutely no rush, which was what we really enjoyed about the experience.
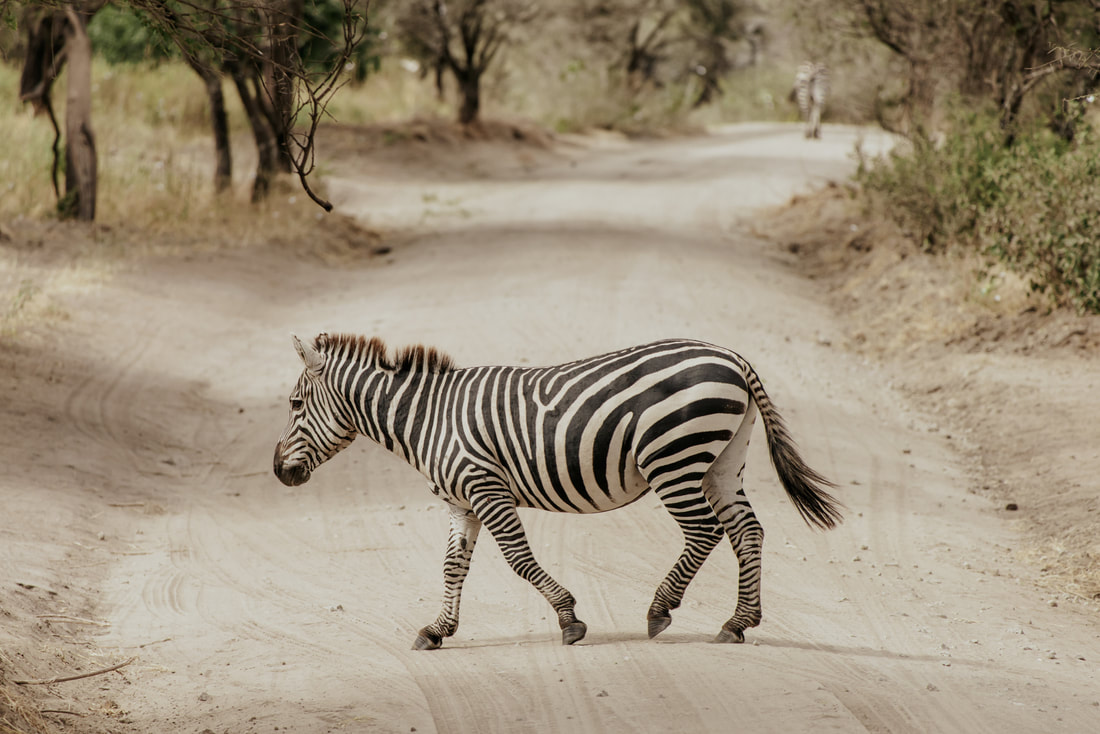
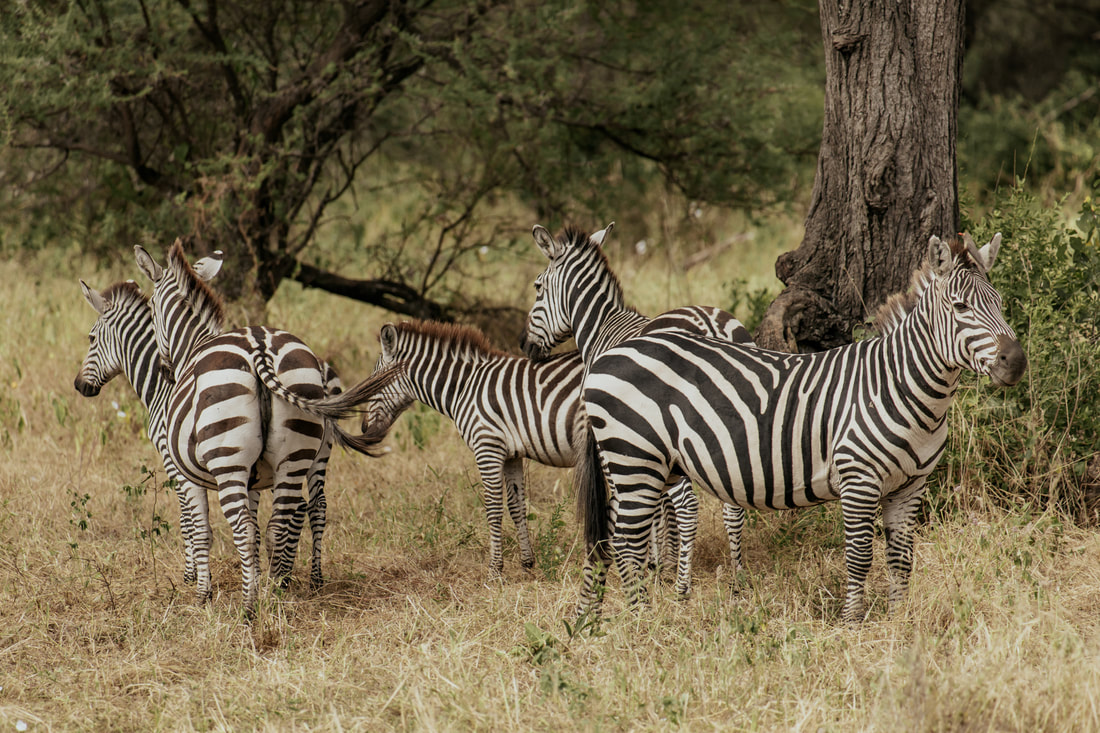
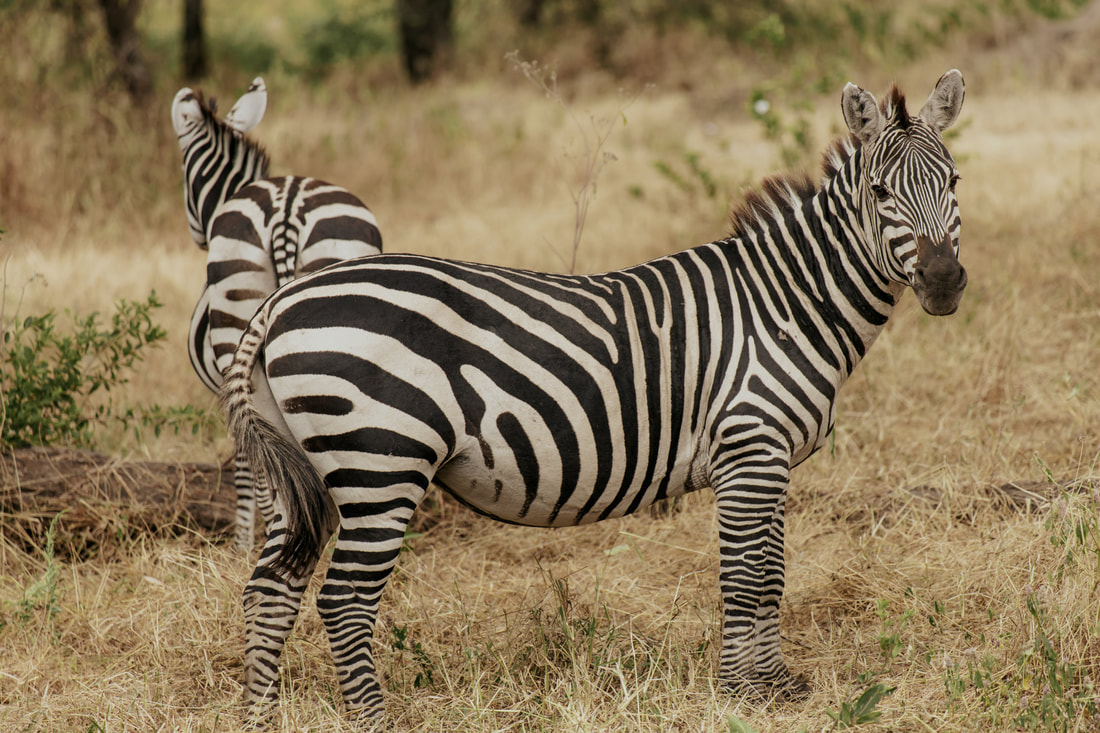
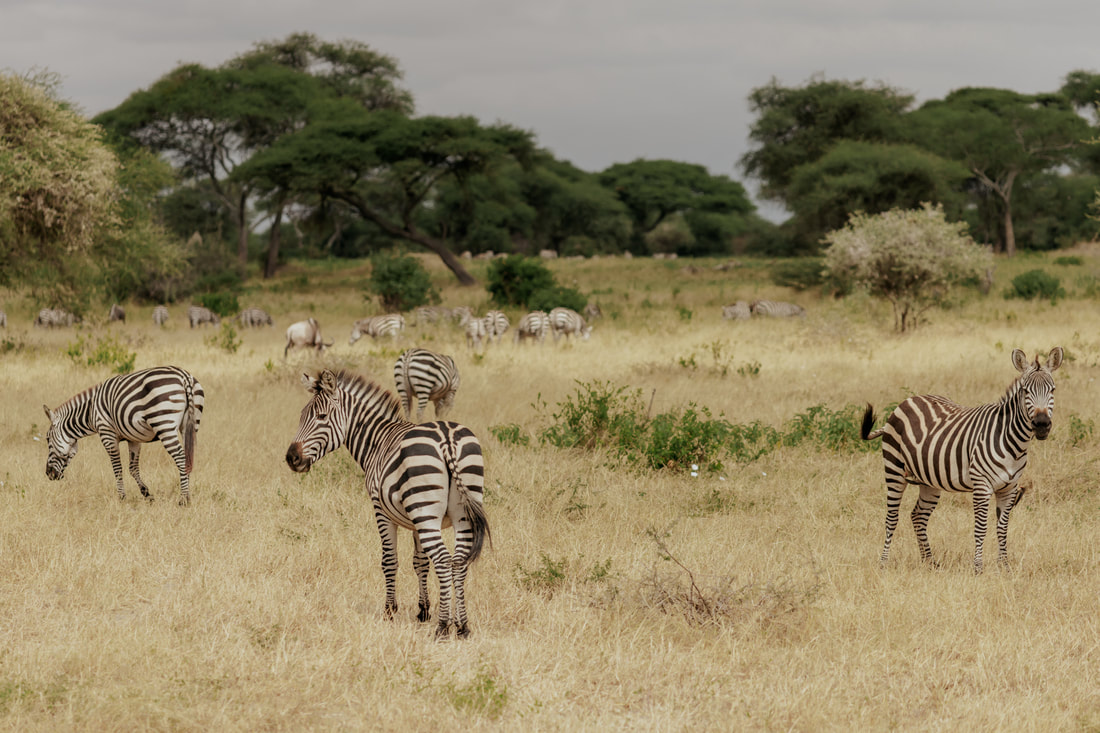
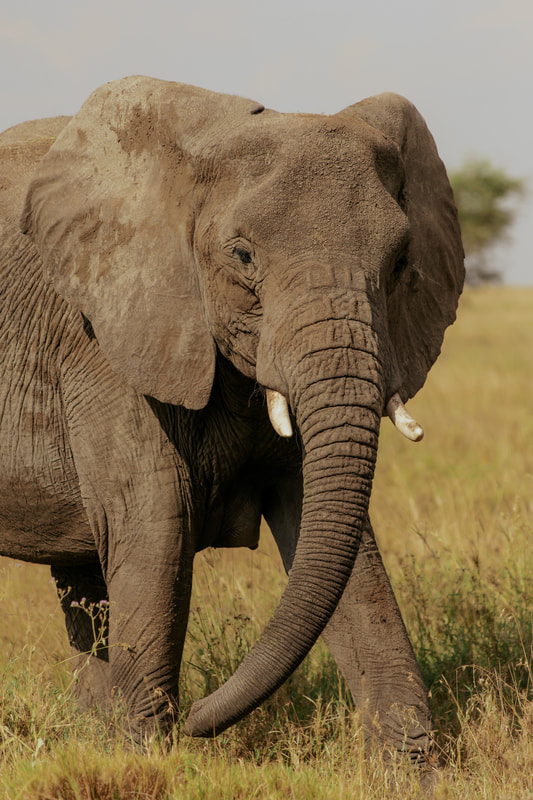
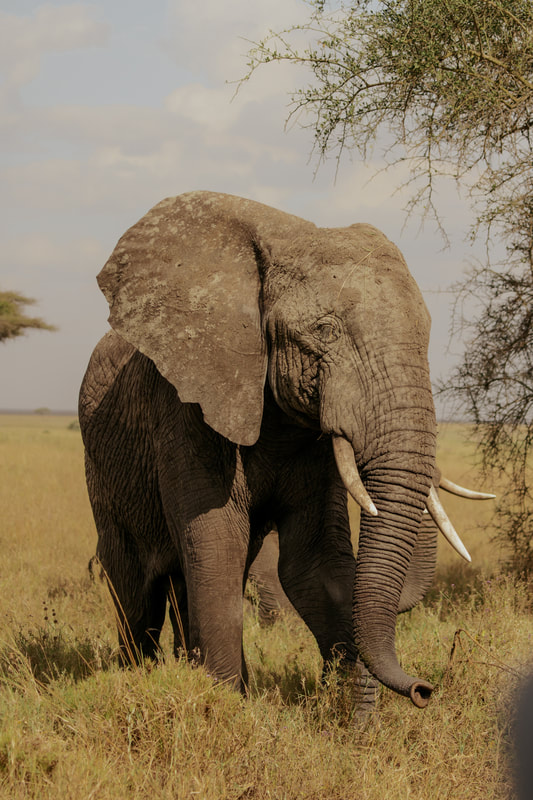
Day 7: Tarangire National Park, Tanzania
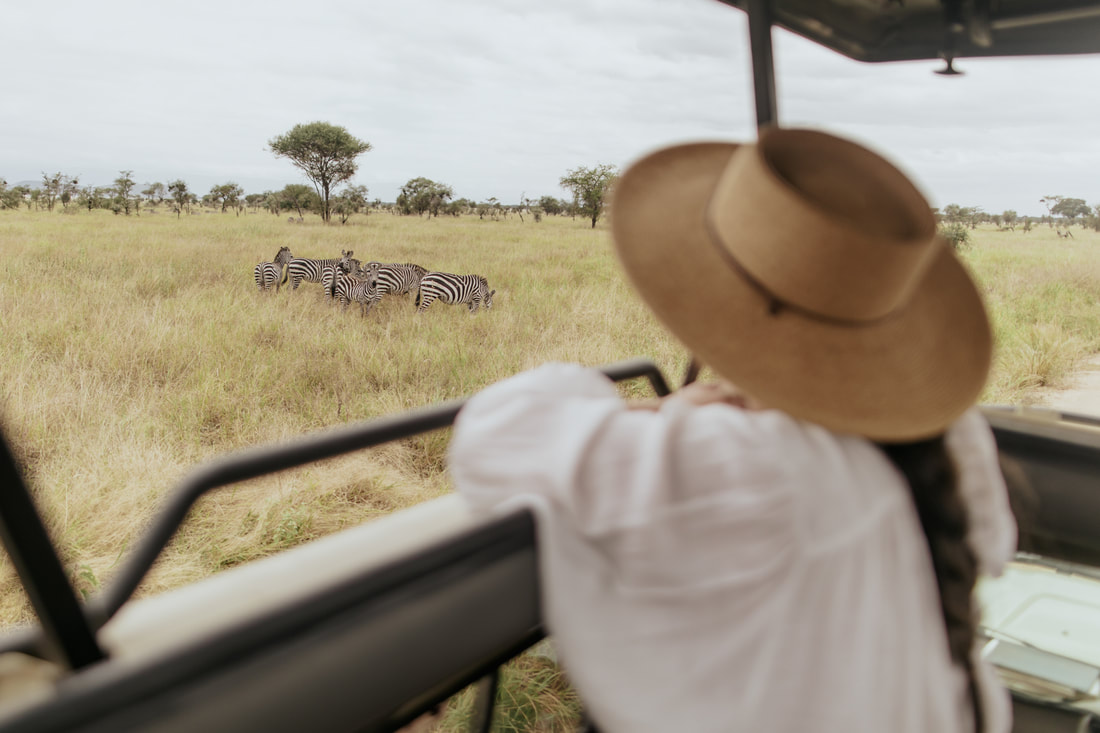
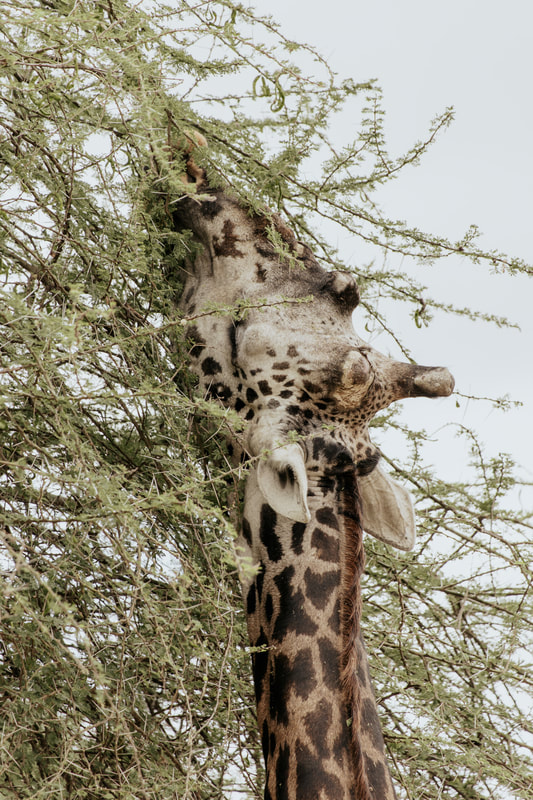
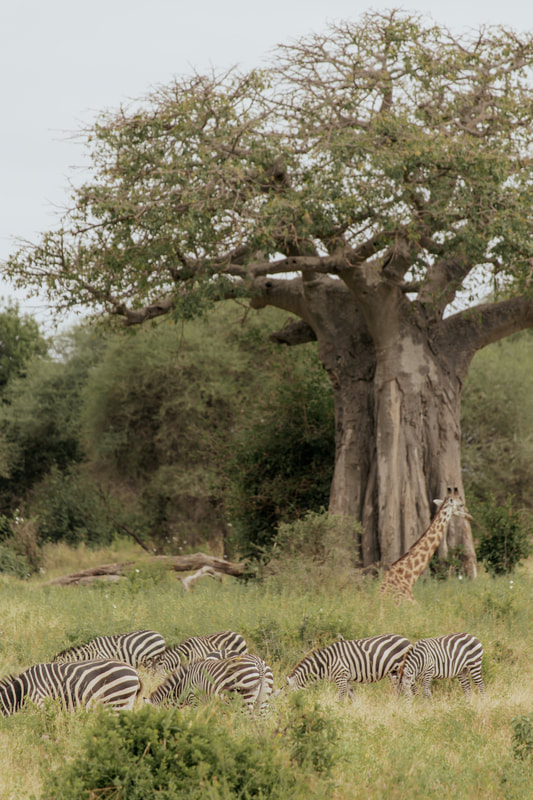
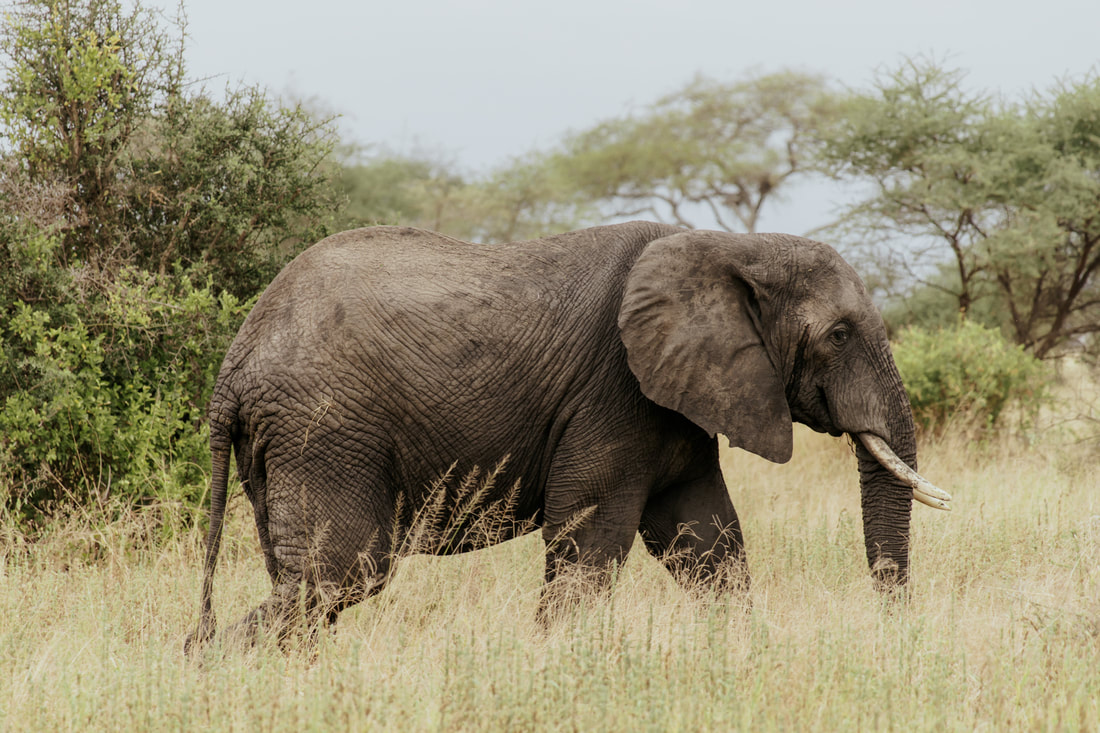
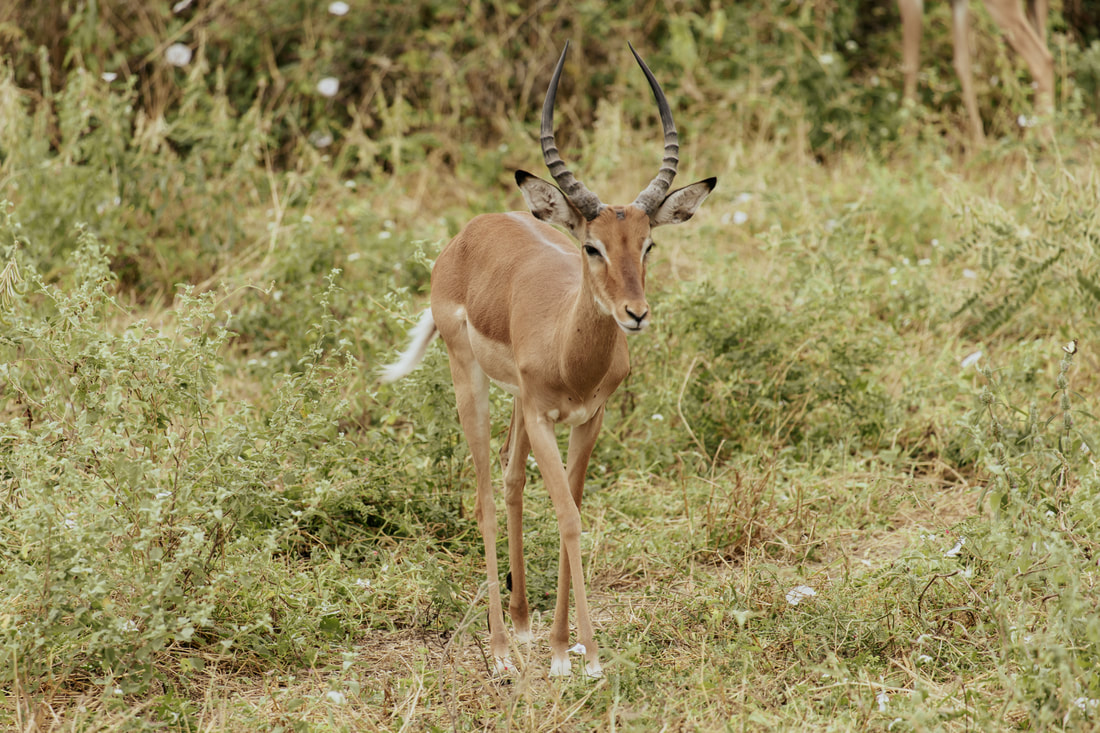
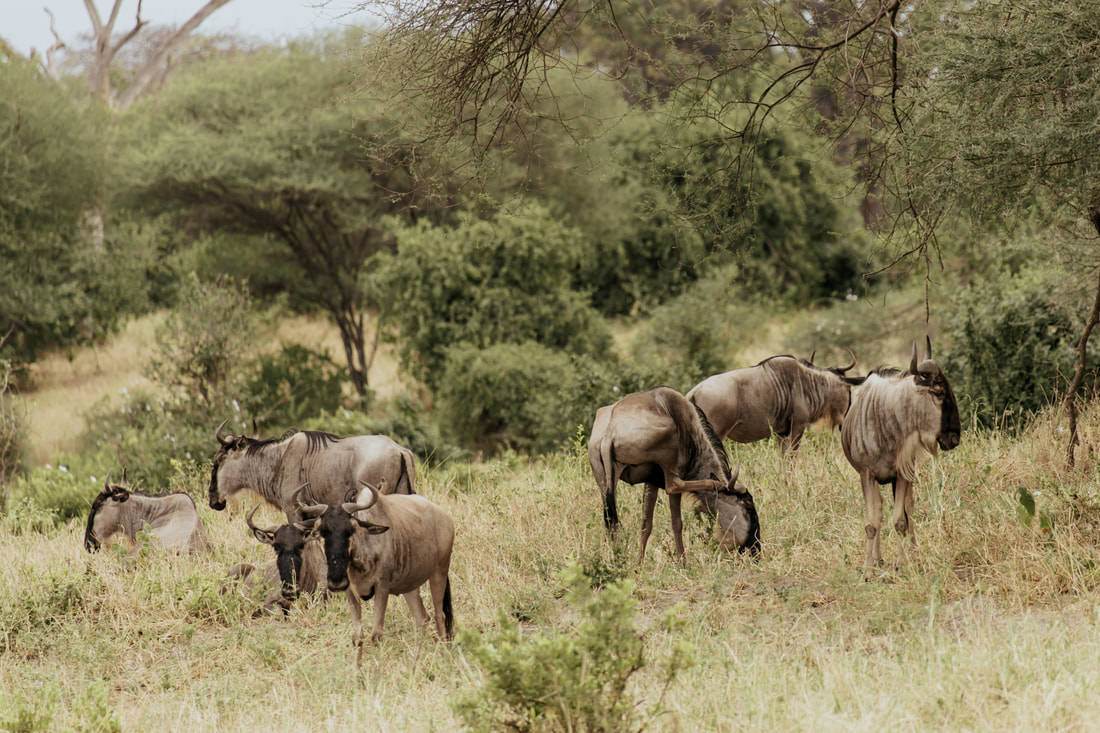
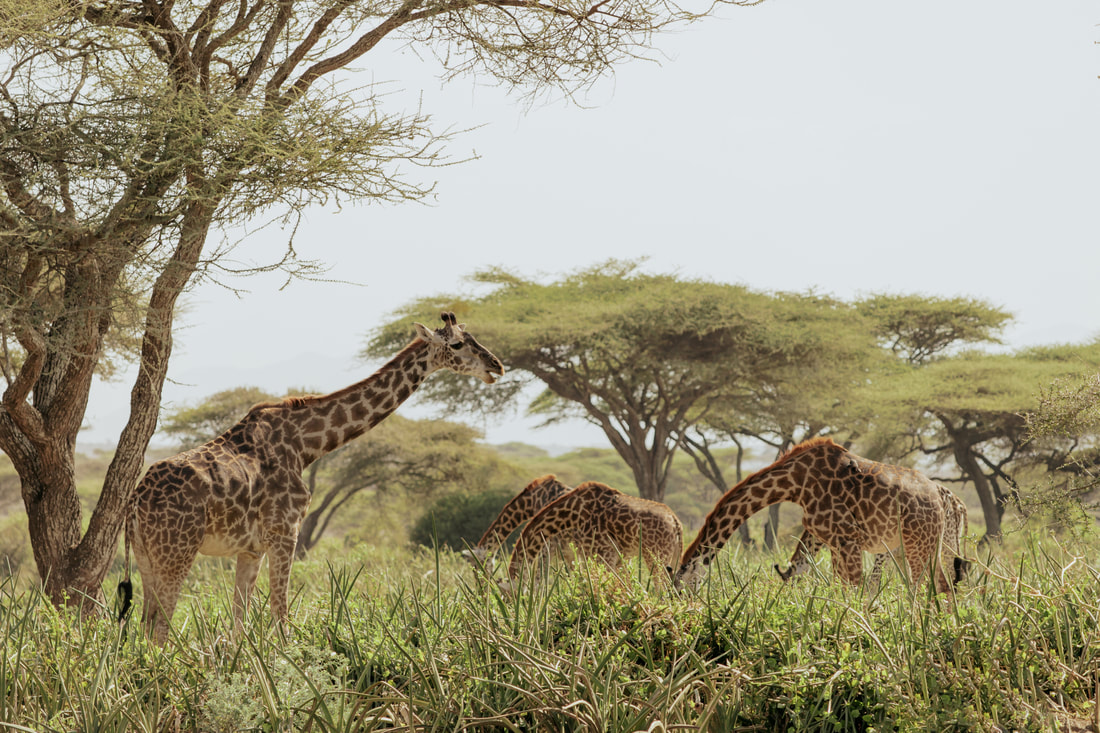
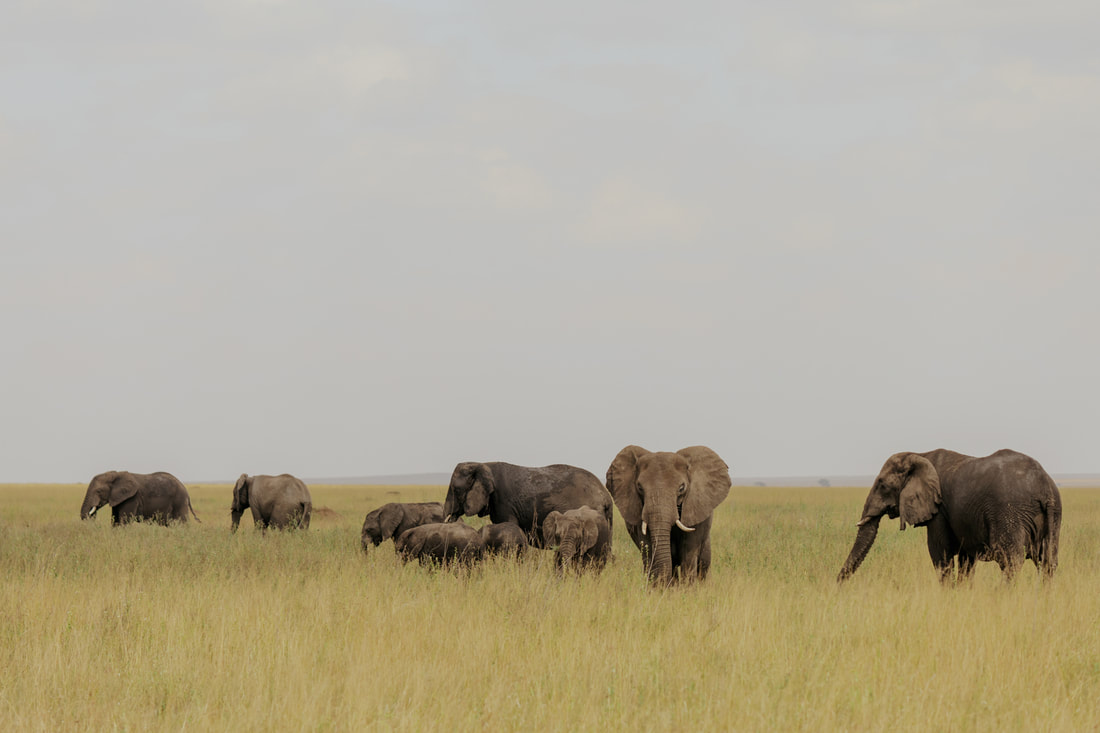
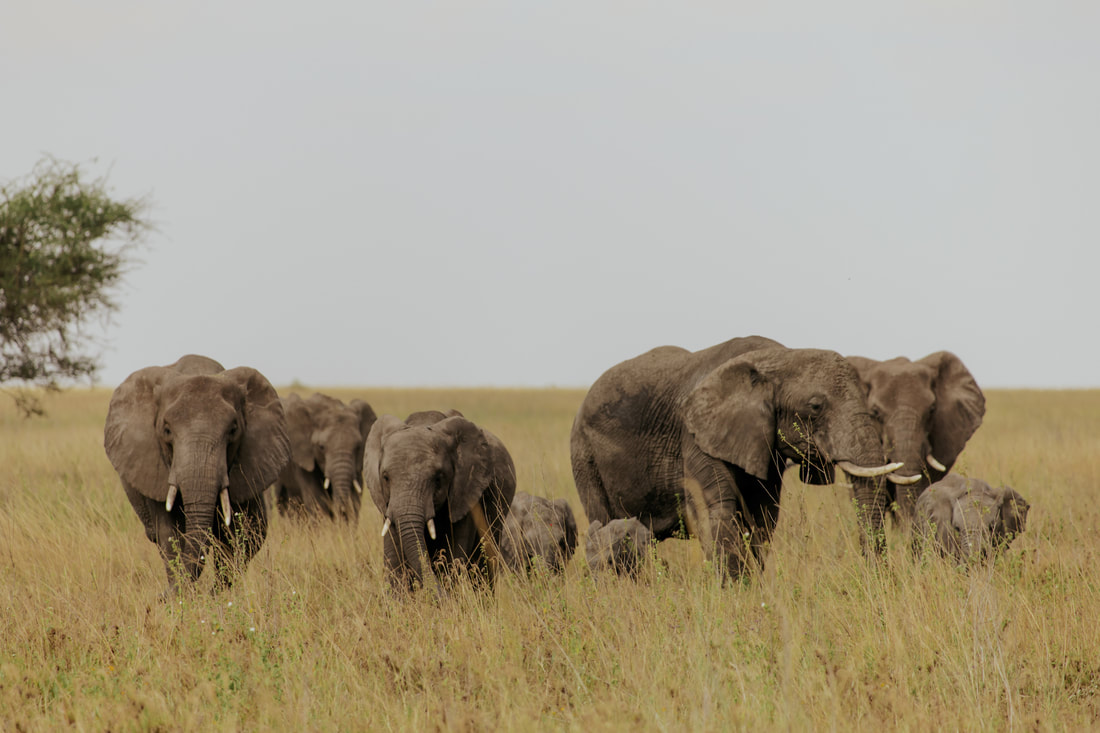
- Start your safari off by seeing zebras, giraffes, elephants, and wildebeests at Tarangire National Park
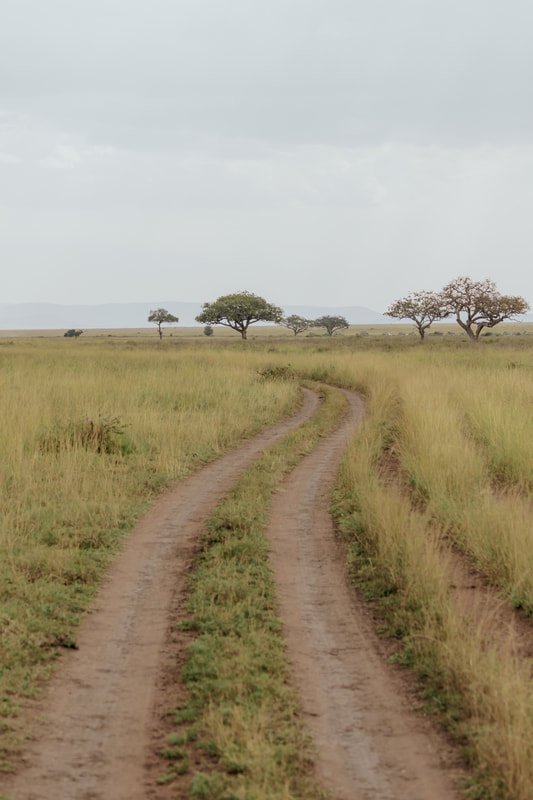
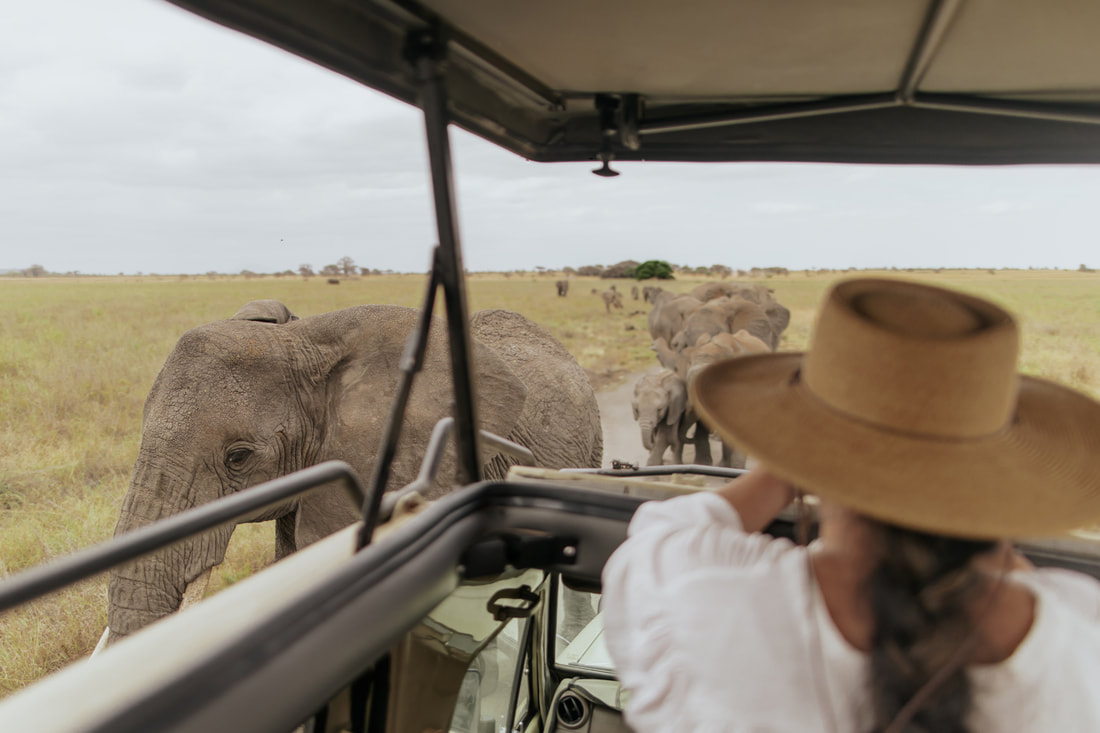
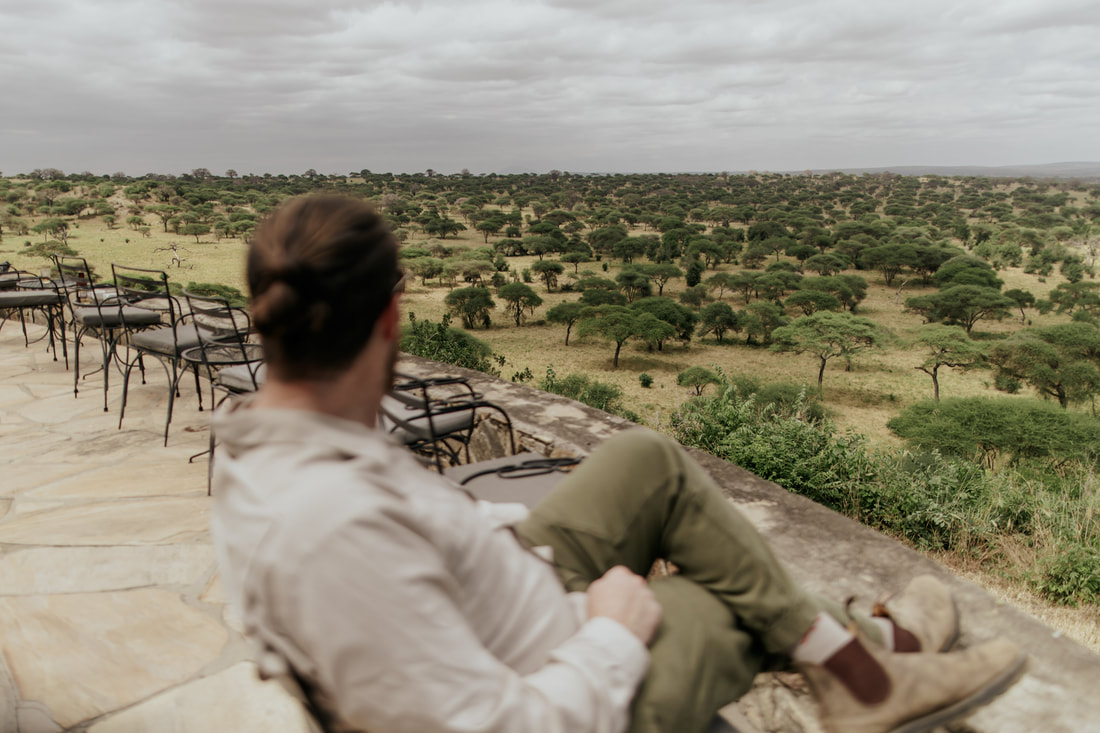
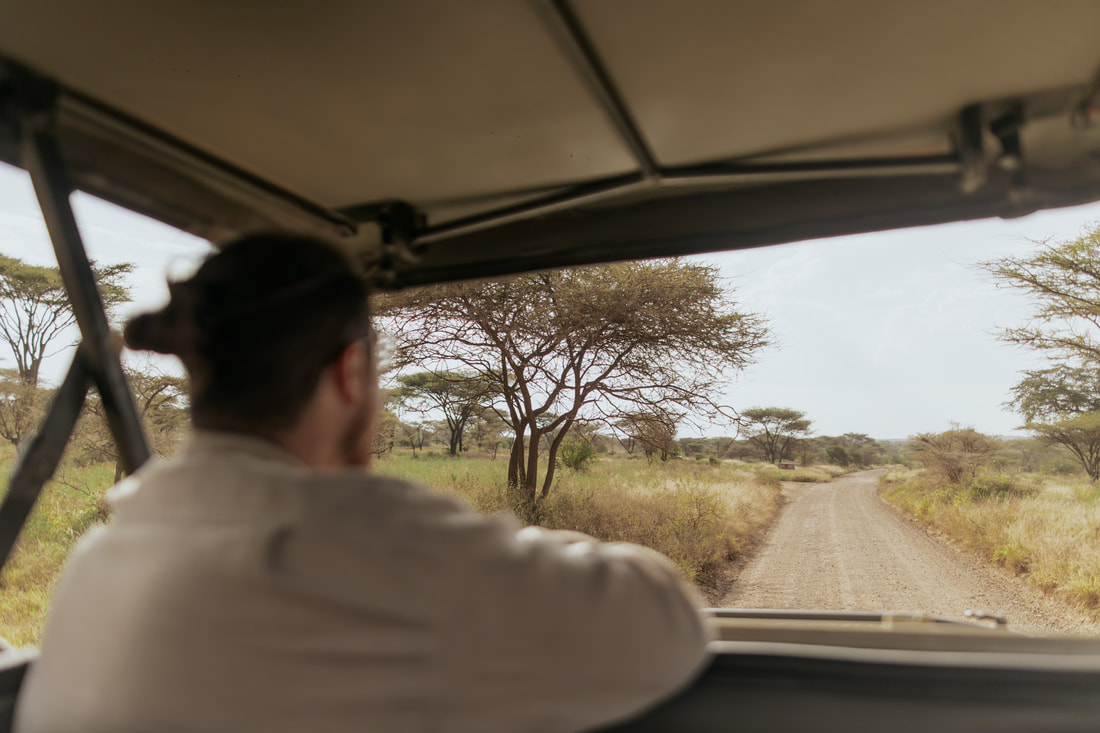
Alright, time for the main attraction, the reason most people come to Africa - going on safari! There are quite a few options as far as how and where to begin your journey but we will go over what we decided worked best for our schedule. The most famous and common place to go is to the Serengeti National Park. Located over 5 hours away from a large city, it is a multi-day endeavor to get there, but that doesn’t mean all that time is wasted! There are other awesome parks in Tanzania you can hit up along the way.
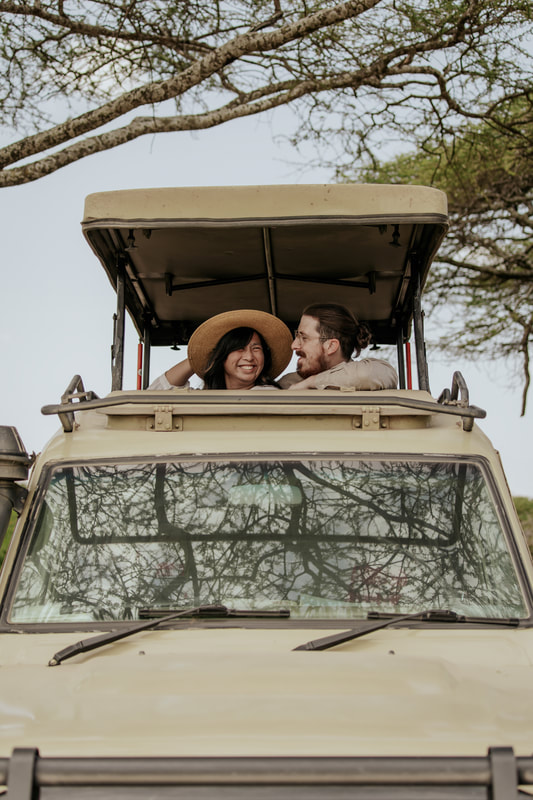
First things first, you will need to hire a guide or tour company. You could rent your own car and go out on your own but we don’t recommend it for a few reasons. Between all the regulations and rules for each park, sketchy at best maps and road signs, and the maze of side roads, it really is best to hire a company to take you. Our driver would constantly stop and chat with other drivers to see what animals they had seen. Plus, then you get to spend all your energy looking out for animals instead of driving! We opted for a private tour with just the two of us and it was definitely worth the extra money. With a private tour, you have more space in the car to stand and move around in - so no competing for views, and you can go wherever and whenever you like.
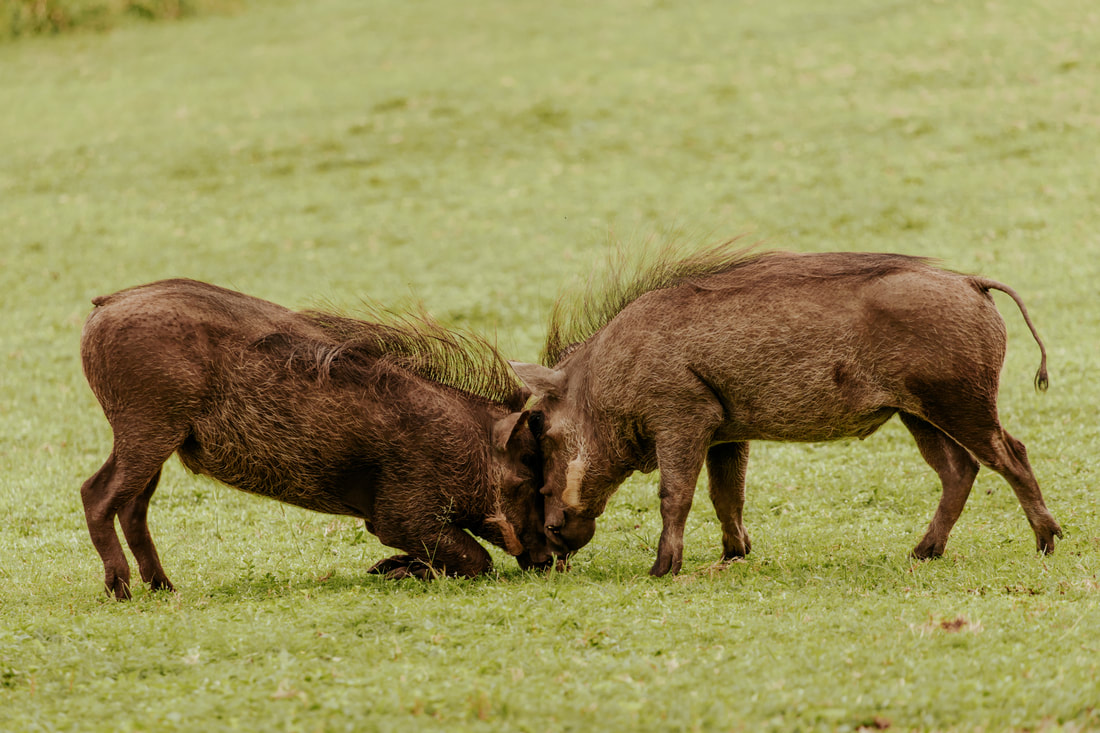
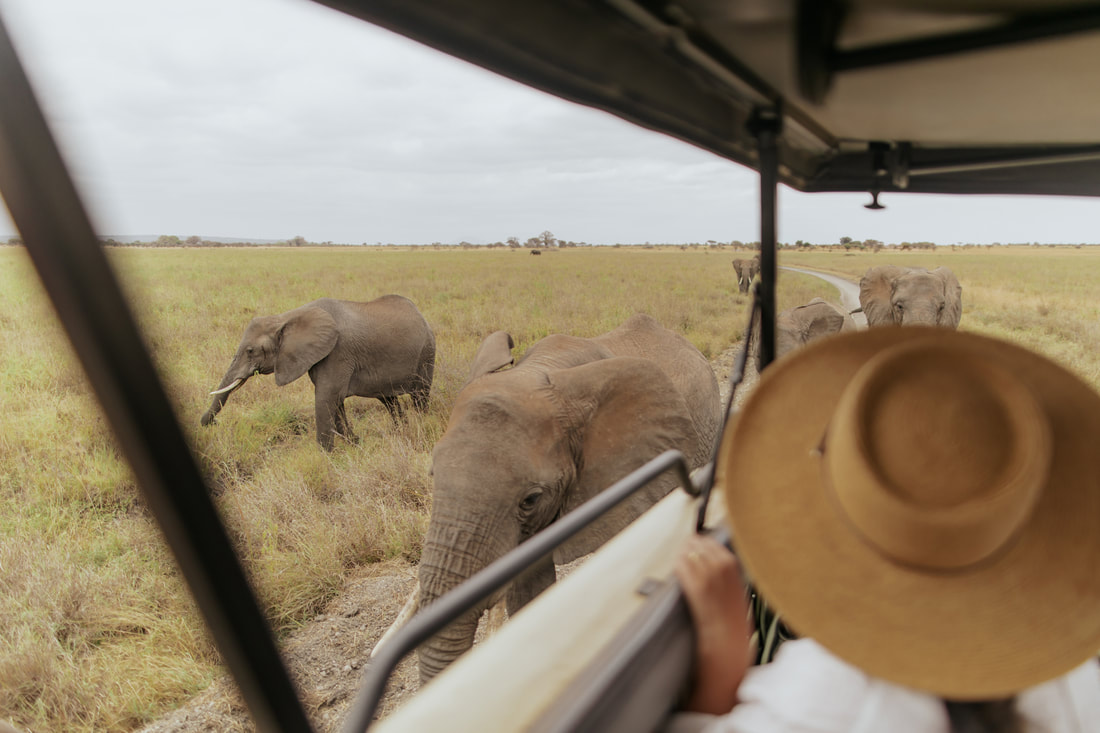
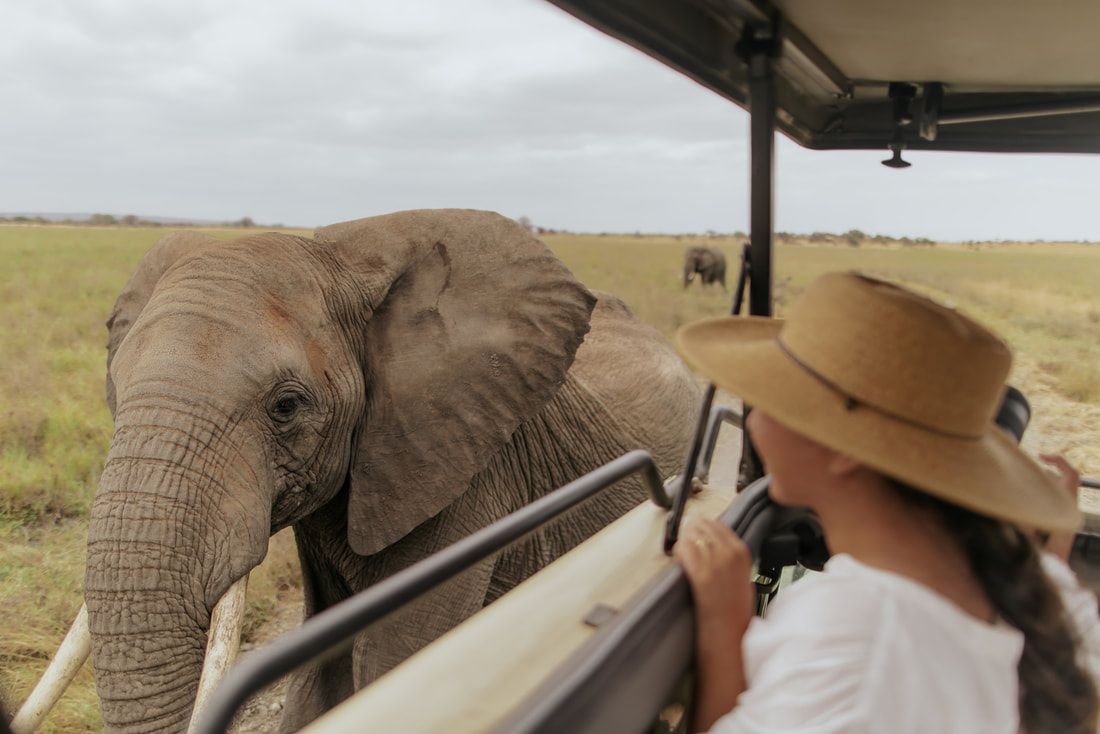
Our first day, we left from Arusha and drove through Tarangire National Park. This park is smaller, but that makes it the perfect half day game drive from Arusha. The great thing about Tarangire compared to Serengeti is that all the animals are very close! You don't have to drive far to find animals, and you will encounter tons of animals relatively close to the car.

|
|
|
|

Day 8: Serengeti National Park, Tanzania
- Drive to Serengeti National Park
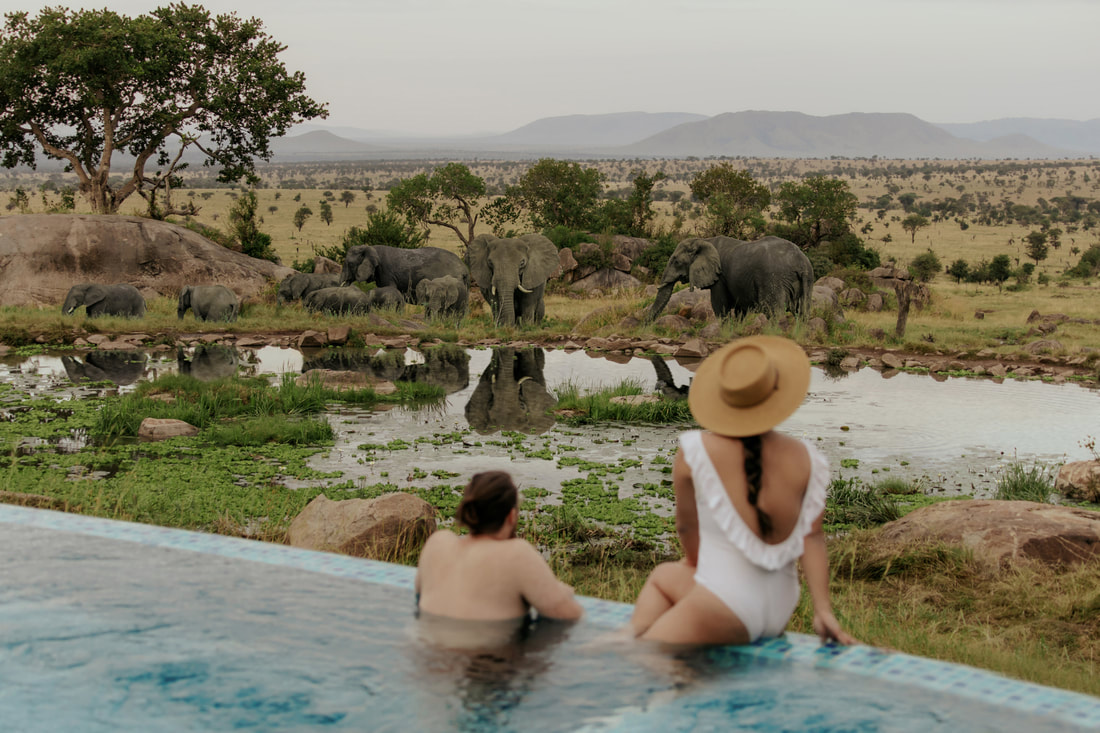
- Stay the night at the Four Seasons Serengeti ($$$) where you can lounge at the infinity pool watching animals come to the watering pool or even spot a lion or two
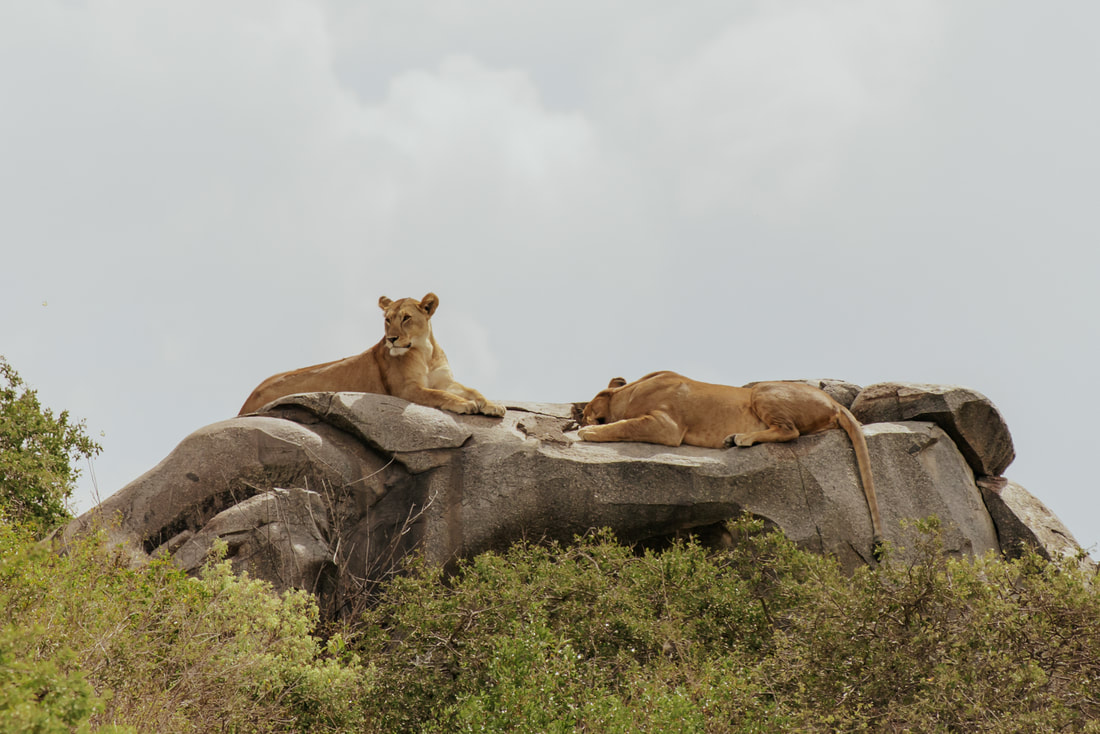
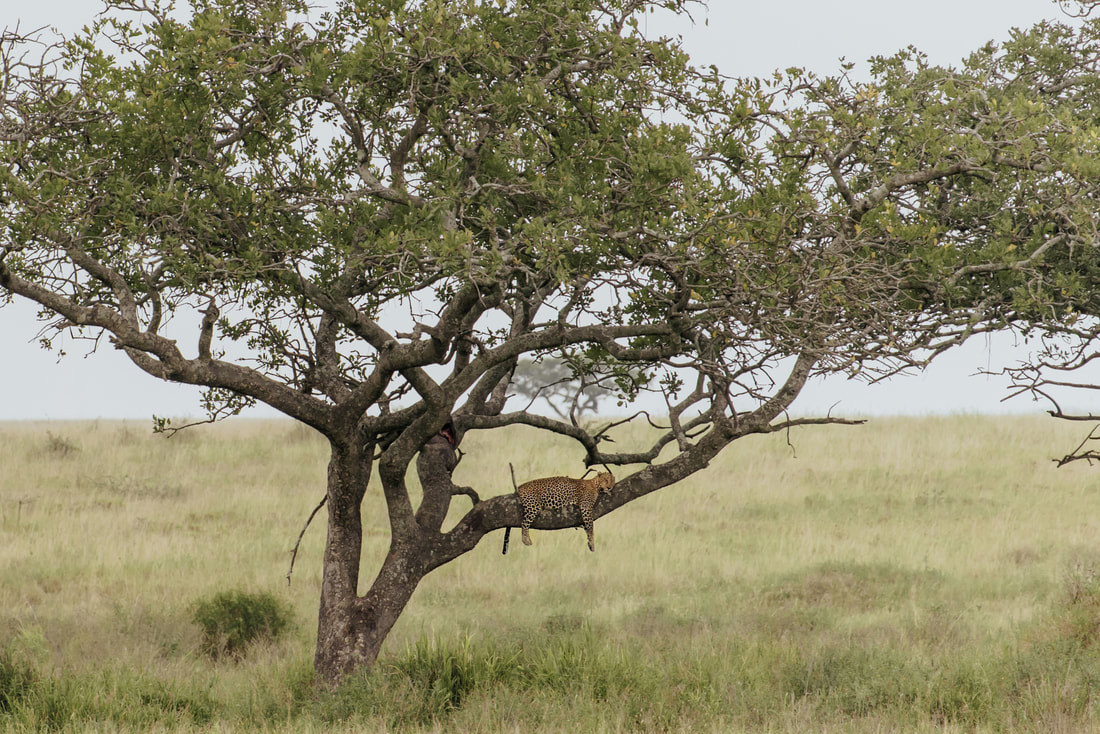
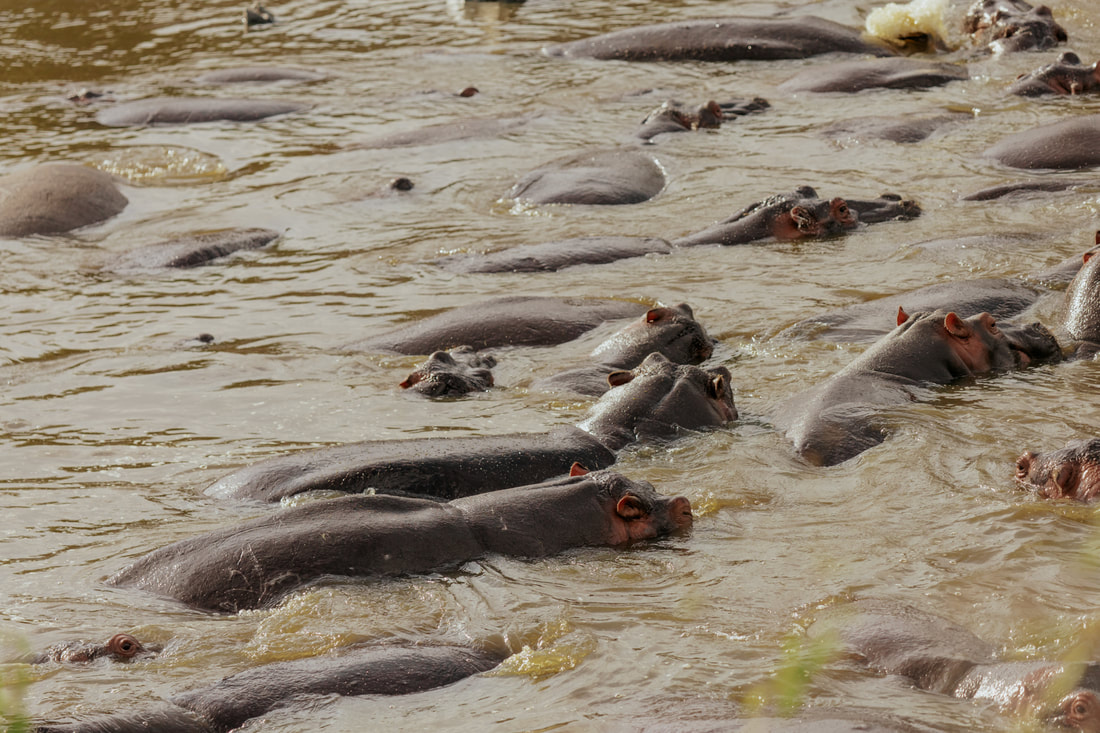
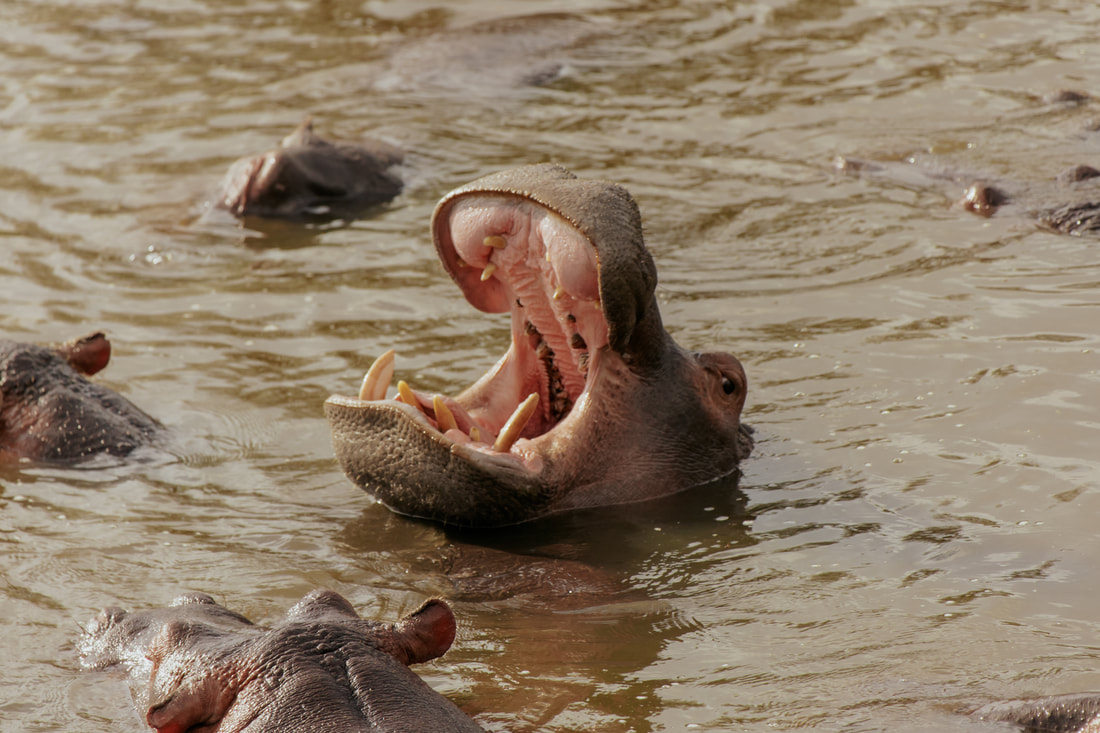
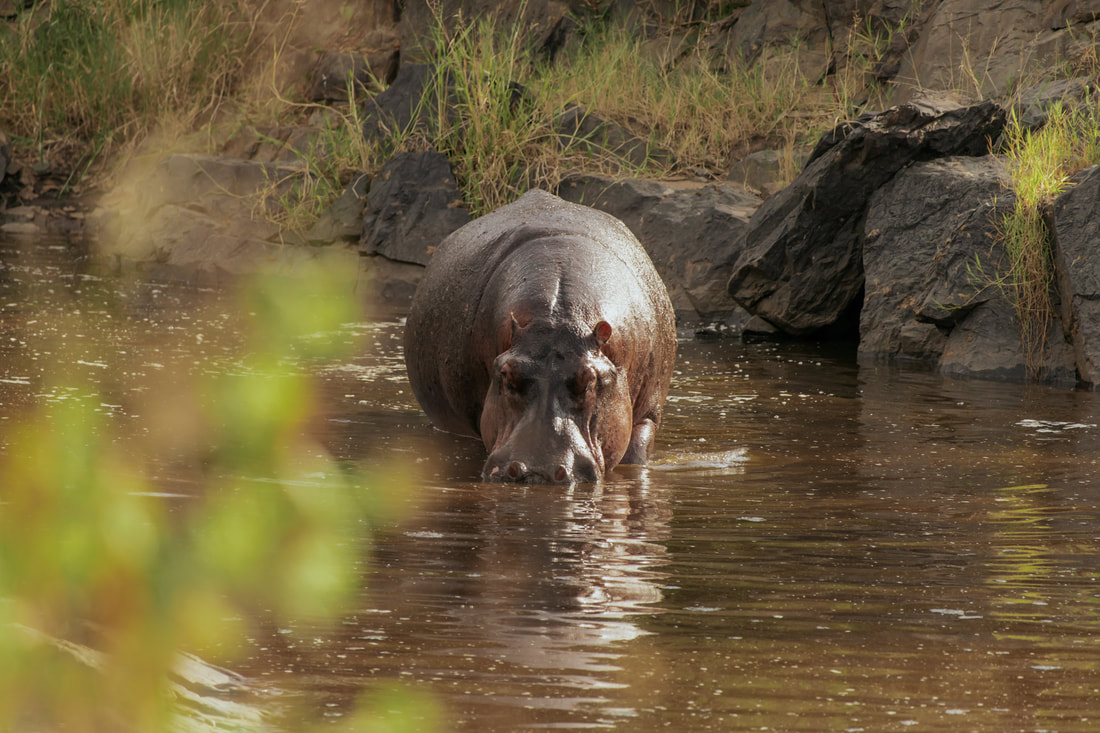
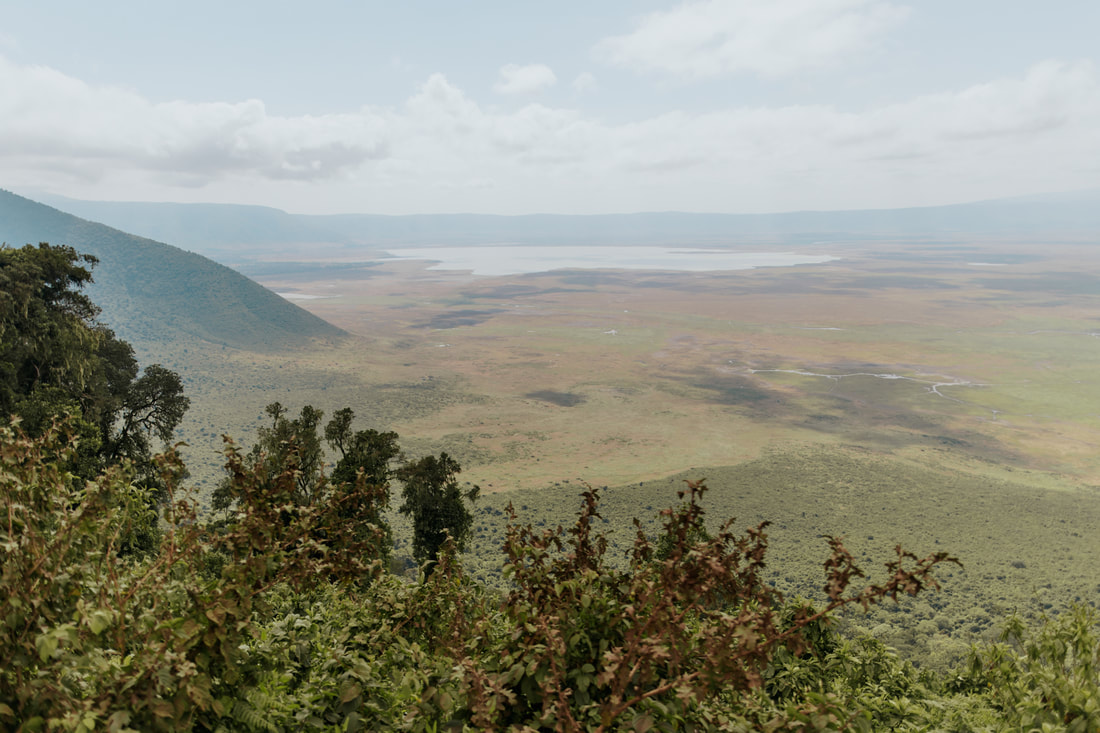
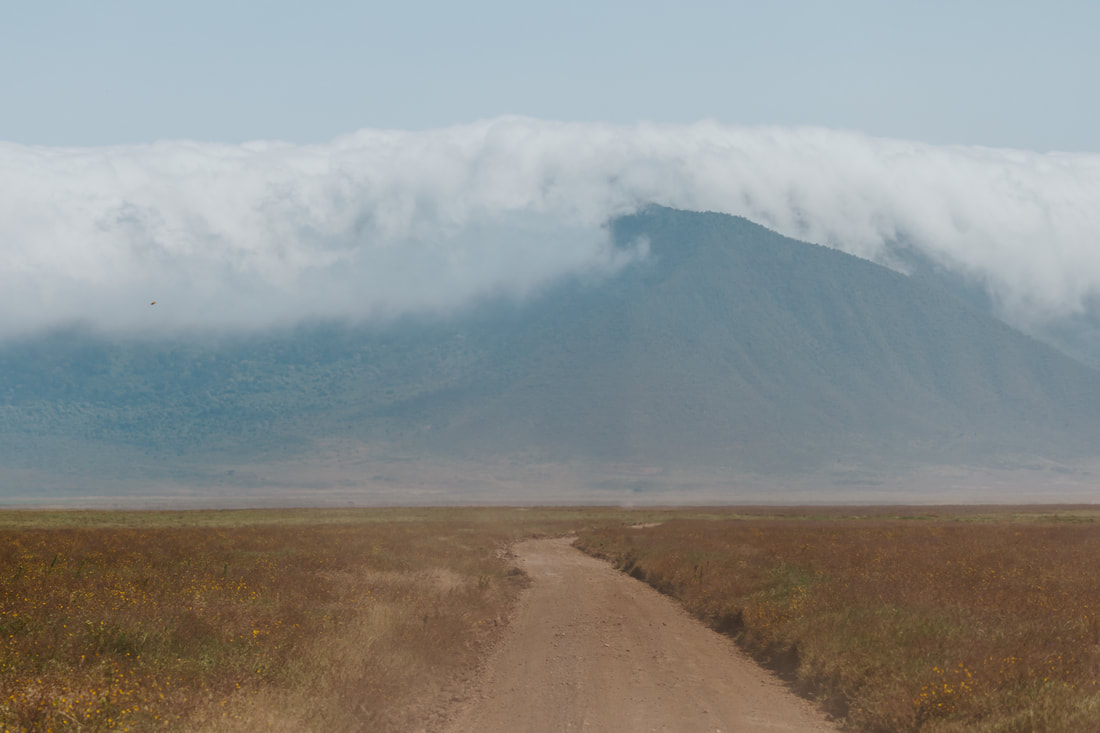
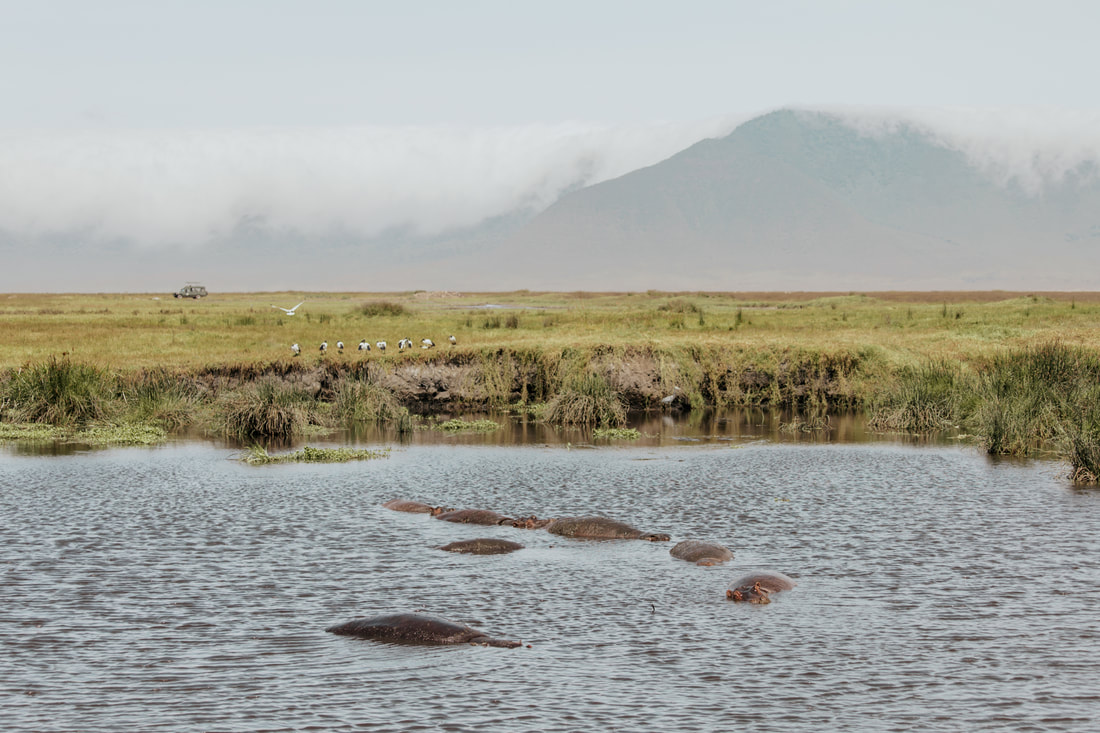
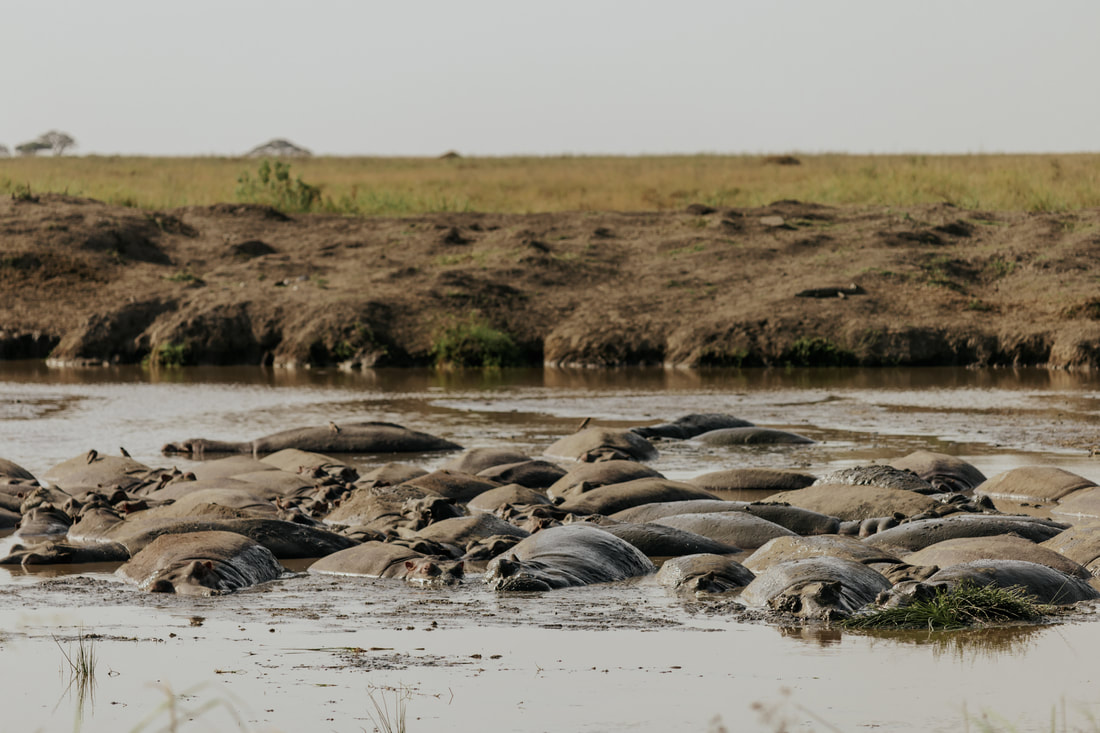
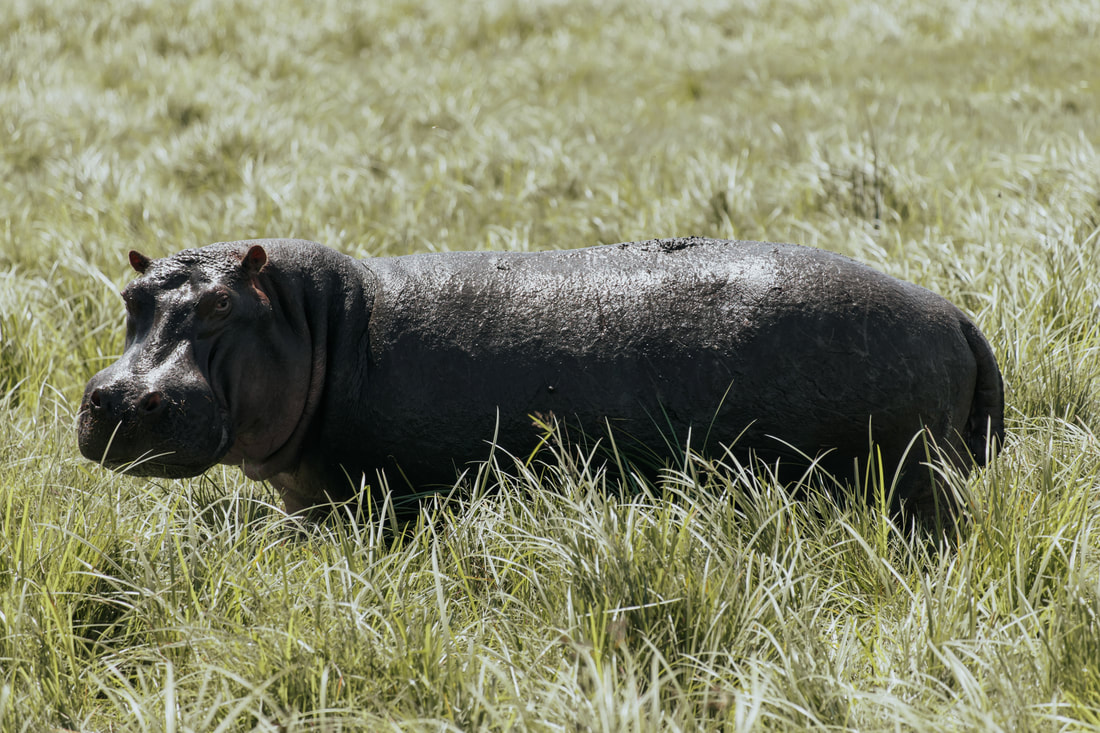
The next day, we drove through Ngorongoro Crater to get to Serengeti National Park. The road into the park is long and bumpy so be prepared! We spent a half day and one full day exploring the Serengeti, which we felt was perfect. The thing about game drives, is that a lot of it is based on luck. Sometimes, we’d see tons of different animals with only short breaks in between sights, and other times we would go over 30 minutes of driving without seeing anything! If you ever see a bunch of safari vehicles crowded around one spot, it's likely that they've seen something. On our last drive out of the park, we saw three different groups of lions in less than an hour. What you see can be completely up to chance, except the hippos - the hippos can be found at the hippo pool, the only animal location that is labelled in the park.
|
|
DAY 9: SERENGETI NATIONAL PARK, TANZANIA
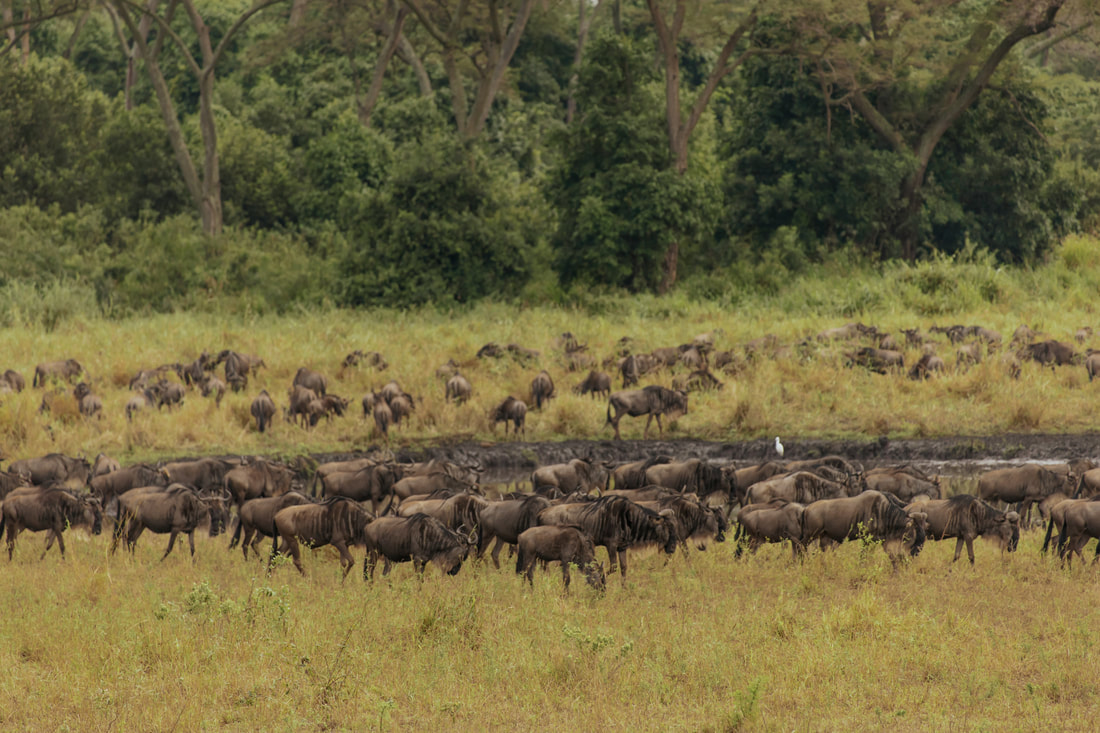
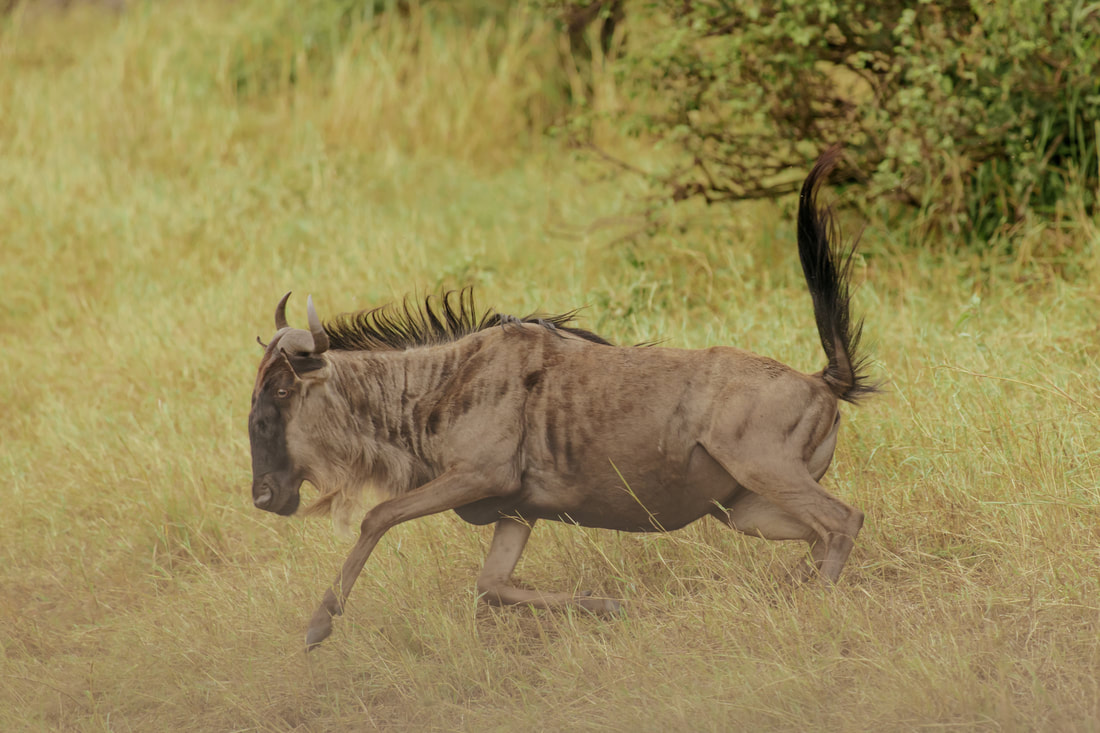
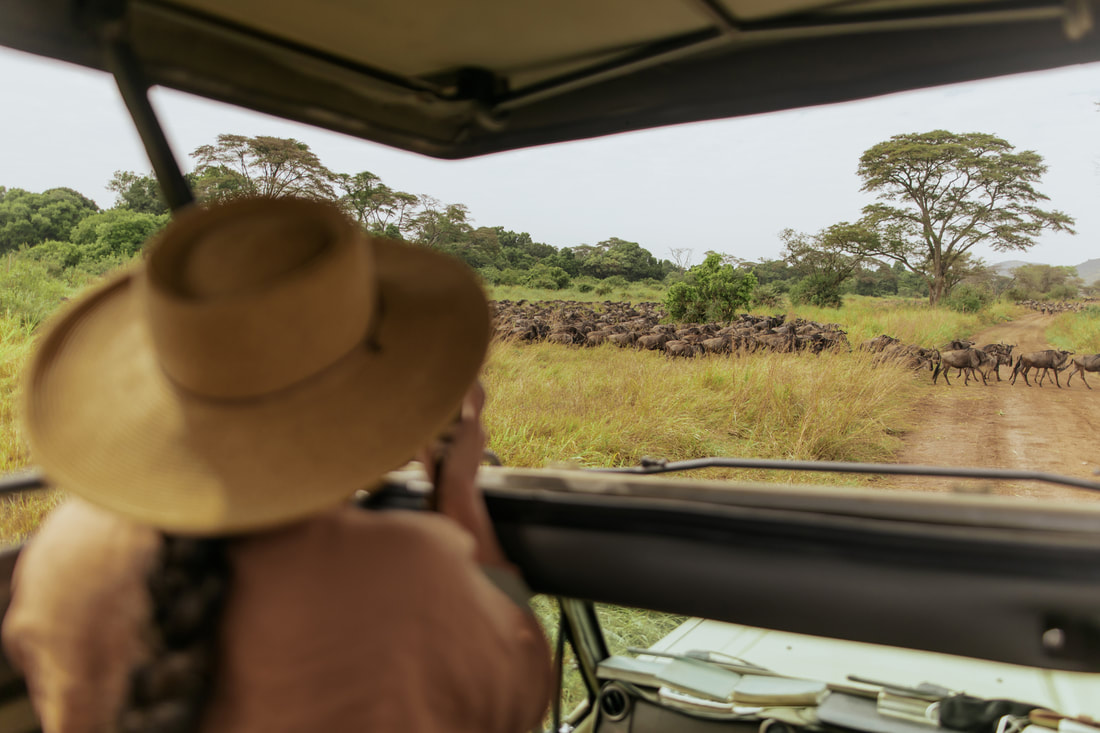
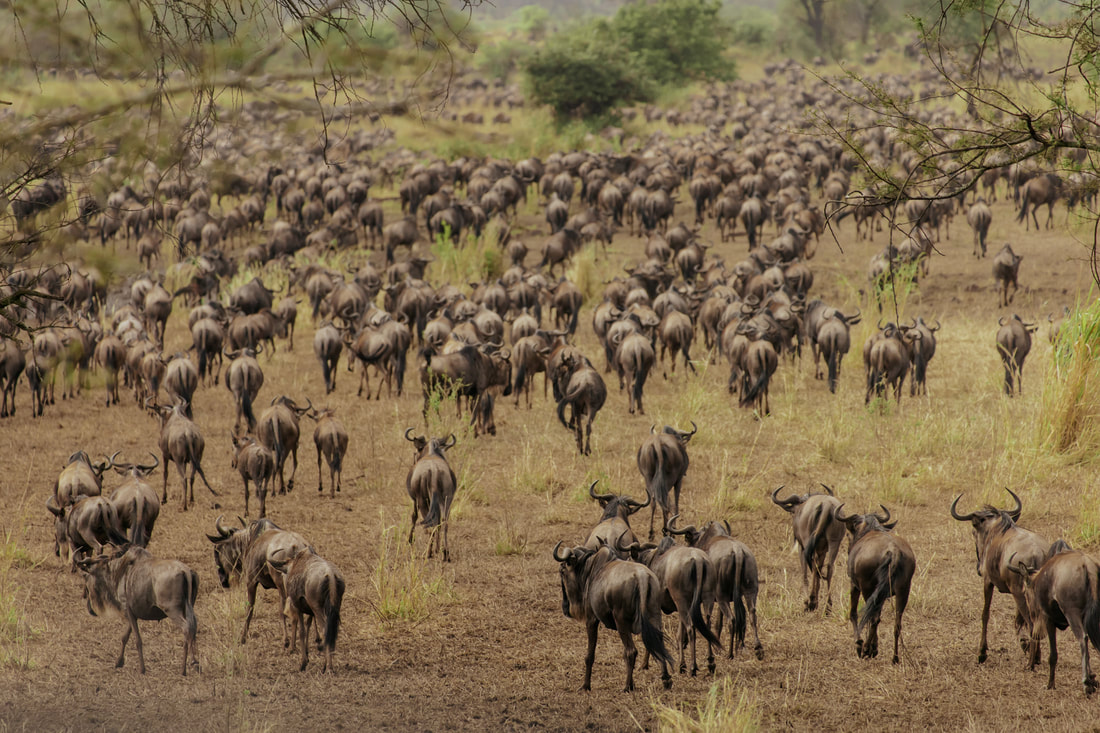
- Do a full day game drive looking for the wildebeests migration (if you time your trip right!) at Serengeti National Park
If you're lucky, you might just catch the annual wildebeest migration! This migration happens every year, with over 1.5 million wildebeests migrating across the Serengeti. It is an incredible sight to see so many animals all moving together. As you drive through, you'll see wildebeests surrounding you on all sides. They'll find openings in the road to cross, which makes a great photo as they run from one side of the road to the other.
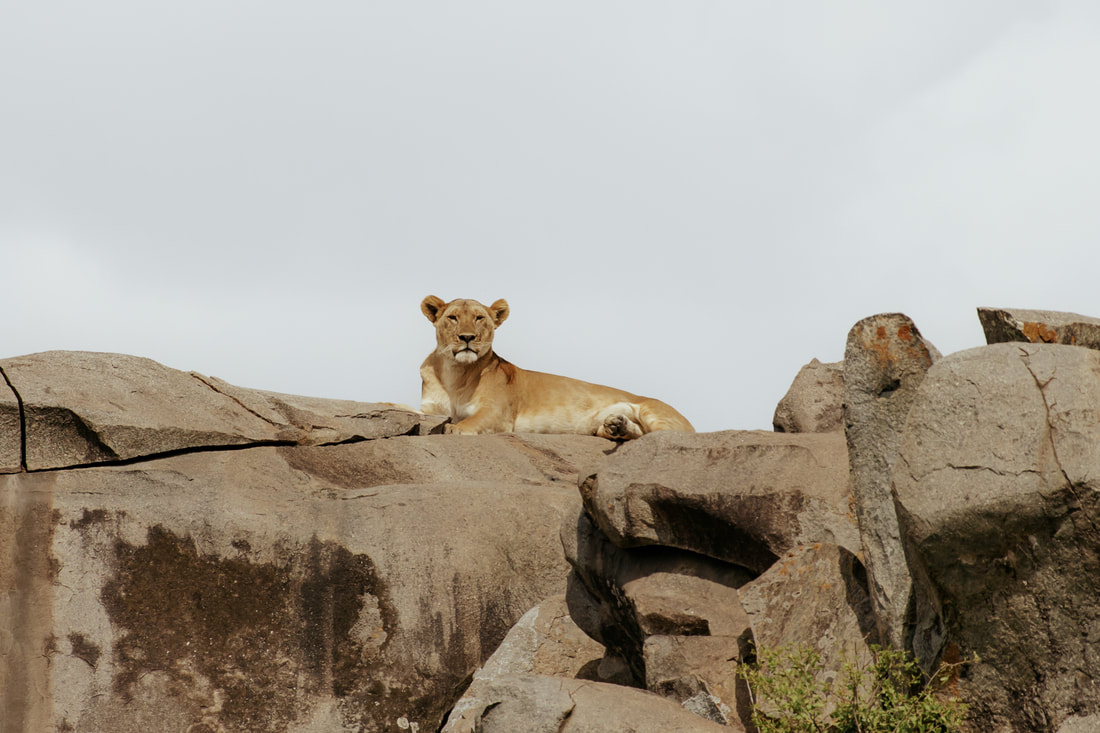
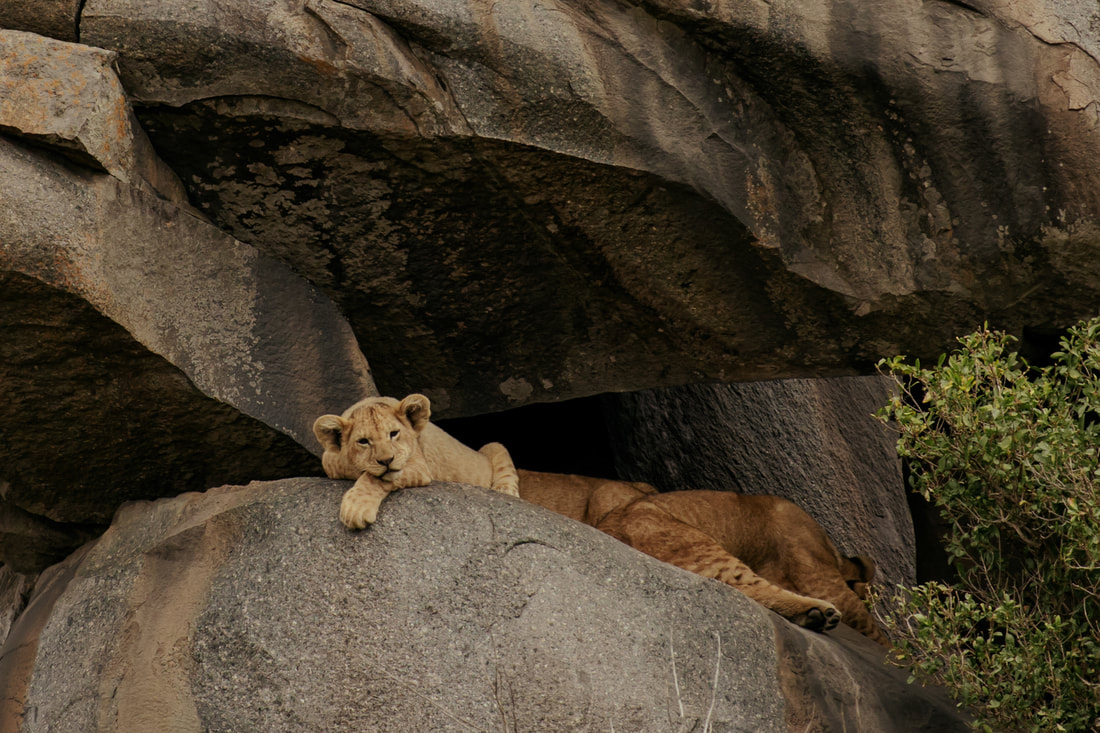
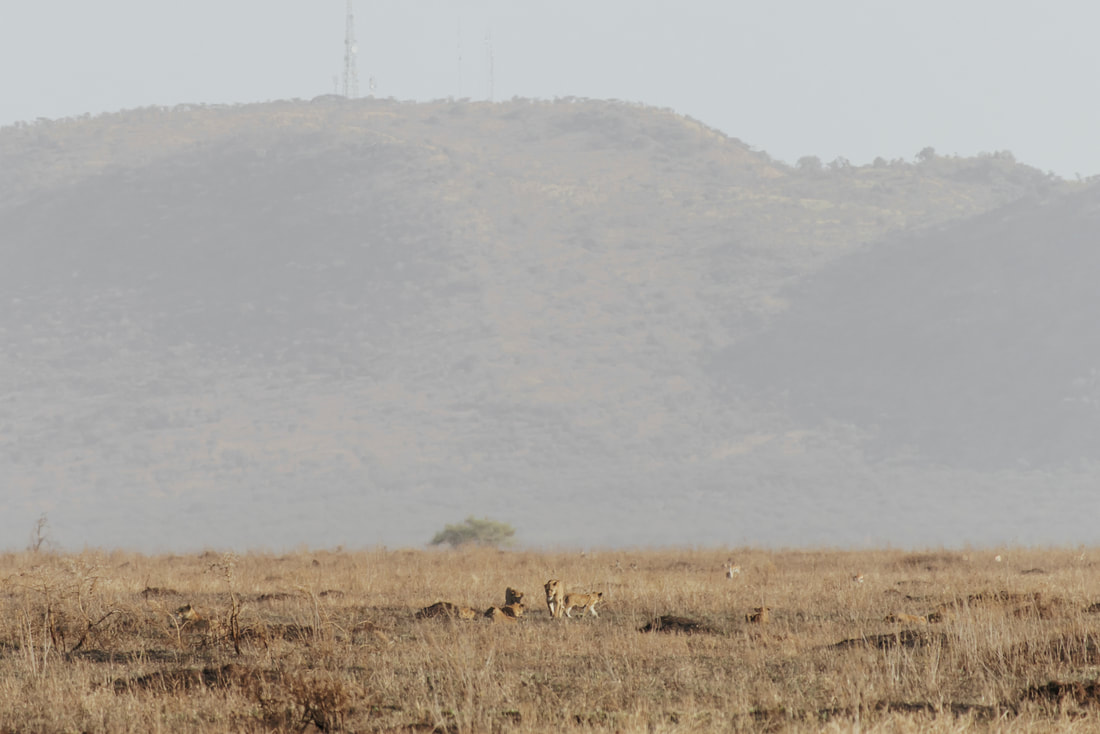
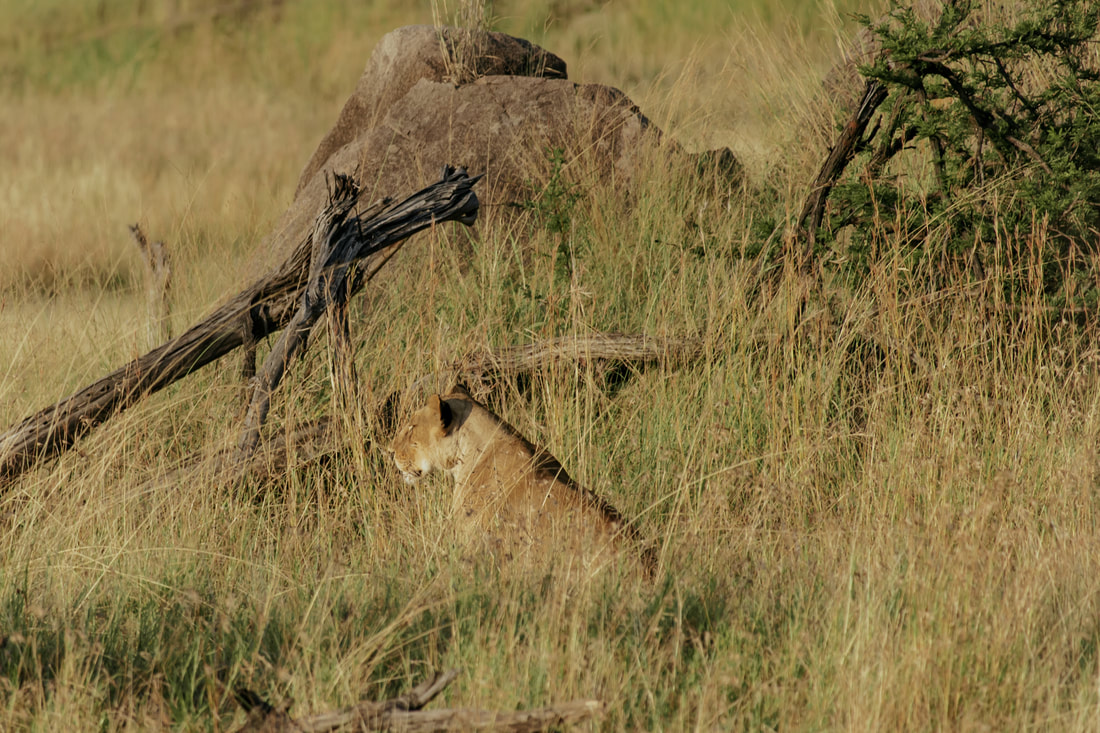
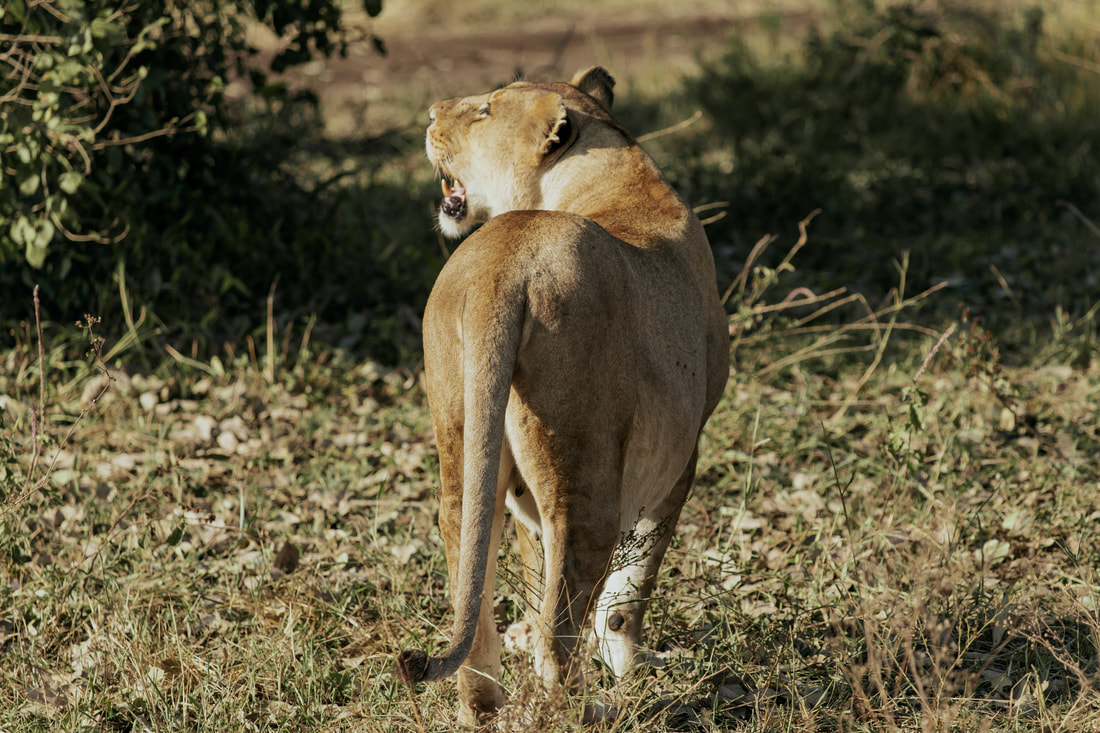
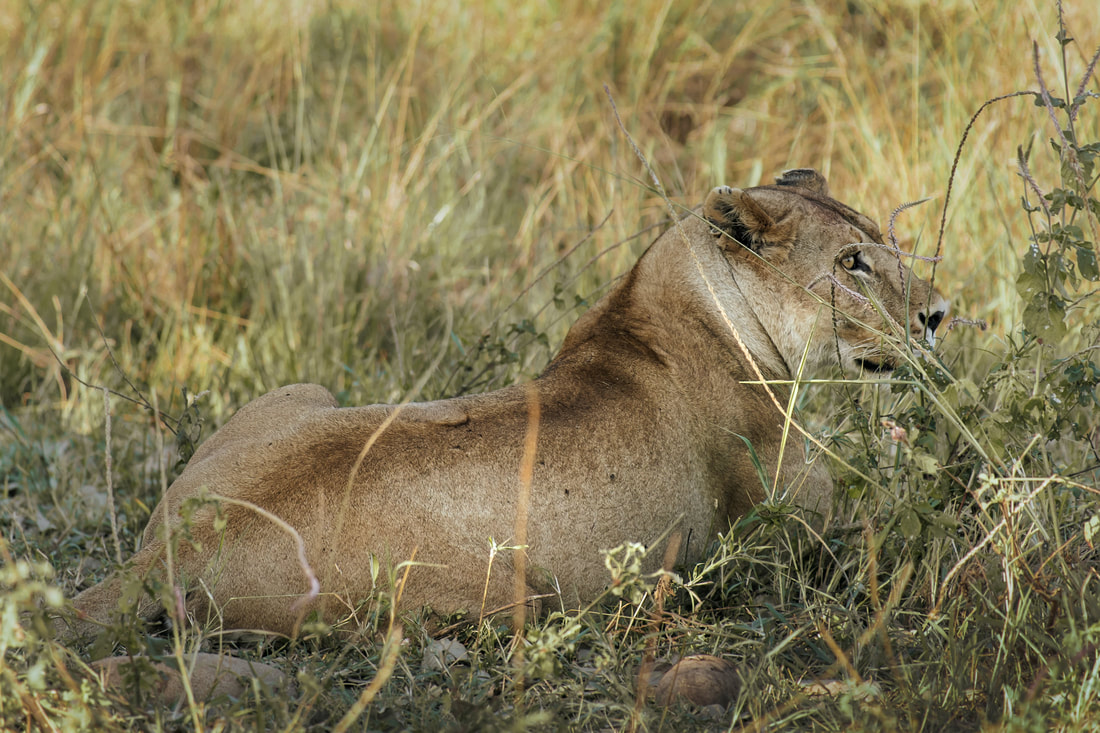
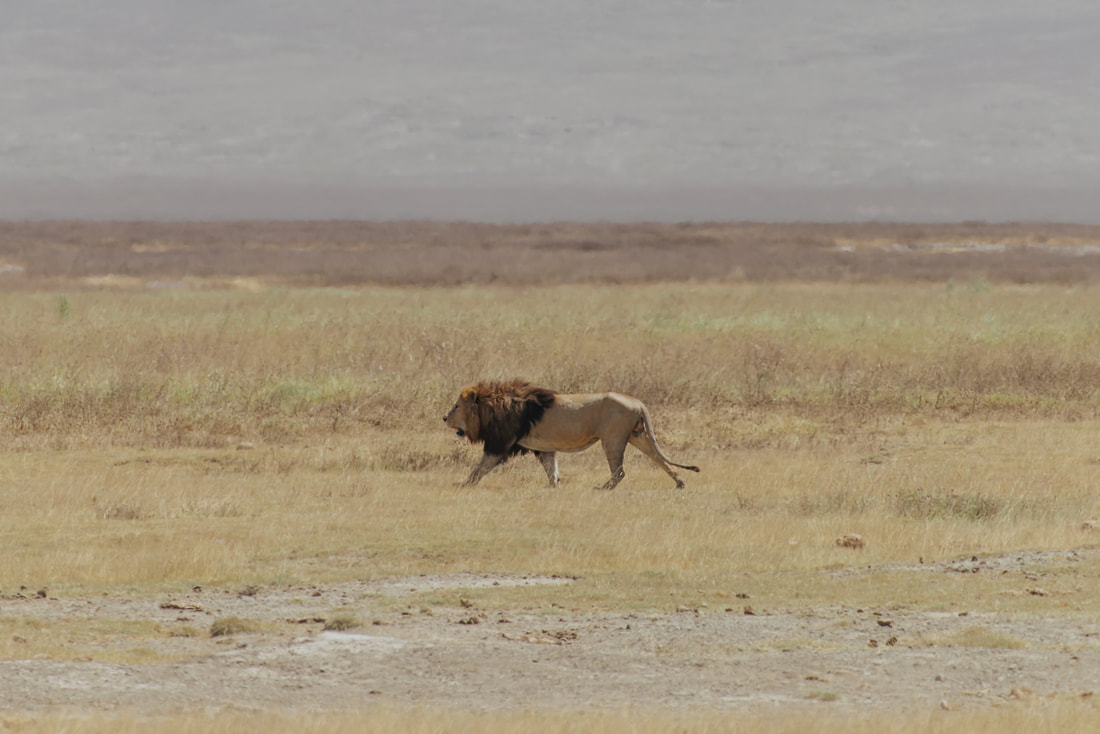
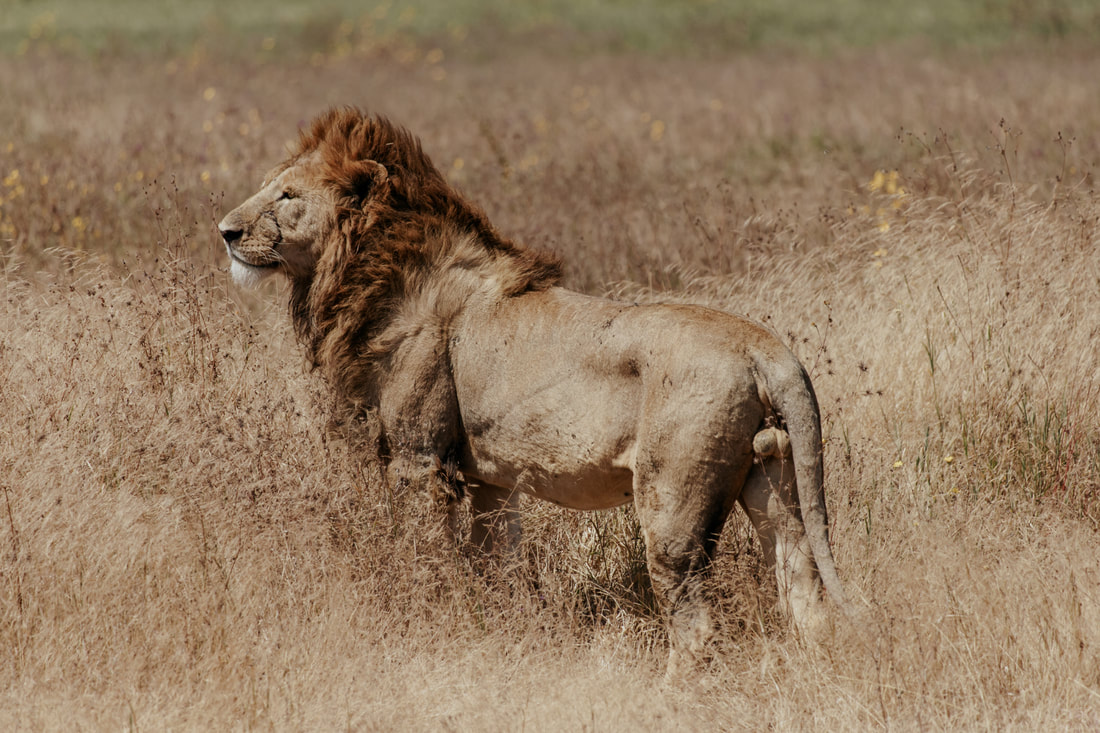
Lions are one of the most looked animals on a safari, and for good reason! The great thing is that they are often found in groups, or prides. Some were quite far away, and others came as close as the cars around us! Look for them hidden among the grasses - it's quite incredible how invisible they can be when they lay down.
|
|

|
|

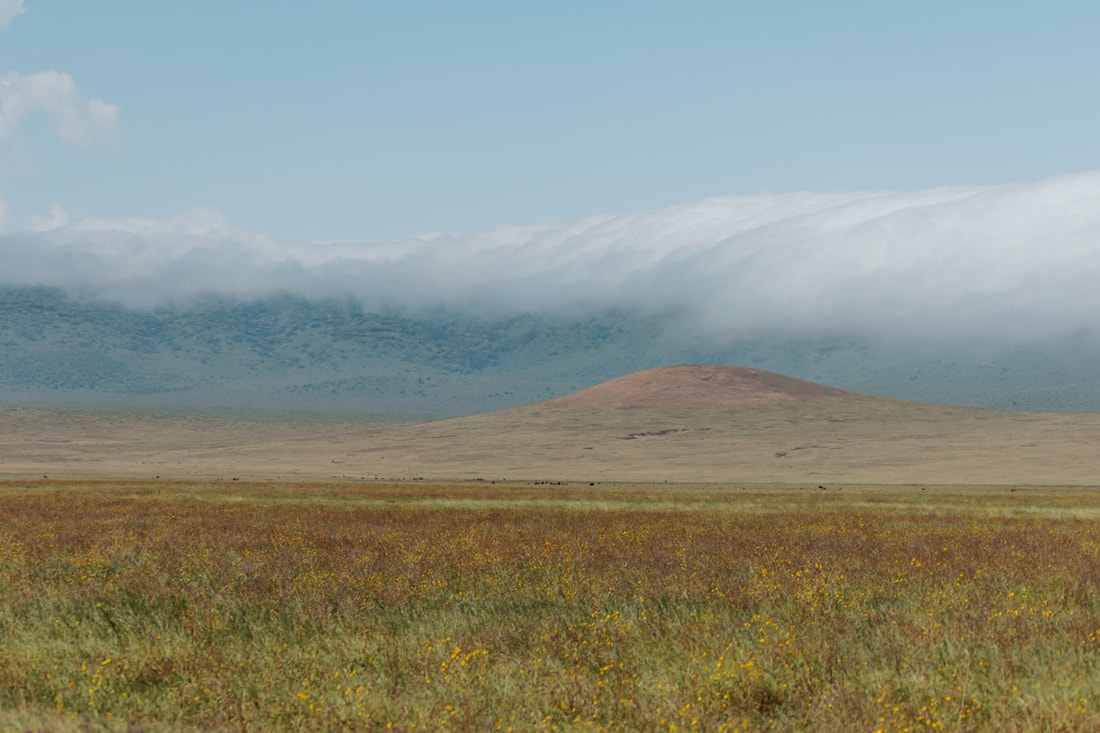
Day 10-11: Ngorogoro Crater
- Keep an eye out for lions hidden in the grass on your way out of Serengeti National Park
- Make your way to Ngorogoro Crater, a densely populated caldera with one of the highest density of lions in Africa (a lion for every 3.7 square kilometers), and known for seeing the black rhino if you're lucky
- Drive back to Kilimanjaro Airport and fly to Zanzibar
Our final animal count from our 5-day safari:
Rhino: 1 (Ngorogoro)
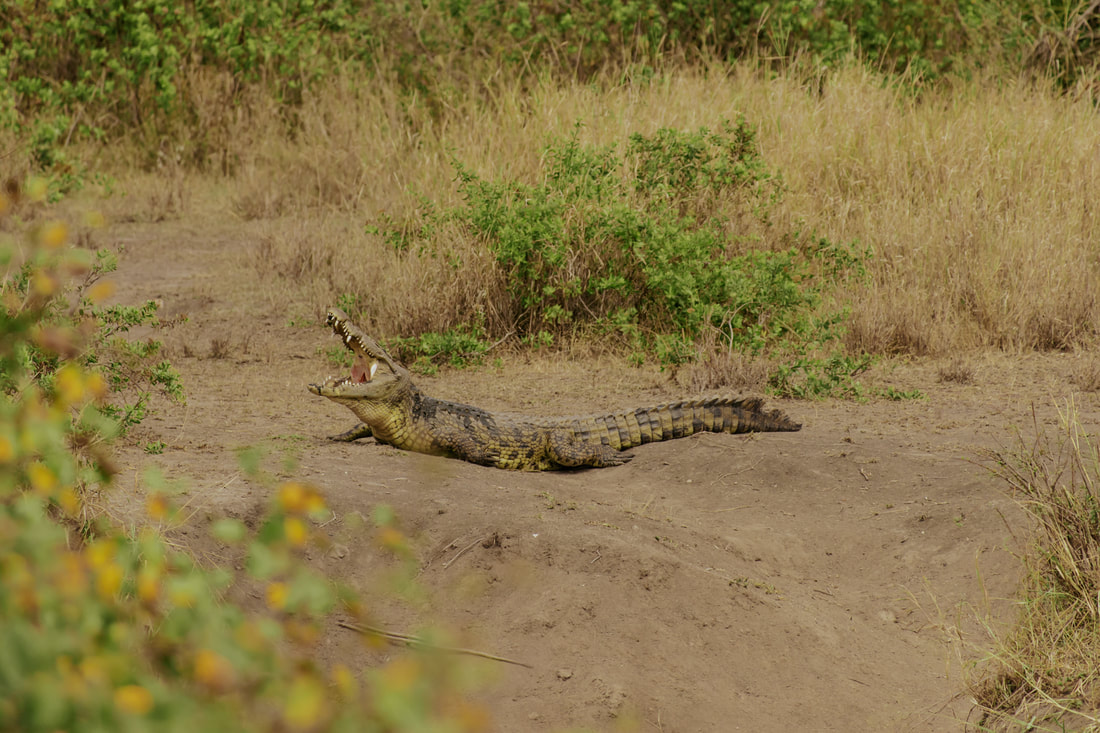
Crocodile: 1 (Serengeti)
Jaguars: 2 (Serengeti)
Vultures: 5 (Serengeti)
Hyenas: 8 (Serengeti and Ngorogoro)
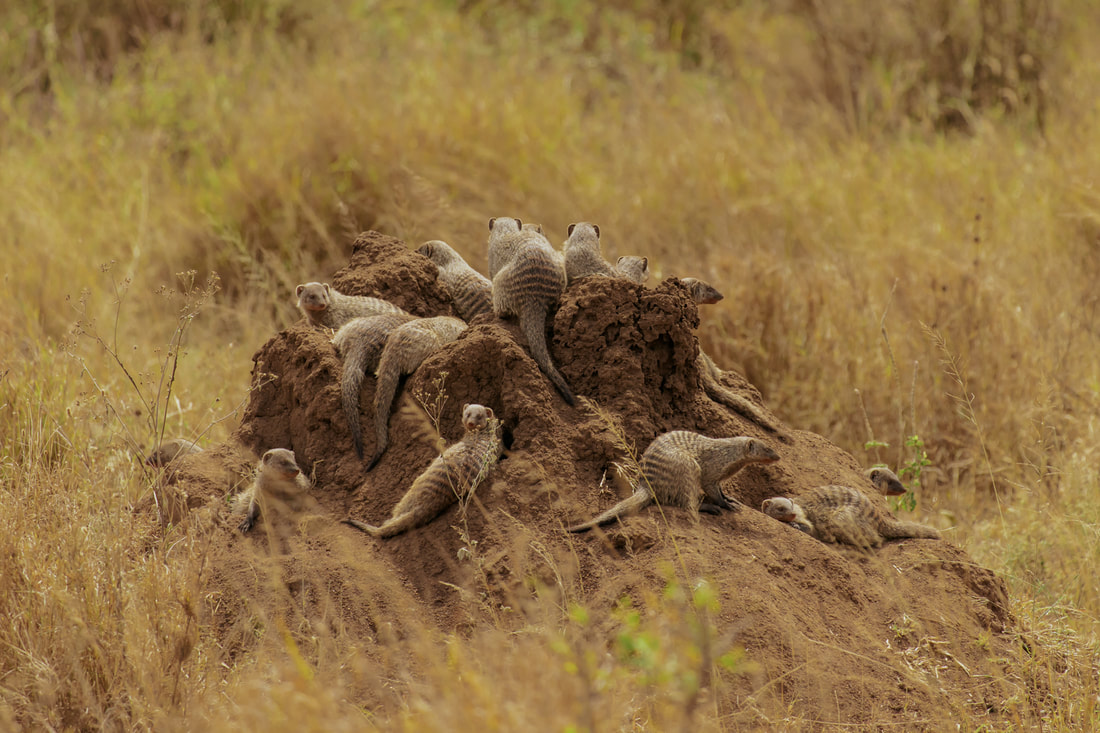
Mongoose: 14 (Serengeti)
Lions: 18 (Serengeti and Ngorogoro)
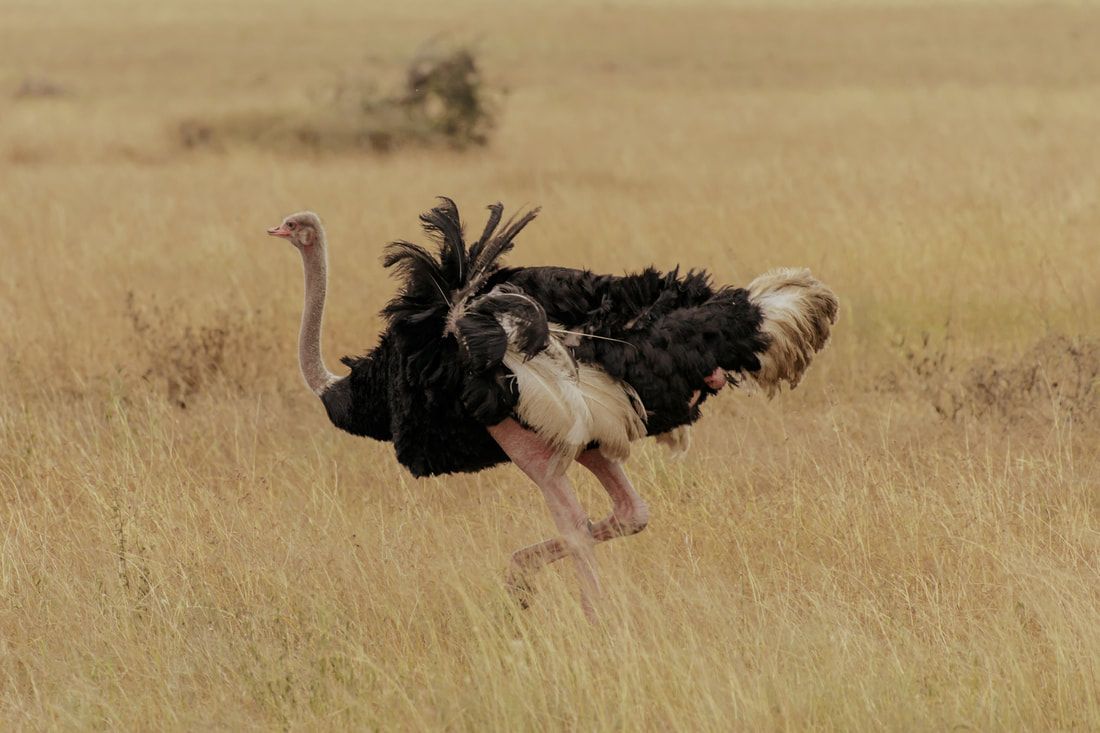
Ostriches: 20 (Serengeti and Ngorogoro)
Zebras, wildebeests, buffalos, elephants, giraffes, baboons, gazelles, impalas, dik-diks, hippos, warthogs: Too many to count (Tarangire, Serengeti and Ngorogoro)
There are two main ways to get to Zanzibar:
We flew into Zanzibar, and took the ferry out of Zanzibar. A few important things to note about taking the ferry:
- Fly into Abeid Amani Karume International Airport in Zanzibar.
- Fly into Dar Es Salaam and take the ferry to Zanzibar.
We flew into Zanzibar, and took the ferry out of Zanzibar. A few important things to note about taking the ferry:
- Purchase your tickets ahead of time. Since we took the ferry to leave Zanzibar, we purchased our tickets a few days ahead of time. This is important if you have a flight connection.
- Watch for porters trying to carry your luggage. These porters are required to wear yellow porter vests. If you need help carrying your luggage, use them! If you don't, be firm and don't let them take your luggage.
- Take dramamine to avoid seasickness. The ferry going from Zanzibar to Dar Es Salaam is particularly rocky - we saw multiple people throwing up on the boat.
- Prearrange pickup when you arrive. We used Bolt to get a ride from Dar Es Salaam Ferry Terminal to Dar Es Salaam Airport, and it was one of the most stressful parts of the trip. Because the roads are so busy and there are drivers everywhere trying to get your business, we ended up having 2 rides cancelled before we finally got a 3rd ride to meet us where we were. The first 2 drivers kept telling us to meet them somewhere, and as soon we got to the location, they had left. Using Bolt is much cheaper than getting a taxi though, as our ride was only 13,000 TZS or $5 USD.
- Make sure to account for traffic if using the ferry to catch a flight. We took the 9:30-11:15 AM ferry from Zanzibar to Dar Es Salaam. This ferry left late and arrived around 11:45 AM. By the time we got a Bolt ride, it was 12:15 PM. Bolt estimated our ride to be 30 minutes, but due to traffic (which is notorious in Dar Es Salaam), we didn't arrive to the airport until 1:15 PM.
Day 12: Zanzibar, Tanzania
- Take a dhow boat to Nyange Sandbank (instead of the more popular Nakupenda Sandback) for a more private experience
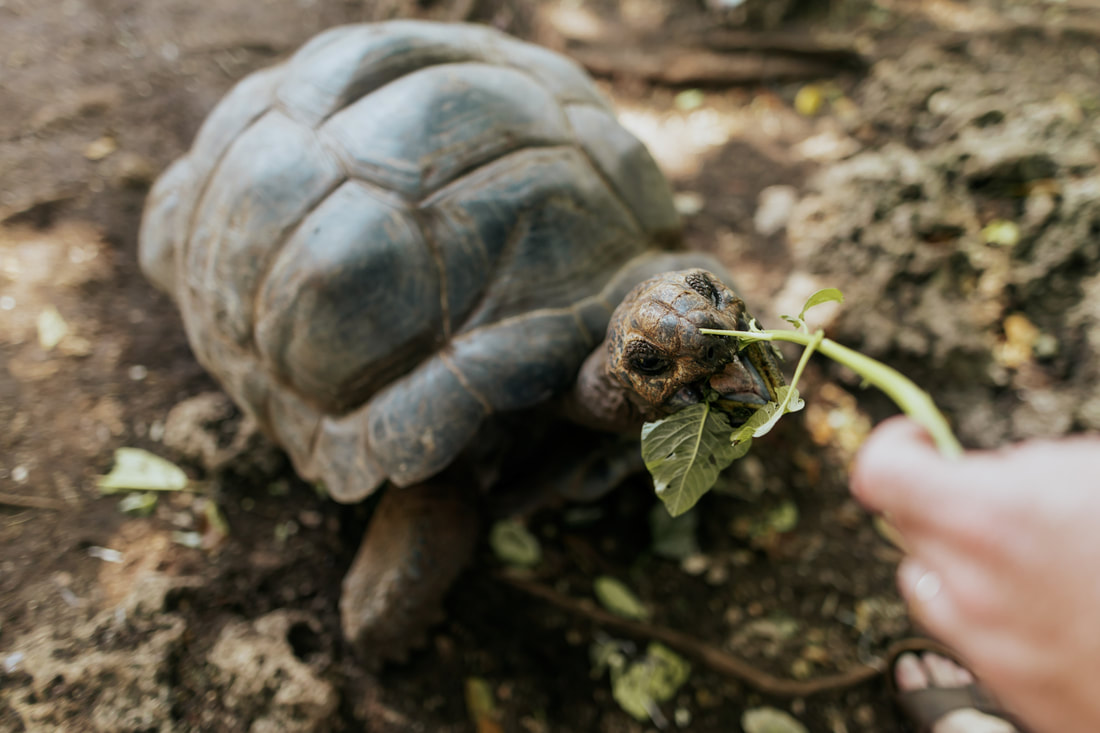
- Feed giant tortoises at Prison Island
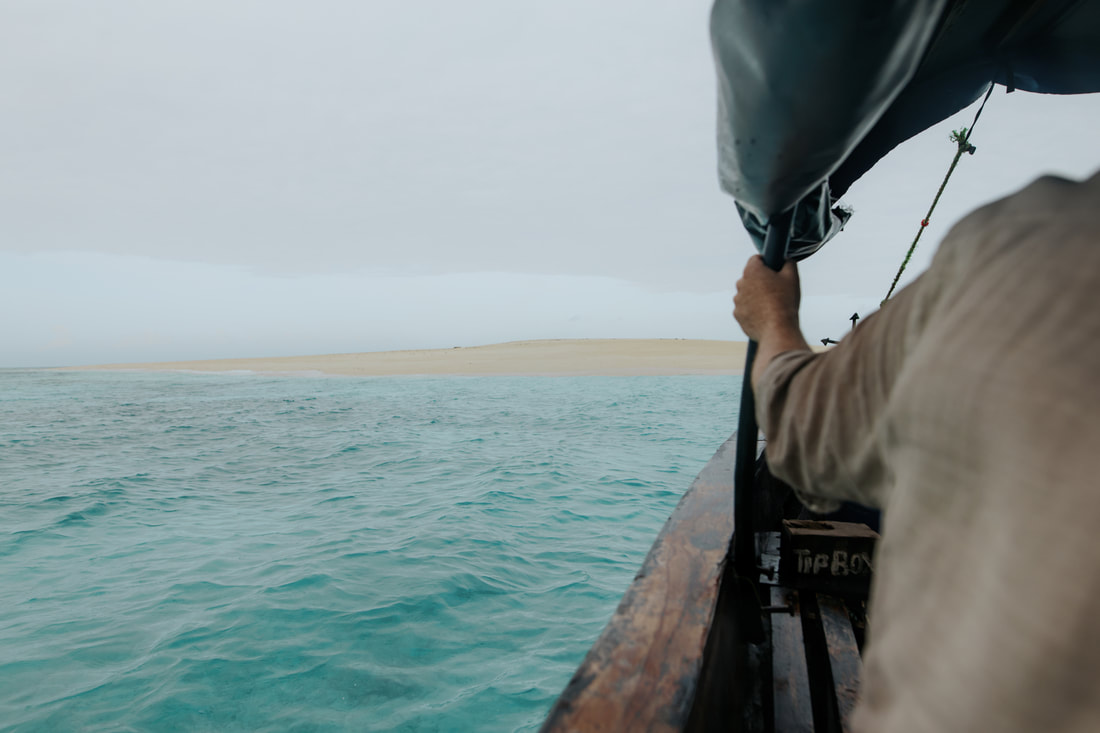
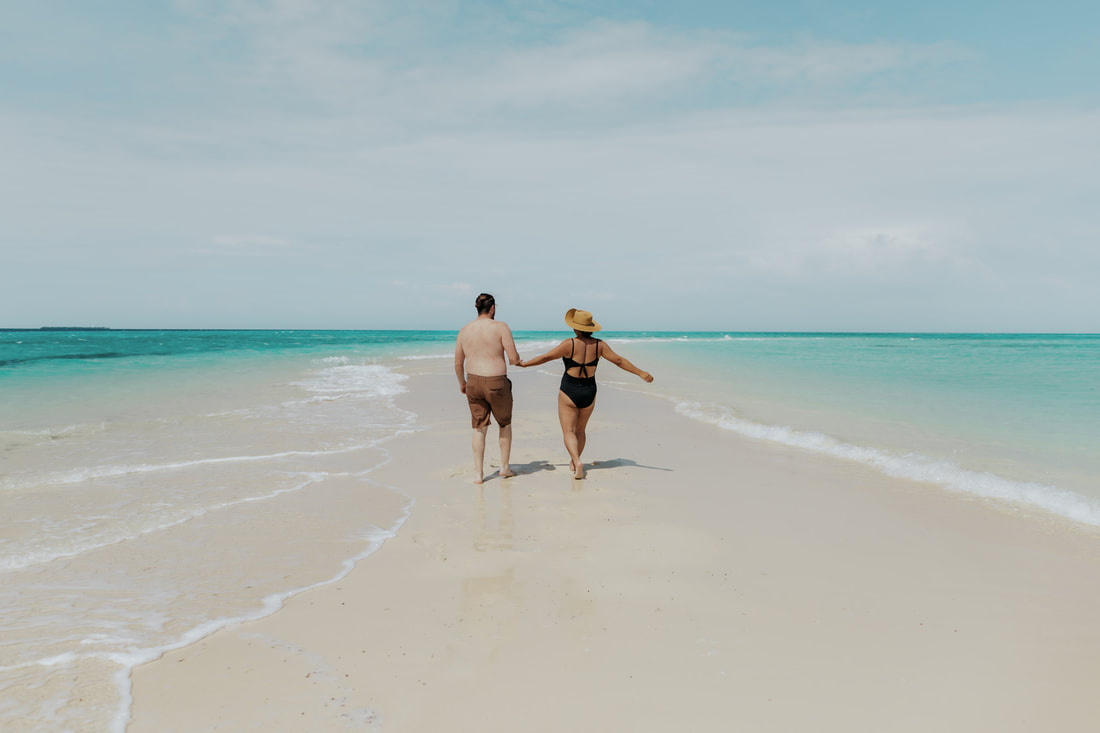
Zanzibar has quite a few sandbars. The most popular ones are Kwale Sandbank, which is visited on the Safari Blue tour, and Nakupenda Sandbank, which is a short boat ride from Stonetown. Though we originally were going to do the Safari Blue tour since it's the #1 thing to do in Zanzibar, we decided that we wanted to go somewhere more private. So instead we booked a tour to take us to Nyange Sandbank early in the morning before other people arrived. After a rainy start to the day around 7:30 AM, we made it to the boat and were on our way with coffee, tea, and donuts in hand. When we landed, we were the only ones on the sandbar and got to enjoy it all to ourselves for about an hour before 3 other boats arrived. Since we were there from low tide to high tide, we saw the island shrink down in size as the tides came in, which was so cool to see! It was a great way to spend the morning, and we were served a bbq seafood lunch before heading to Prison Island. This island was never actually used as a prison, and eventually became emergency lodging for fisherman and boats stuck out during storms as well as a place to quarantine the sick. The most popular attraction on Prison Island is feeding the giant tortoises, which were truly a sight to see. Photos don't do it justice, as they are massive animals and can weight up to 550 pounds!
Day 13: Zanzibar, Tanzania
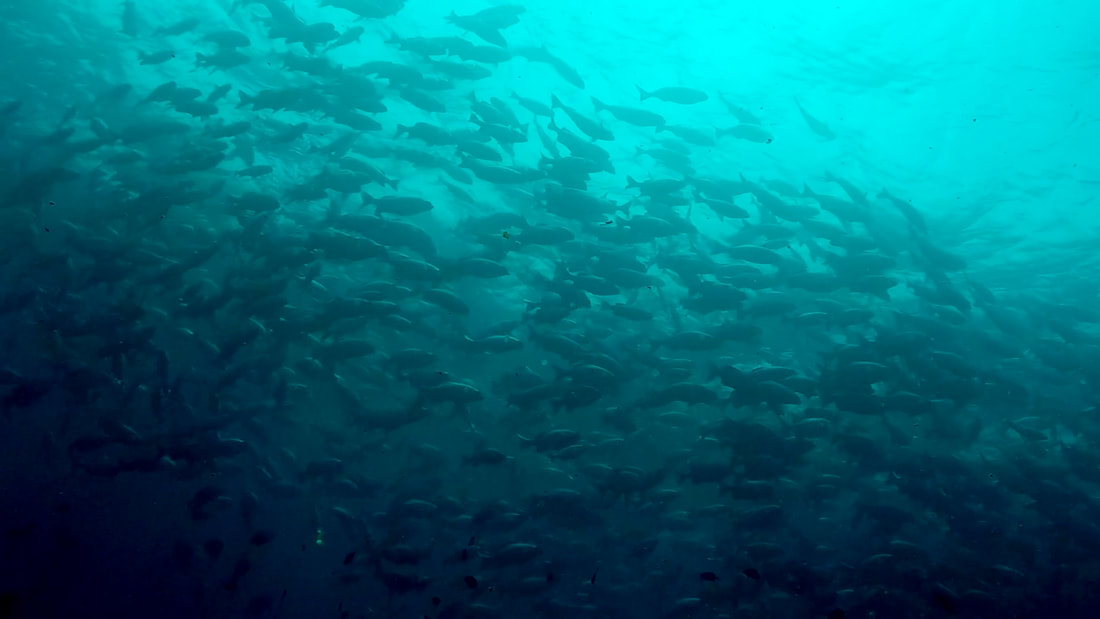
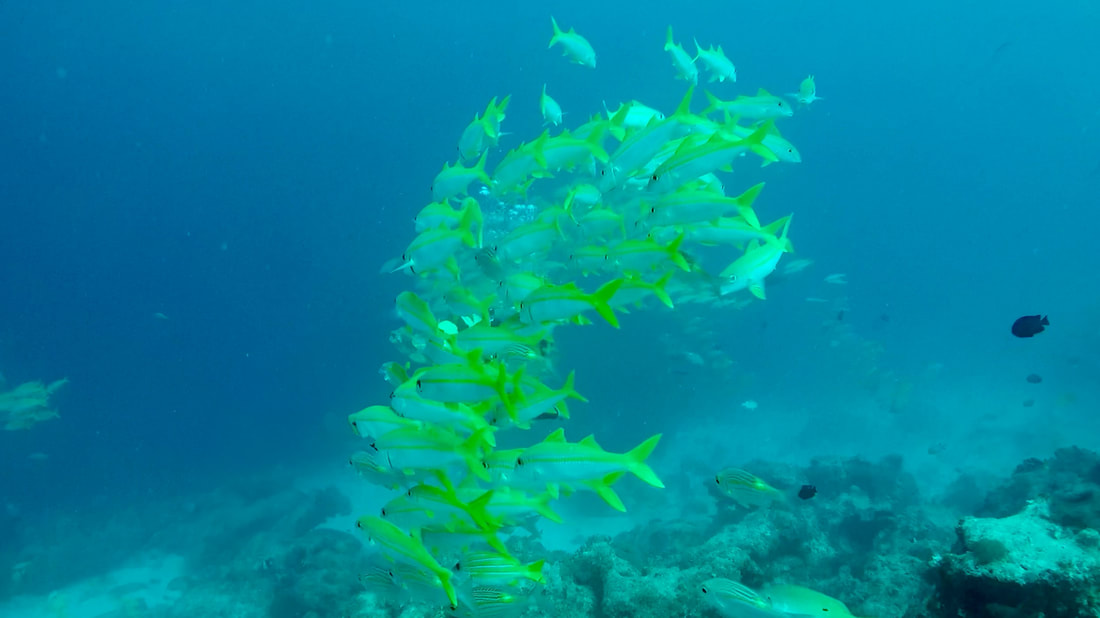
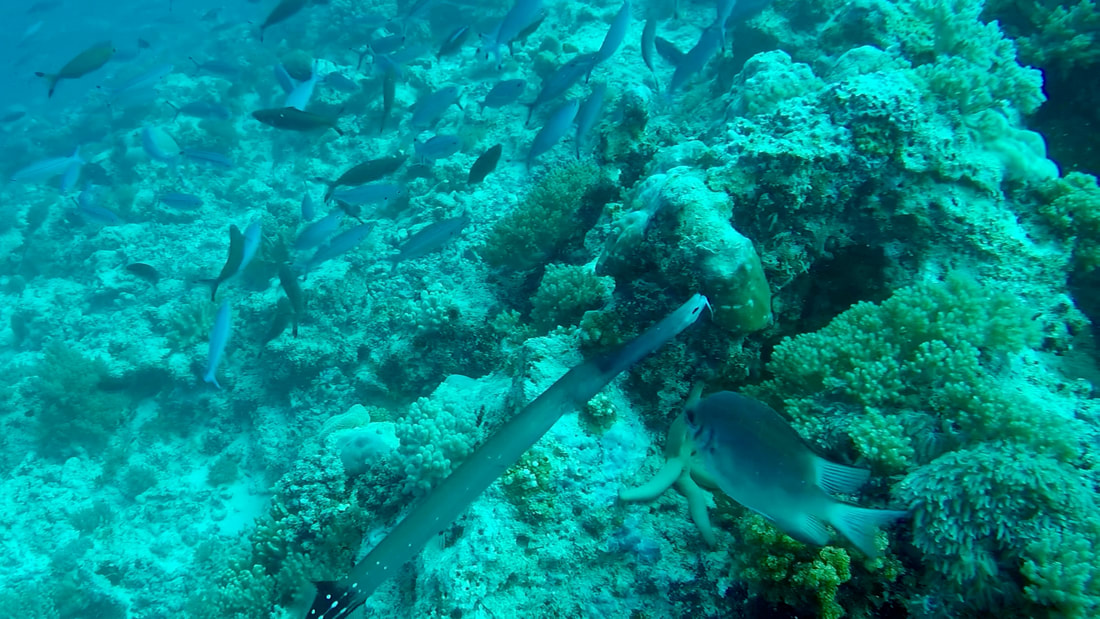
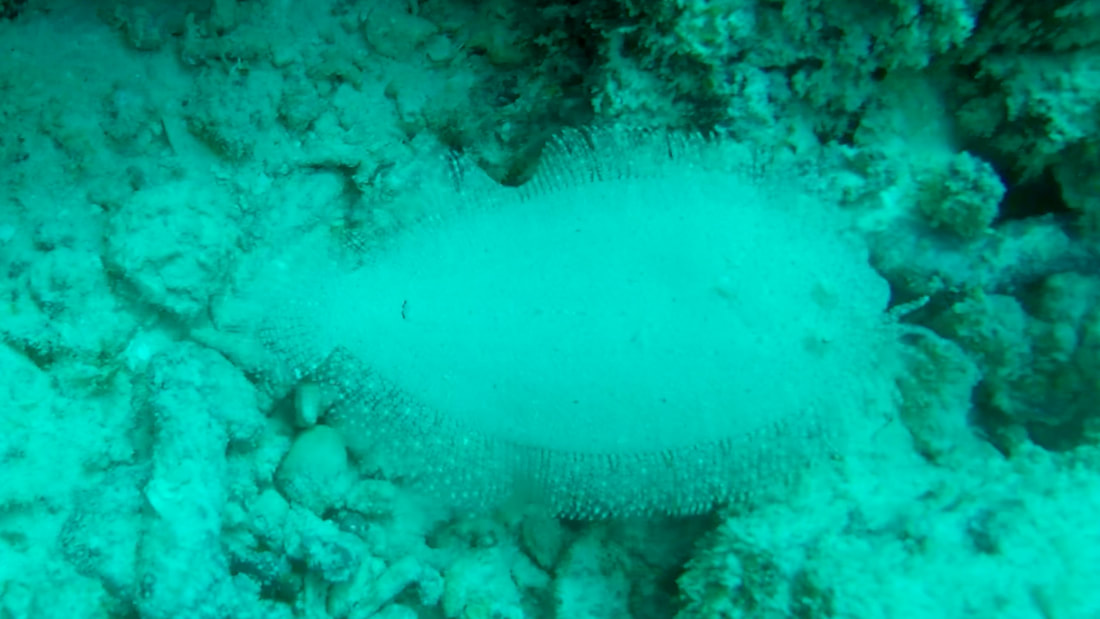
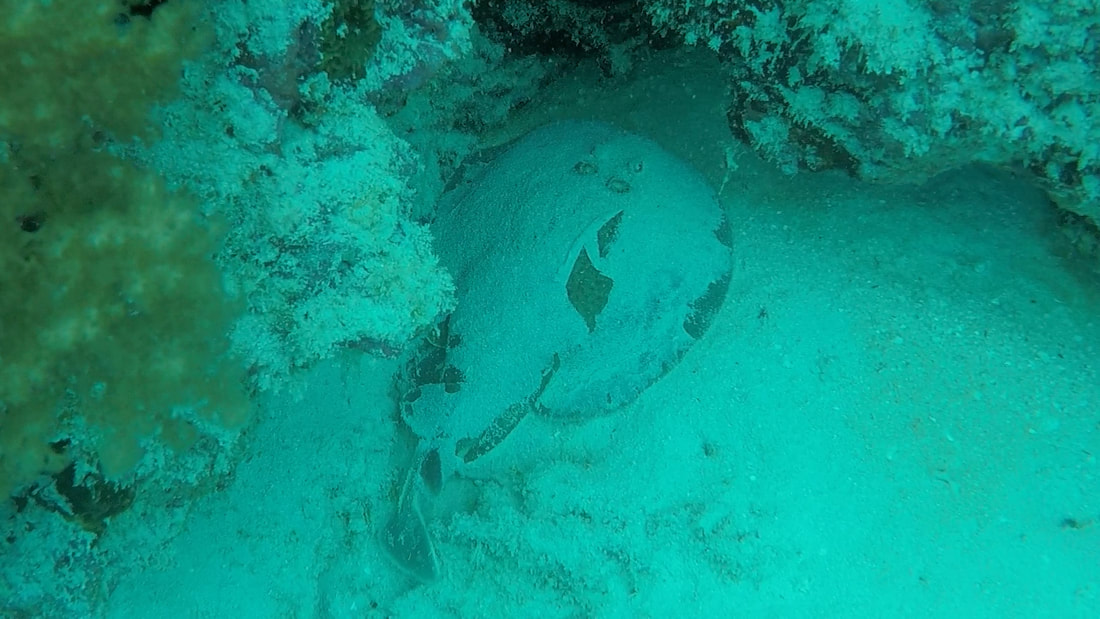
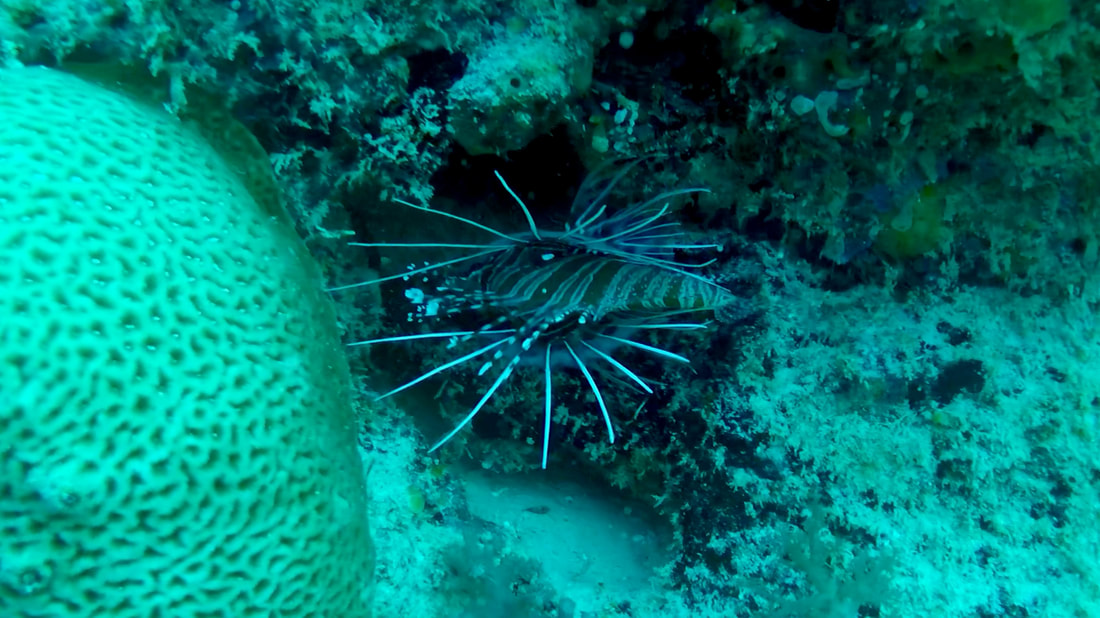
- Dive Mnemba Atoll to see schools of fish and colorful corals ($$$)
Mnemba Atoll is one of the best places to scuba dive in Zanzibar. We did one day of diving (two dives total) and it was a blast! While there aren't many large animals - occasionally dolphins if you're lucky - the coral reefs are full of all kinds of marine life like colorful schools of fish, sting rays, trumpetfish, and lionfish.
|
|
Day 14: Zanzibar, Tanzania
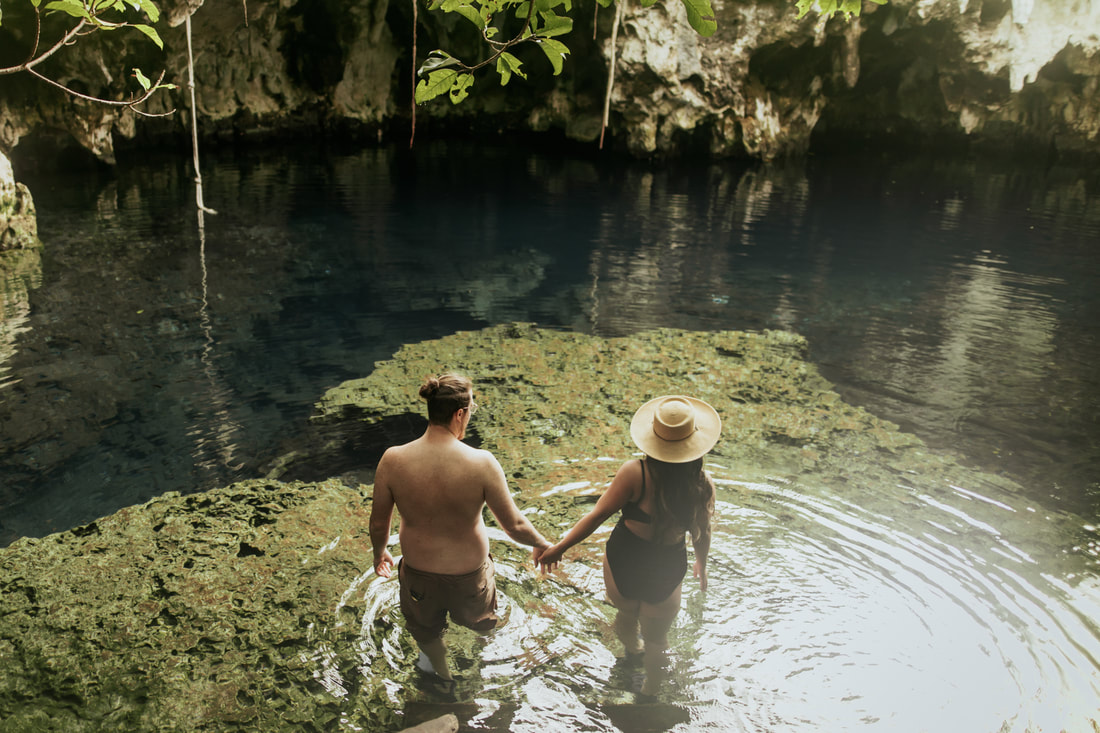
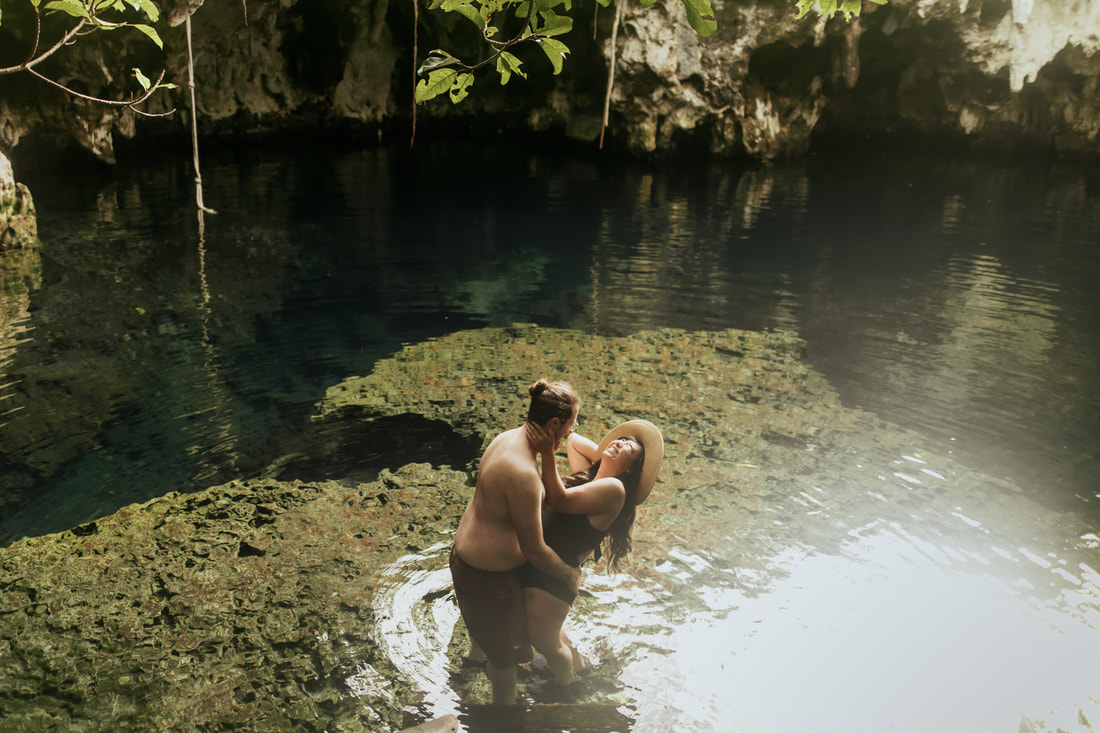
- Swim and snorkel in clear blue waters at Maalum Cave, a natural swimming hole ($)
- Grab pizza for lunch at beachfront Lost Soles Bar ($)
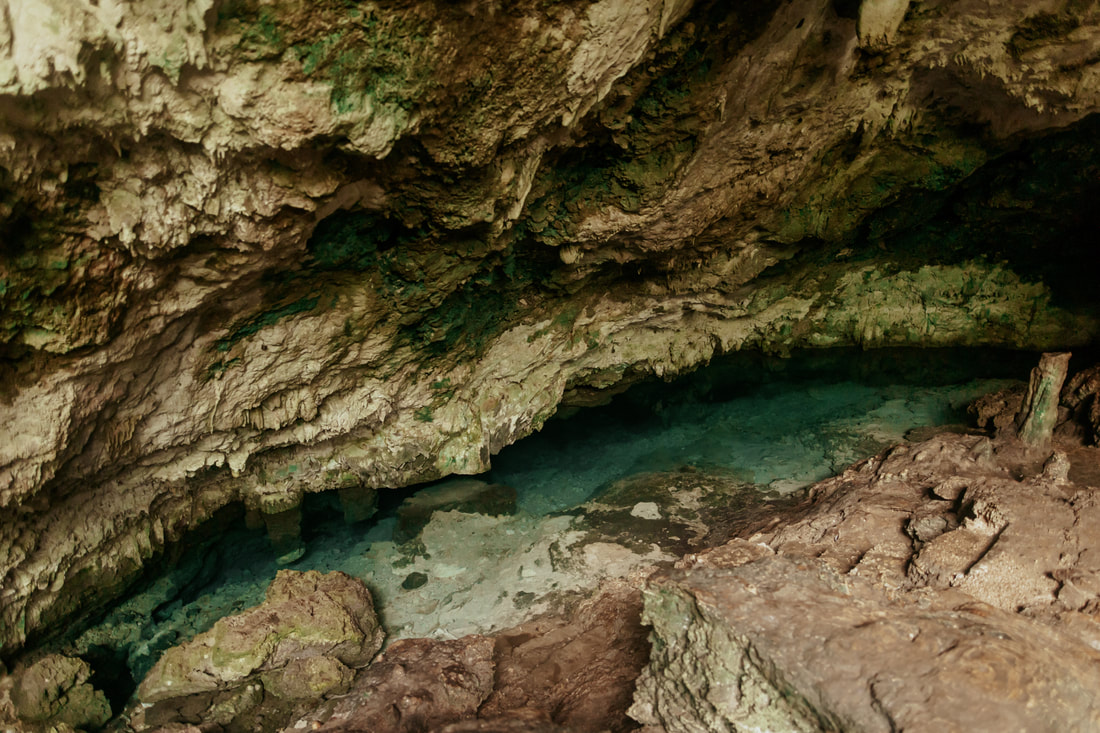
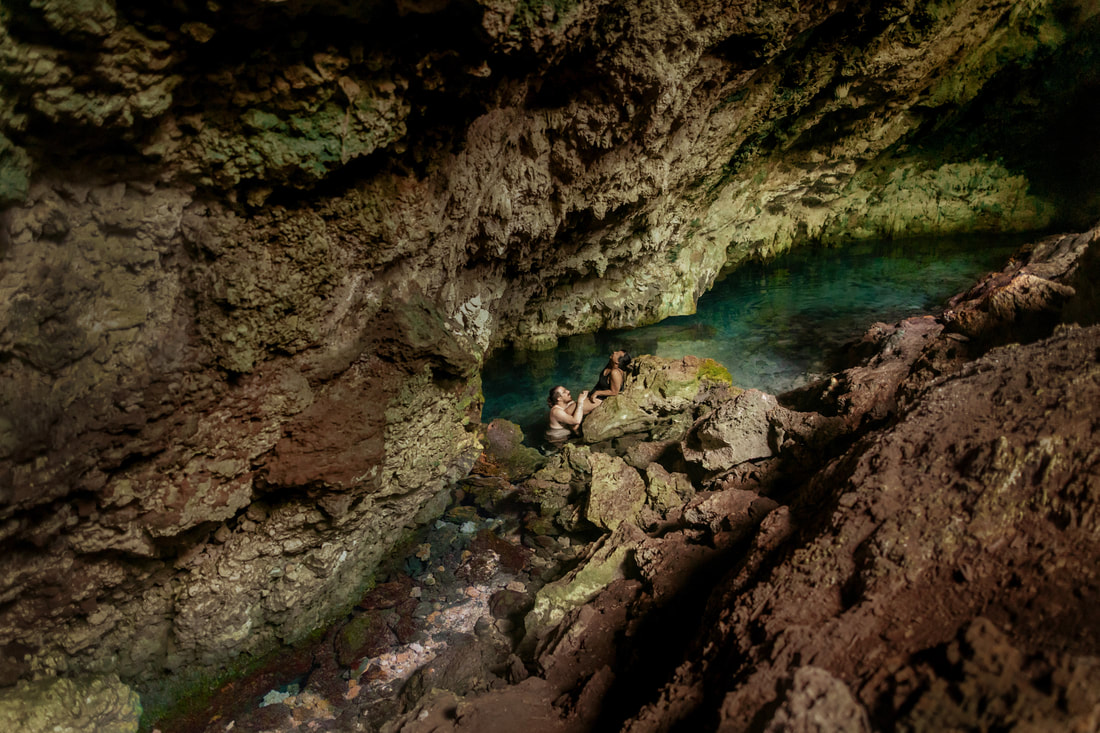
- Climb down the stairs to find the hidden Kuza Cave ($), another natural swimming hole
- Plan for dinner at high tide so that you can take a boat to Rock Restaurant ($$$)
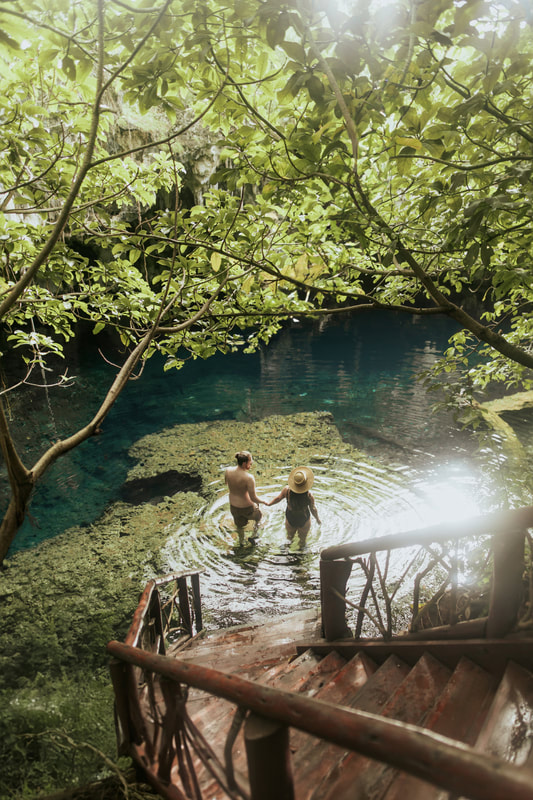
While Zanzibar is known for its turquoise blue waters and white sand beaches, it also is home to a few natural swimming holes similar to the cenotes you find in Tulum. Since taxis are pretty expensive in Zanzibar and inconvenient when going to different places, we decided a rent a car for our time on the island. But we definitely wouldn't recommend it, as driving in Zanzibar was much more stressful than we anticipated. Google Maps is not the most reliable in town, and oftentimes would tell us to turn down streets that didn’t exist or had been blocked off. To add to that, we were stopped at police checkpoints 7 times in our 2 days of driving. These checkpoints were primarily to check for your Zanzibar license (which you get from your rental company for $10) and to catch drivers that were speeding. We read that the police will often push for a bribe from tourists, knowing that they would be too scared to refuse. While most of the police let us go after checking our license, two of them did ask for a "tip" and then let us go when we said we didn't have any cash. Be careful that you don't speed though, because even the tiniest bit of speeding will get you in trouble with the police. Because speed limit signs are sparse outside the city, it can be difficult to determine what the actual speed limit is. Not wanting to deal with the police, we decided to just take our time and go slowly which added a lot of time to our drives. Once night hits, we slowed down even more as we dodged potholes, pedestrians, and bicyclists that were difficult to see due to the lack of streetlights. Almost all drivers drove with high beams on as well. All this to say, plan out your trip well in advance and calculate the costs. We had a few last minutes changes to our itinerary (including a tour change and a flight change that forced us to leave Zanzibar early), so we didn't realize until after the fact that we wouldn't have spend all that much more if we had just paid for transfers and a driver for one day.
But onto what we actually did that day! Maaluum Cave is a lesser known swimming hole, but in our opinion, more enjoyable than Kuza Cave. The entry fee is 40,000 TZS or $20 USD per person (you'll save money by paying in TZS!) Reservations are recommended because they only allow a small number of people in during each 1.5 hour slot. We were the only ones there for the first 30 minutes, and for the rest of the time there were just 4 other people. The water was the perfect temperature, so don't worry about being cold!
Kuza Cave is a much smaller cave compared to Maalum, with an entry fee of 20,000 TZS or $10 USD per person. It got pretty crowded when we got there so we would recommend going earlier if possible. To get there, you need to climb down a steep staircase that leads to the opening of the cave. The water wraps around a huge central rock column, so you can swim from one side of the cave to the other. While the water temperature was a bit cooler than Maalum Cave, it was still great swimming temperature though we had read some reviews that had said it was cold. We didn’t spend as long here because of how small and crowded it was, but it was worth the trek out to see it!
|
|
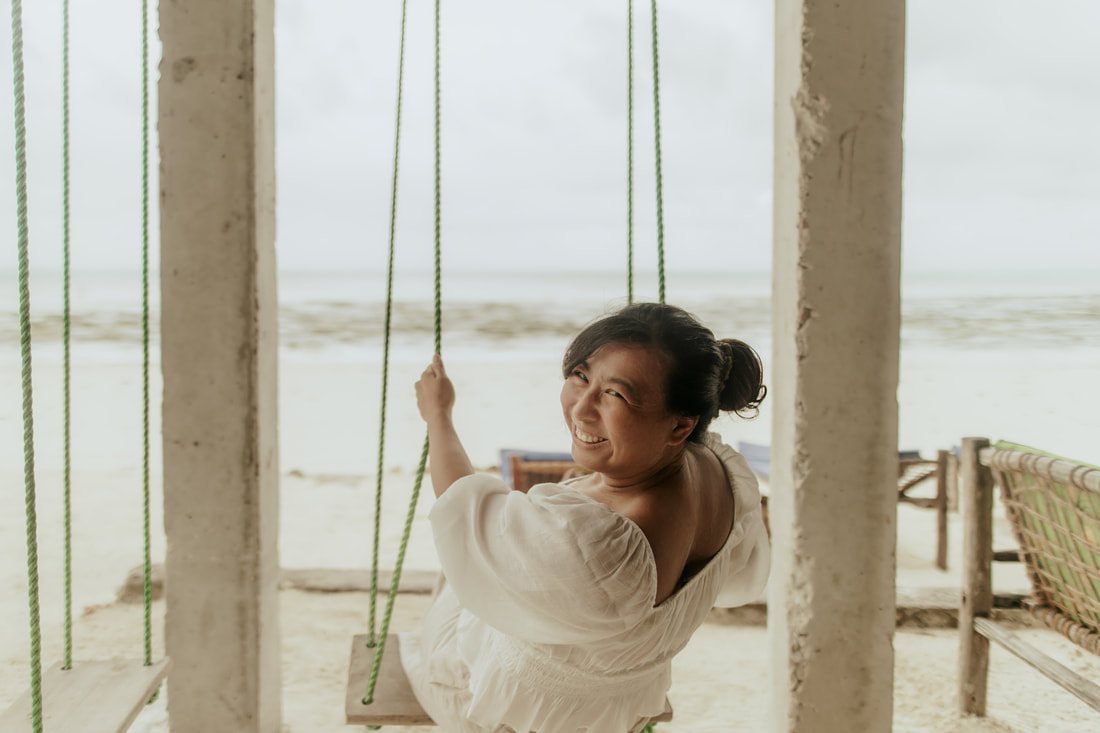
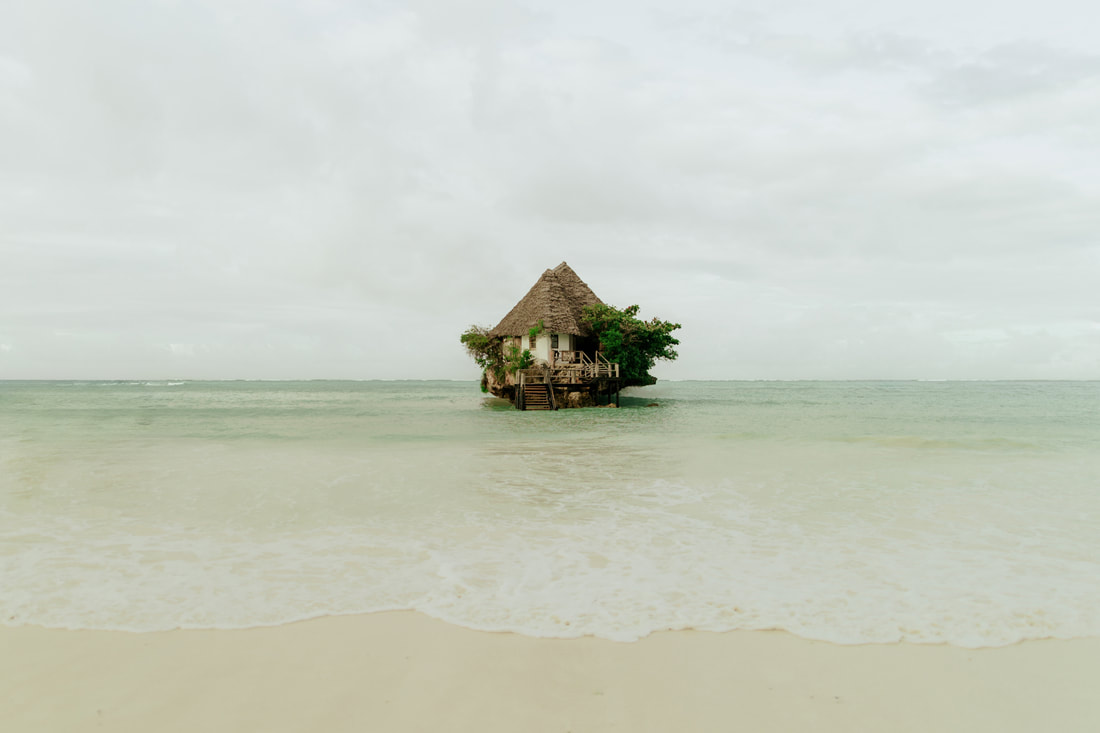
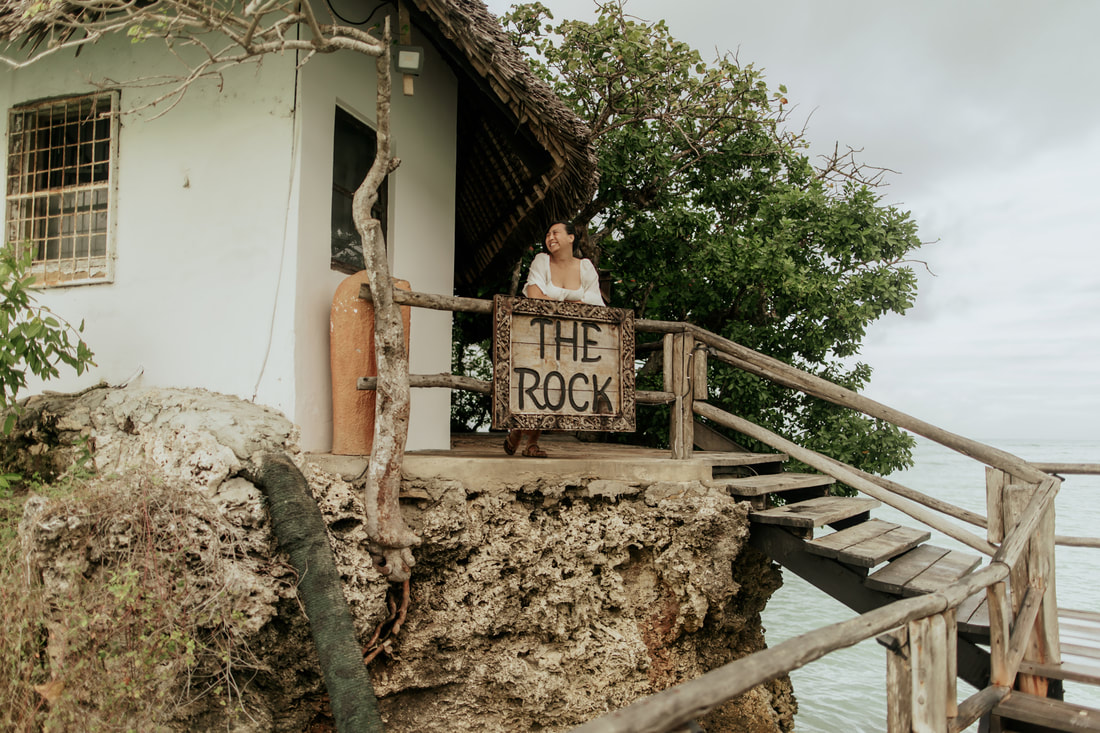
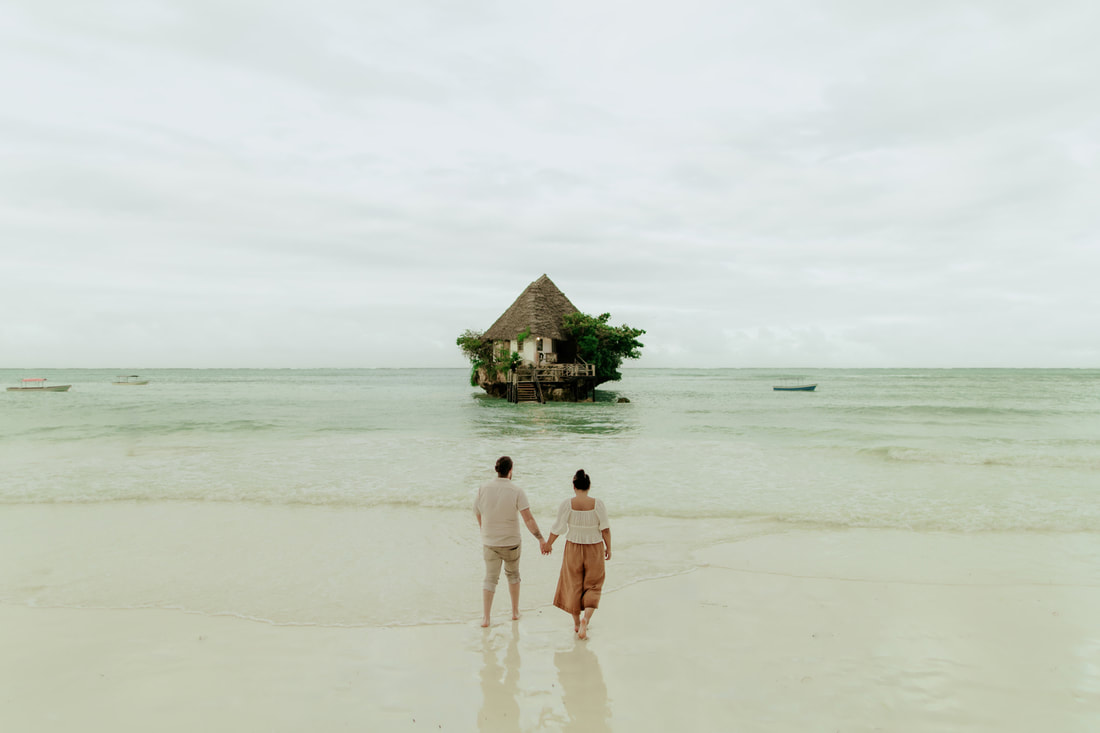
For lunch, we went to Lost Soles Bar in Jambiani, which was a cute beachfront restaurant with swings. The food and drinks were delicious and pretty affordable as well. For dinner, we went to The Rock, which is the most famous restaurant in Zanzibar. One look at a photo of it and you'll know exactly why. This restaurant sits on the water, which means that during low tide, you can walk out to it, and during high tide, you take a boat to the restaurant. We made reservations to go during high tide, but didn't realize how rough the tides could be! When we arrived, there was a line of people on both sides trying to leave the restaurant and get to the restaurant because the boat had filled with water. When the boat was finally emptied, we boarded the boat and got a bit soaked by the waves before arriving to the restaurant. Talk about an entrance! The food itself was good, but very expensive by Zanzibar standards. Entrees averaged around $30 USD. It was a fun experience, but honestly you get all the best photos from shore anyway!
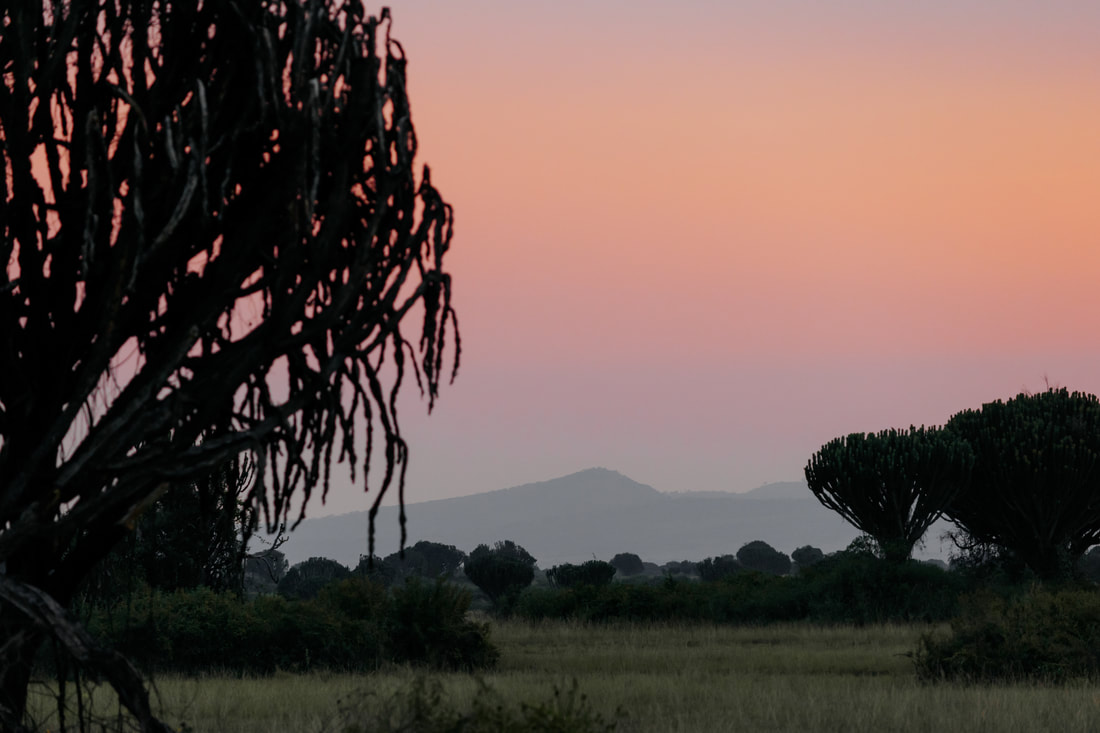
Day 15-16: Queen Elizabeth National Park, Uganda
- Fly to Kigali, Rwanda or Entebbe, Uganda
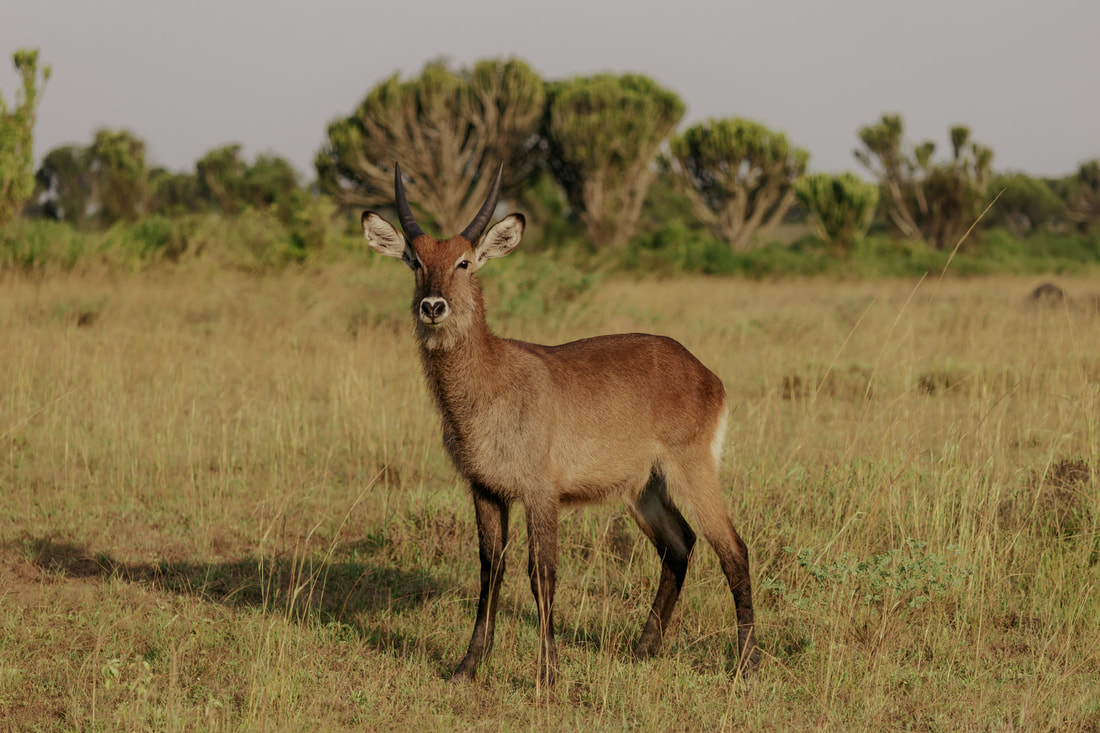
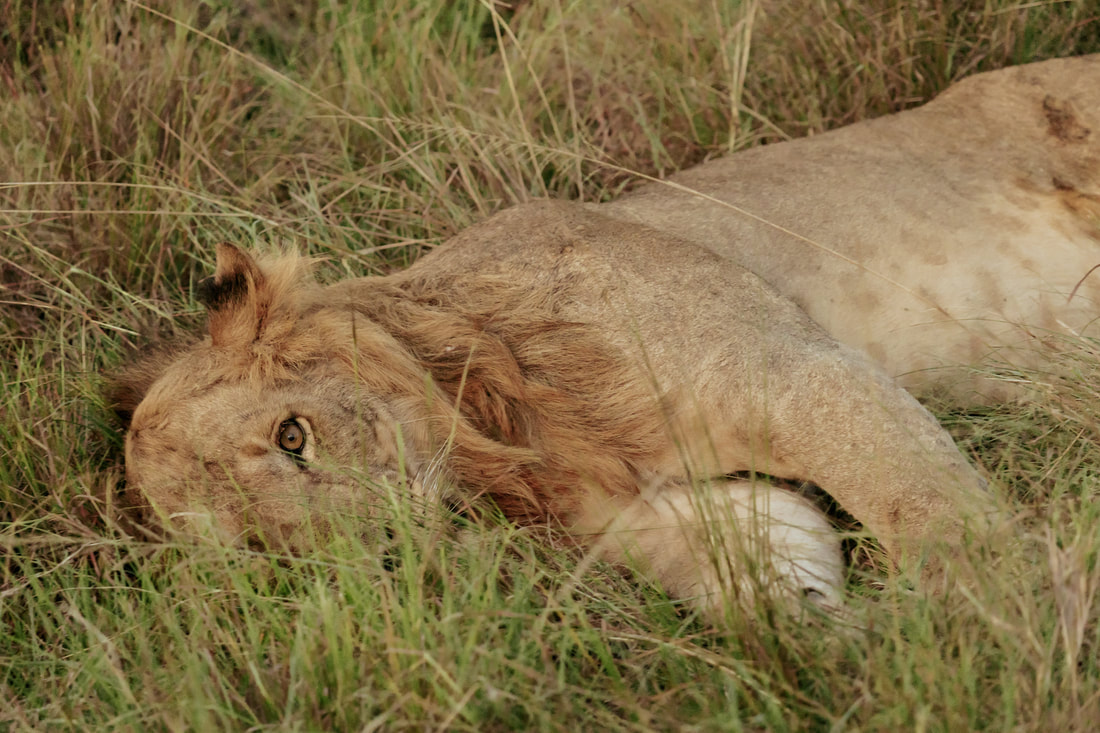
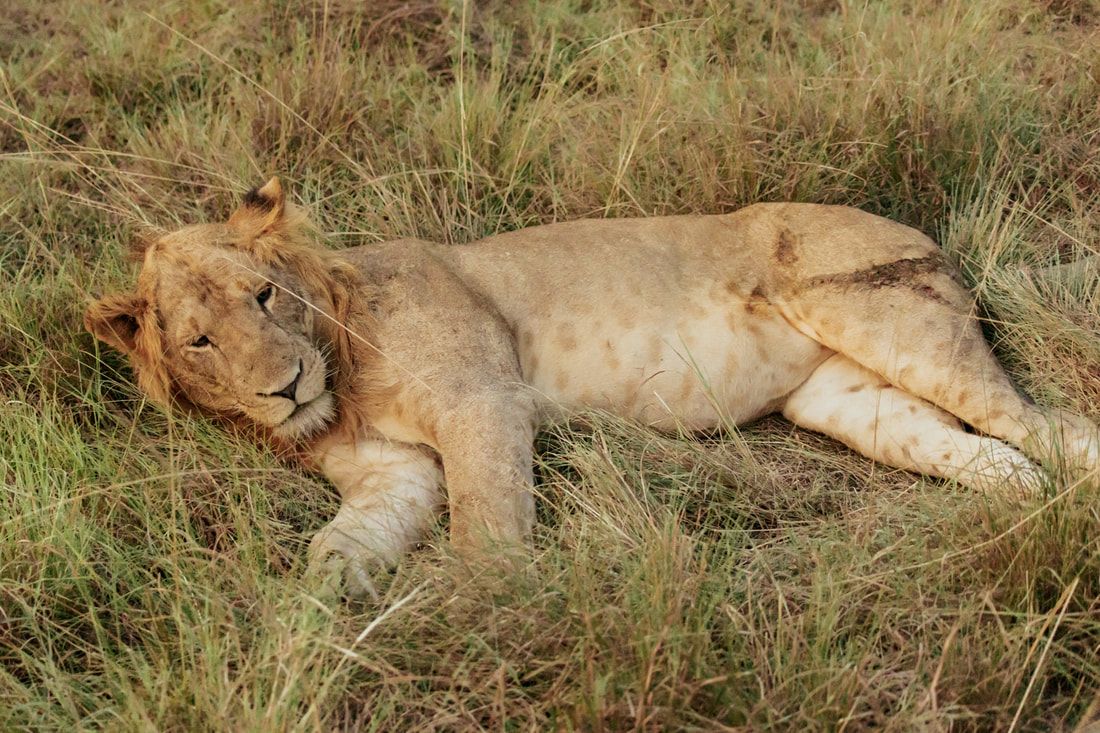
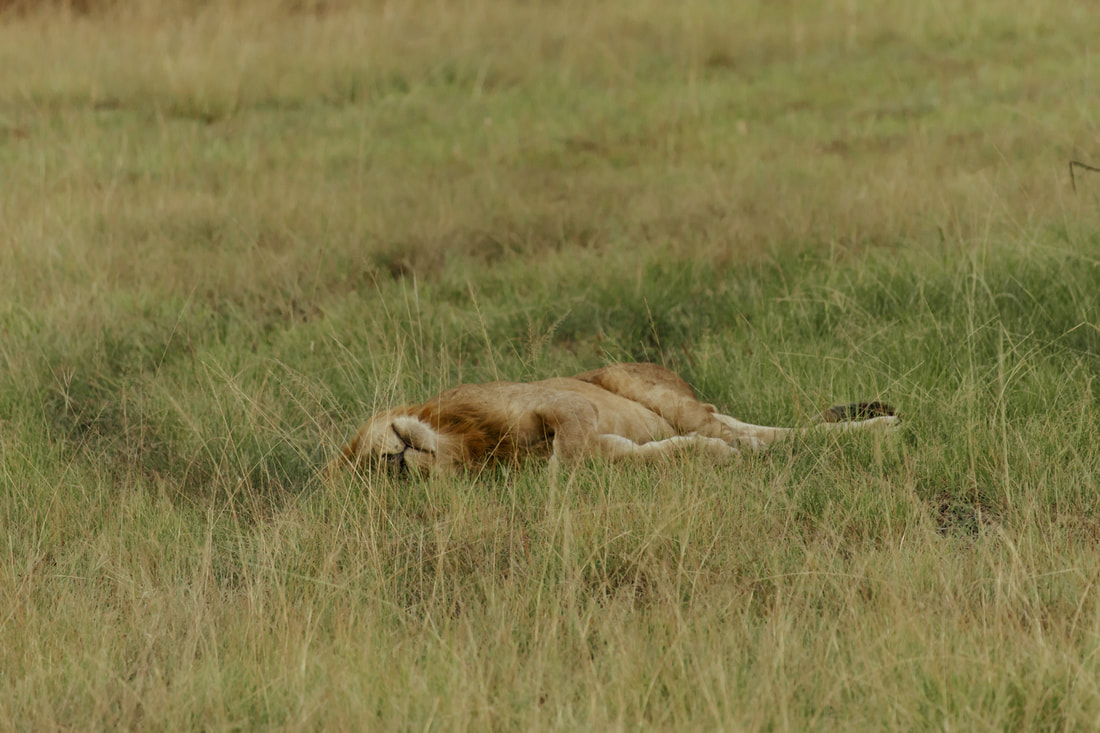
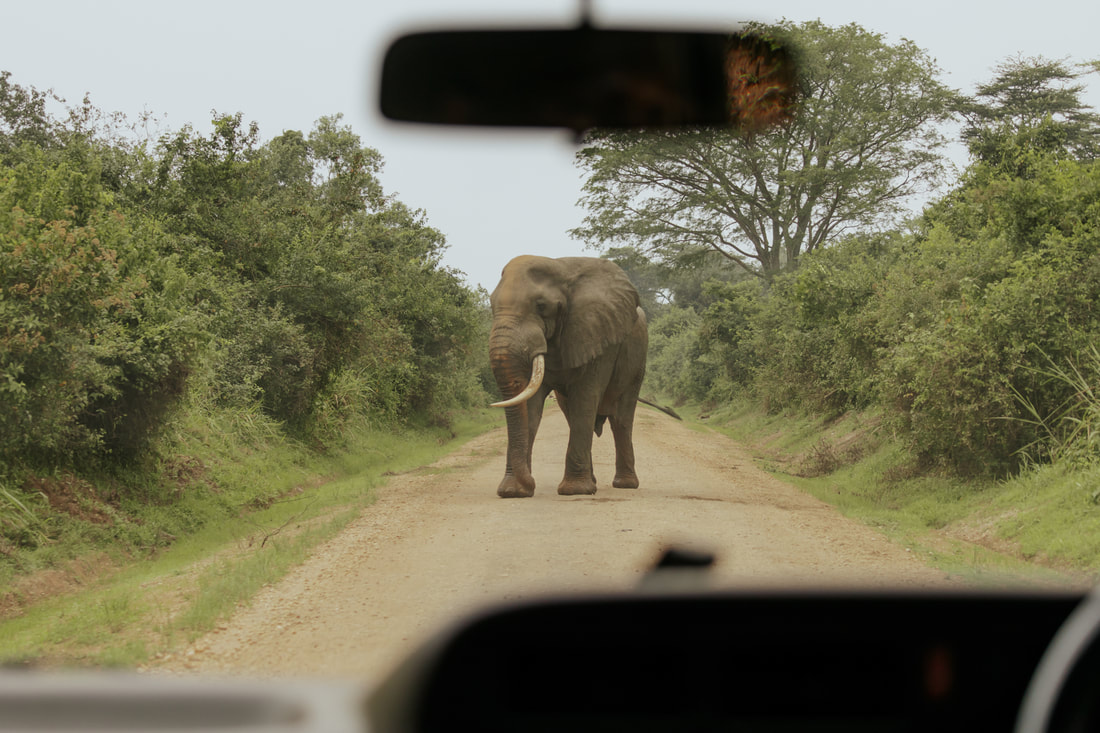
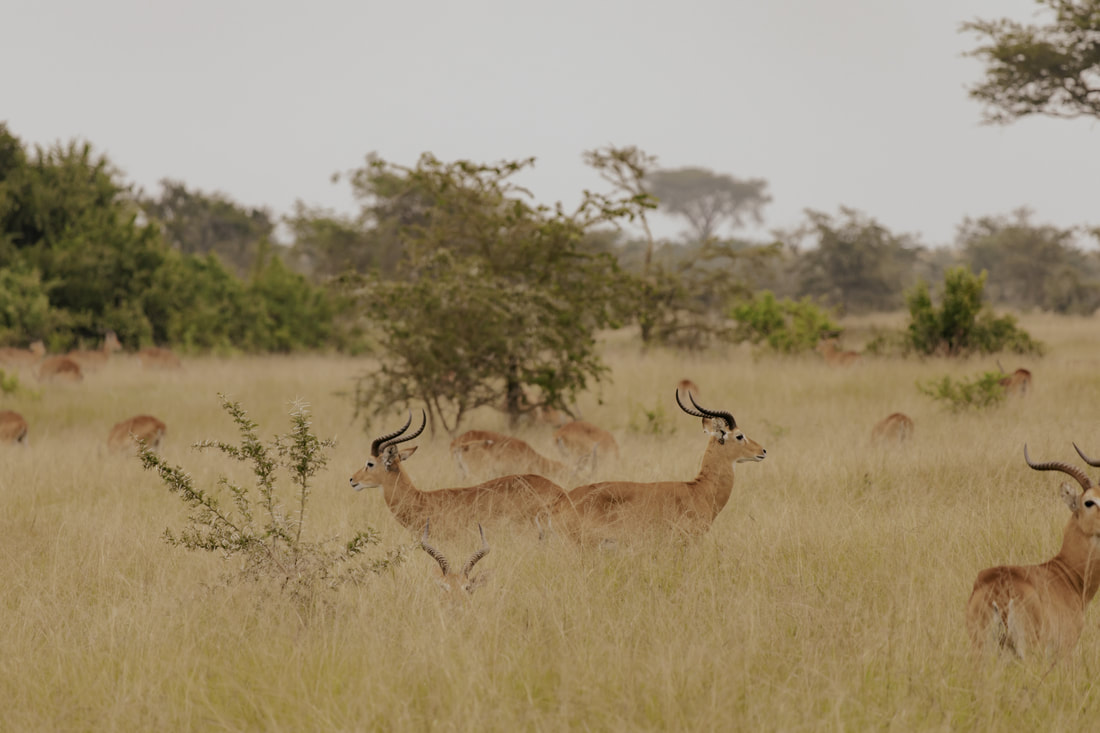
- Look for lions, waterbucks, elephants, and buffalos on a game drive at Queen Elizabeth National Park
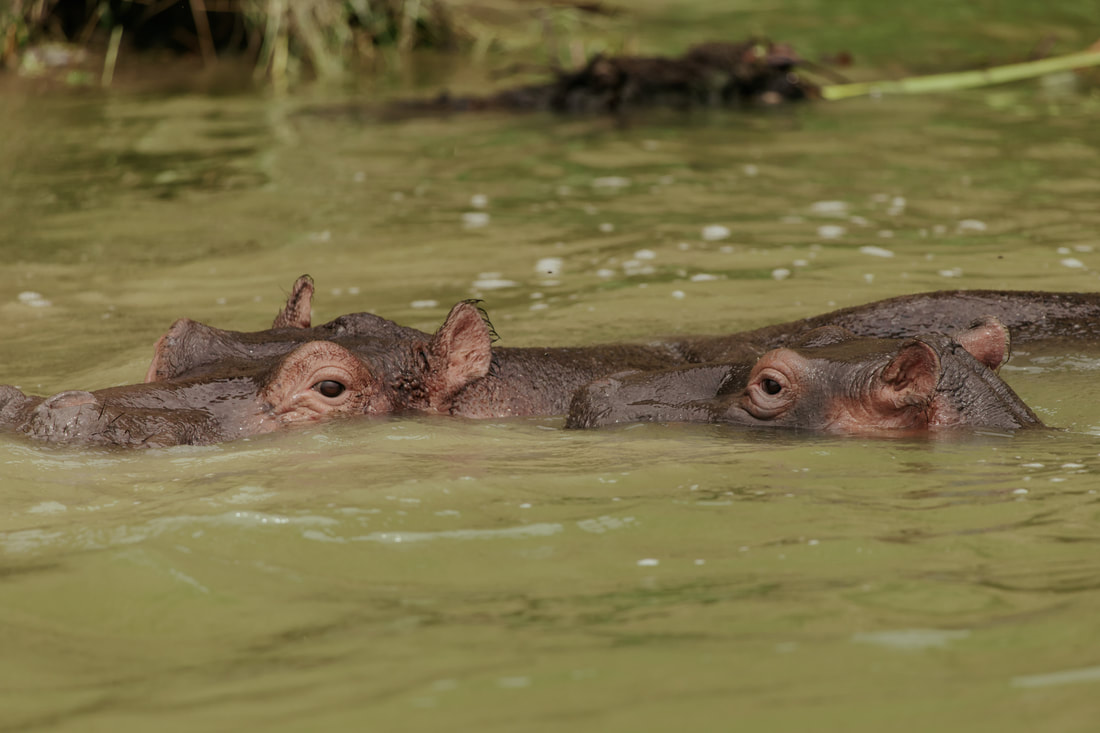
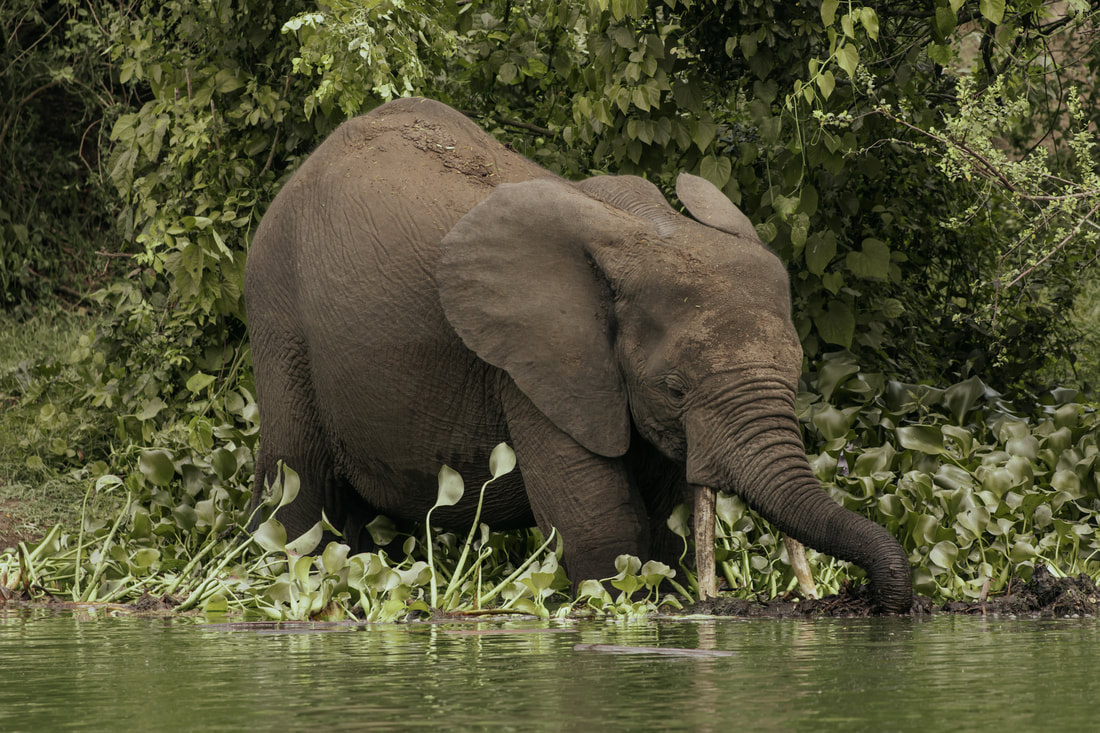
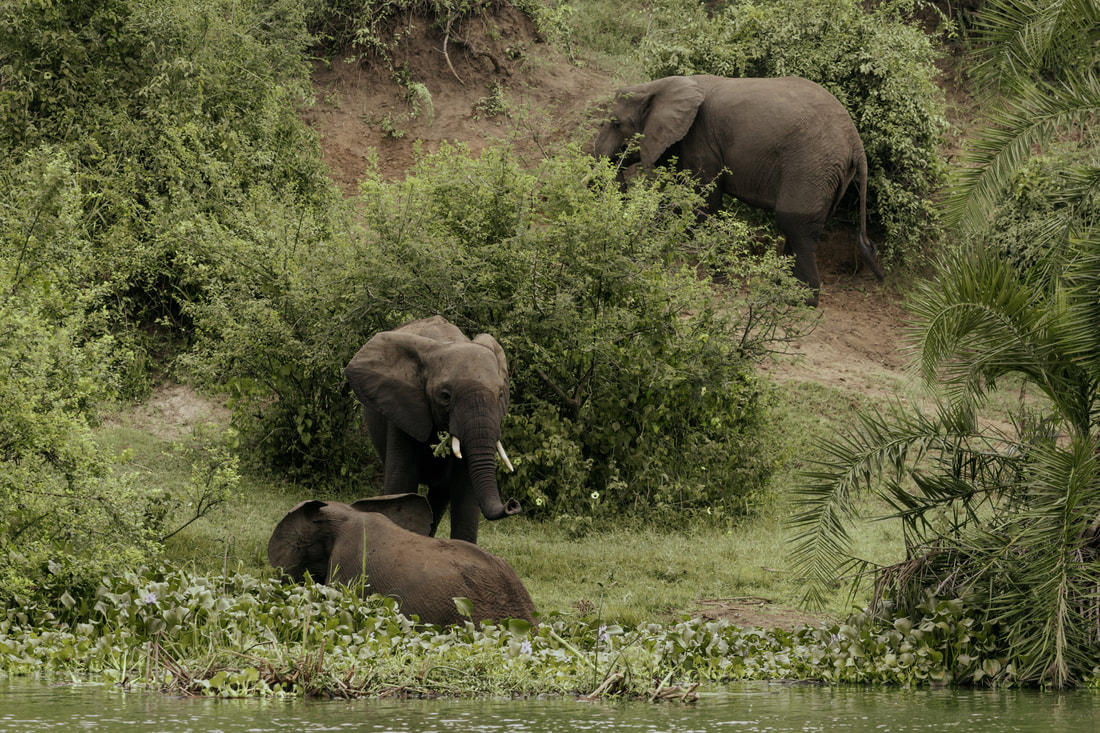
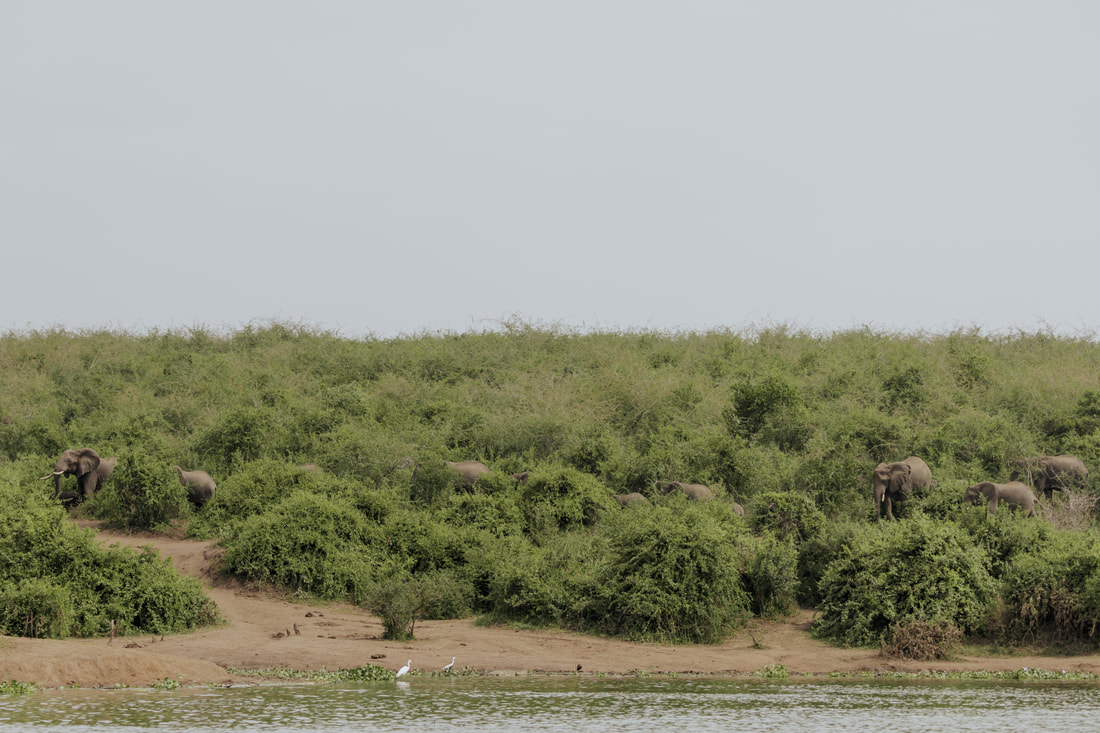
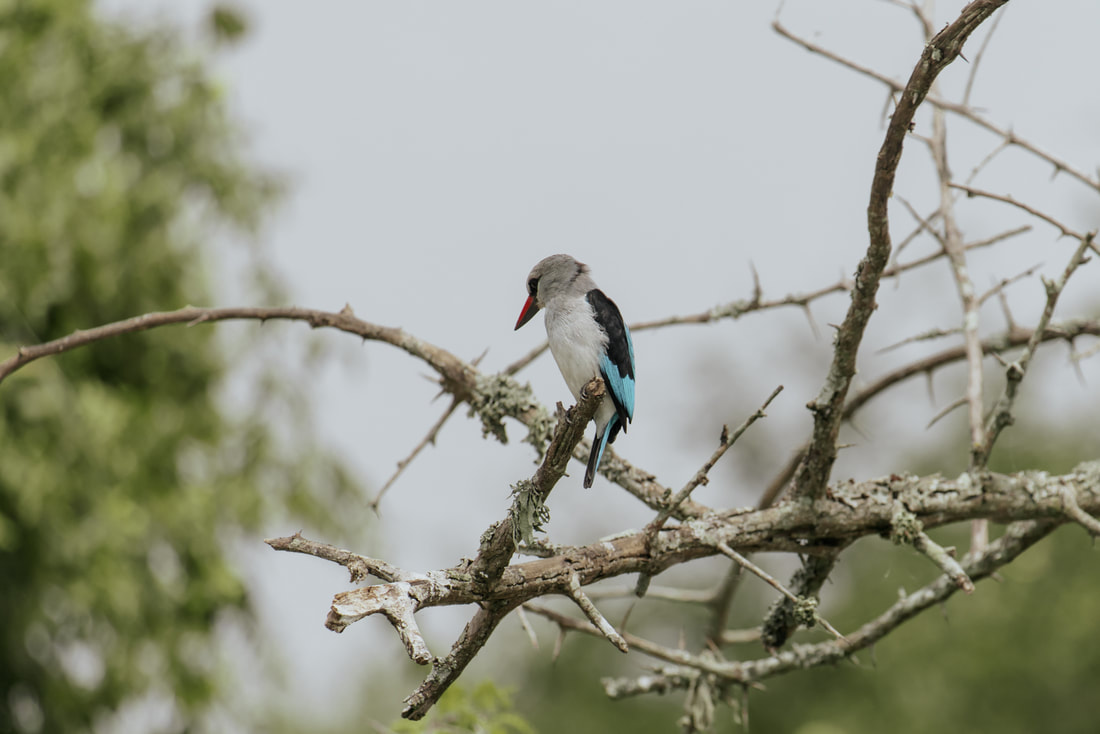
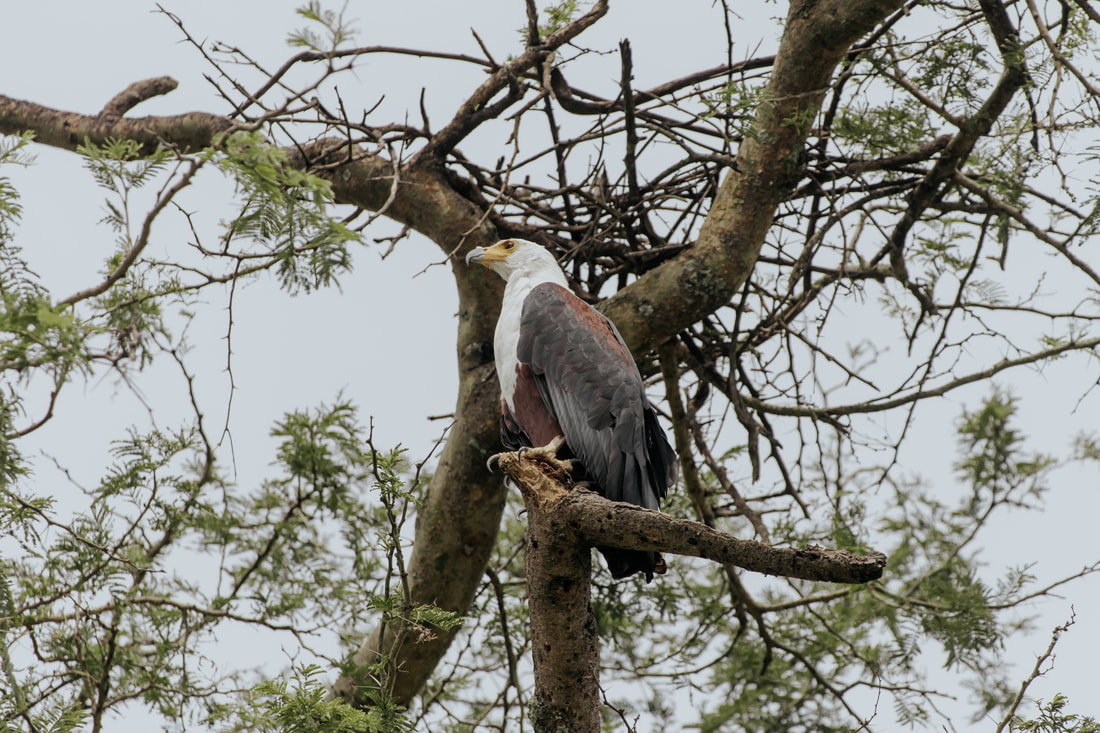
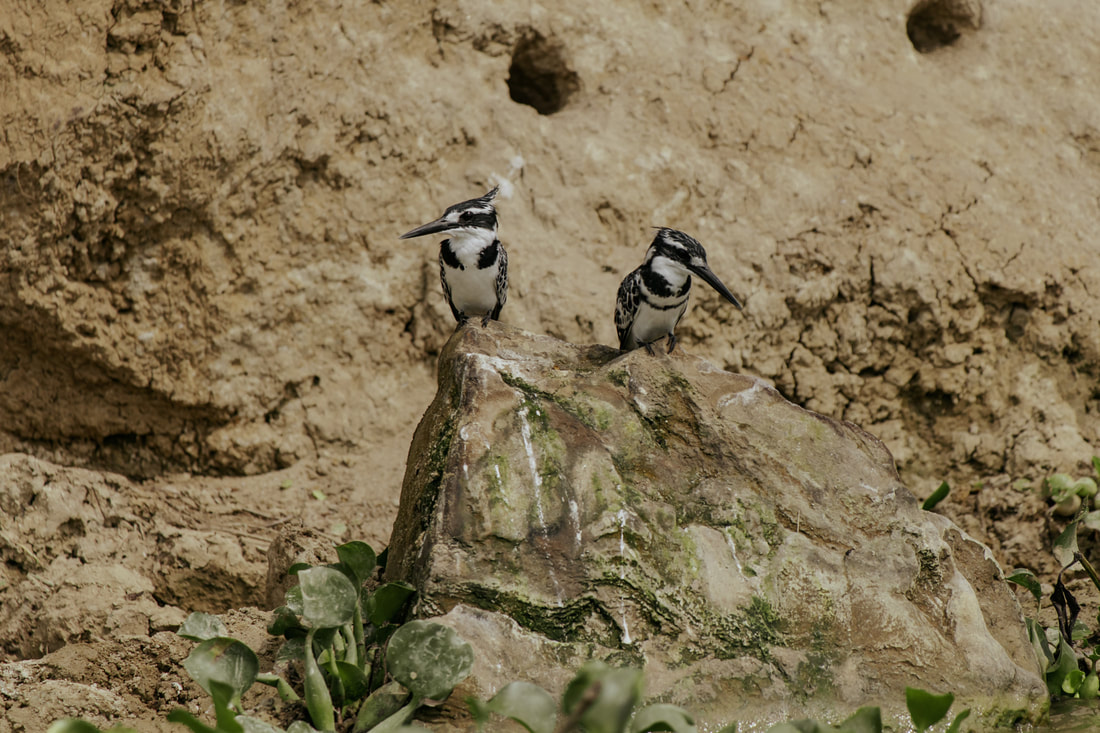
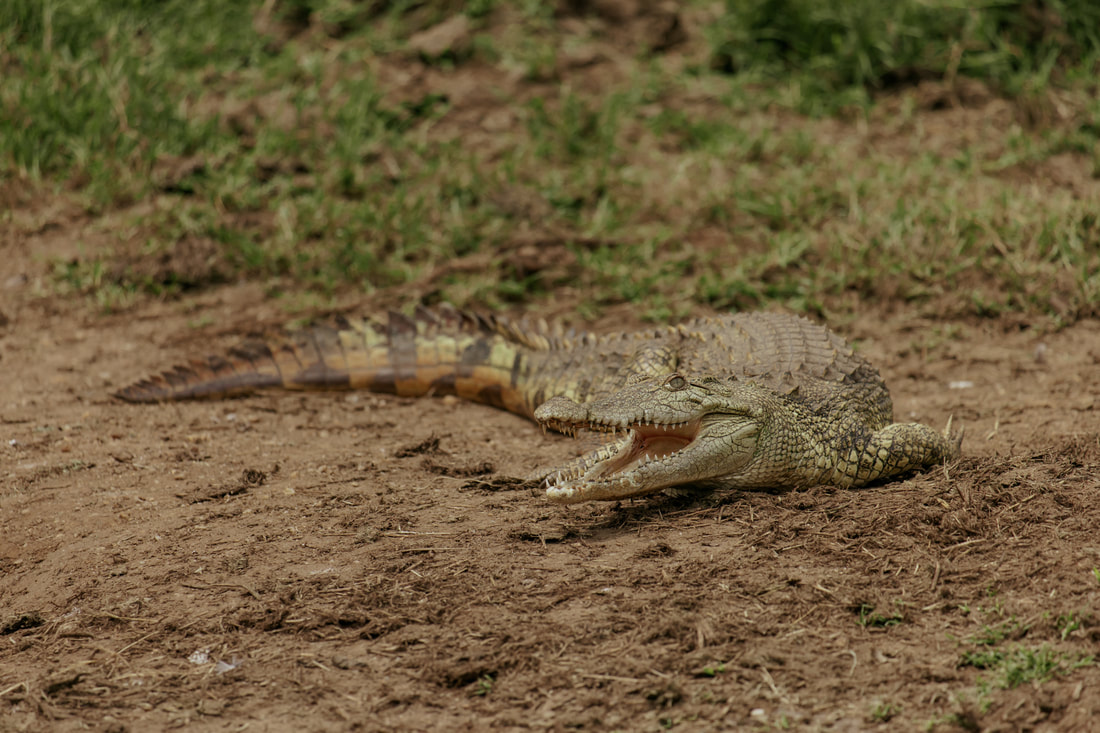
- Take a boat ride on the Kazinga Channel to look for hippos, crocodiles, elephants, and birds
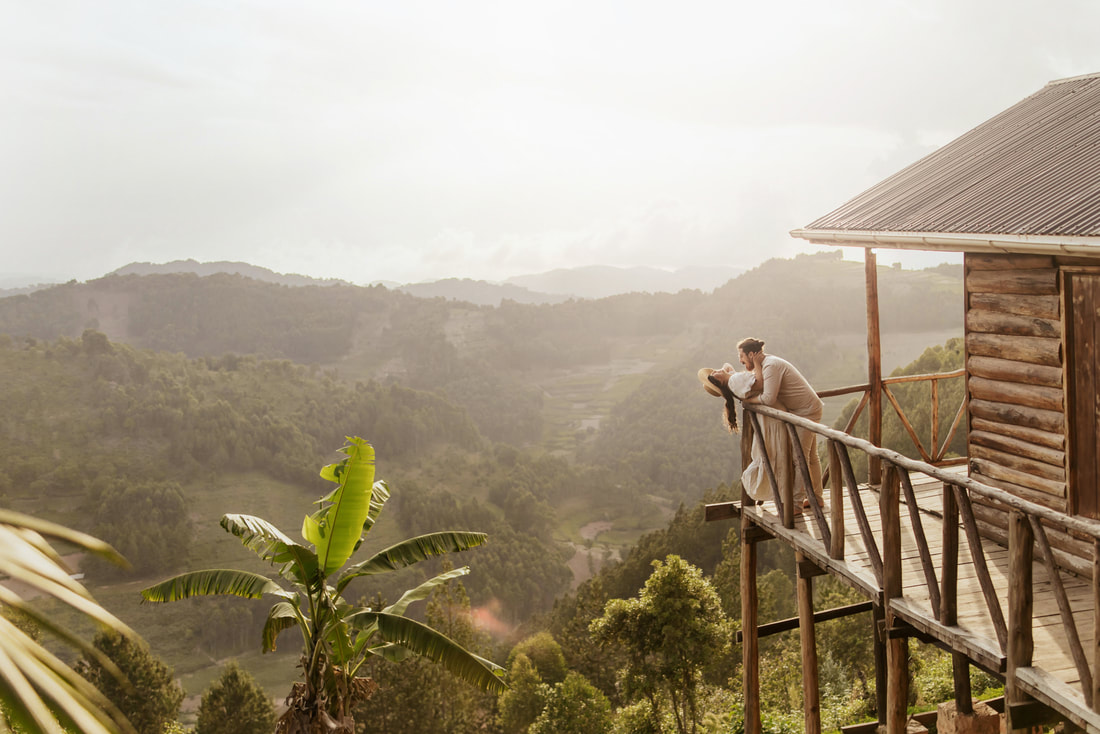
The final leg of our trip was a quick, four day jaunt into Uganda for a mountain trek to meet some gorillas! There are three places to go gorilla trekking: Uganda, Rwanda, and Democratic Republic of Congo. We chose Uganda because the was less expensive than Rwanda ($700 per person in Uganda compared to $1500 per person in Rwanda). Though we originally were going to fly into Entebbe, Uganda, we realized that we could fly into Kigali, Rwanda instead, which was a little closer to Bwindi and a generally safer country. While you can do a one-day gorilla trek, it's quite a far ways from the airport and the trek itself can range from 1-6 hours depending on where the gorillas are. Most tours will include an optional addition of a safari, and since we didn’t want to fly in just for one thing, we did a second, shorter safari in Uganda. Be sure to book your tour ahead of time though, as permits for gorilla trekking do book up quickly (particularly for peak months).
Our tour picked us up at 7 in the morning, and we arrived at Queen Elizabeth National Park late in the afternoon. We did an evening game drive that day, a morning game drive the next day, and an evening boat safari on Kazinga Channel. Compared to Serengeti and Ngorogoro, there were far less animals to see and we oftentimes went a long time without seeing much. We did luckily see a pride of 3 male lions and 1 female lion on one game drive though! These lions were relatively close to the road. Unfortunately we didn't see any tree-climbing lions, which are known to roam around the park. For the rest of our game drives, we saw buffalo, waterbucks, warthogs, elephants, and hippos. On the boat ride, we saw lots more hippos, elephants drinking by the water, crocodiles, and many different types of birds. Overall, it was a much slower safari compared to the one we did in Tanzania. If we weren't coming to Uganda specifically for gorilla trek, we probably would've skipped it altogether!

|
|
Day 17-18: Bwindi National Park, Uganda
- Do a half day game drive at Queen Elizabeth National Park to look for tree-climbing lions on your way way to Bwindi National Park to sleep for the night
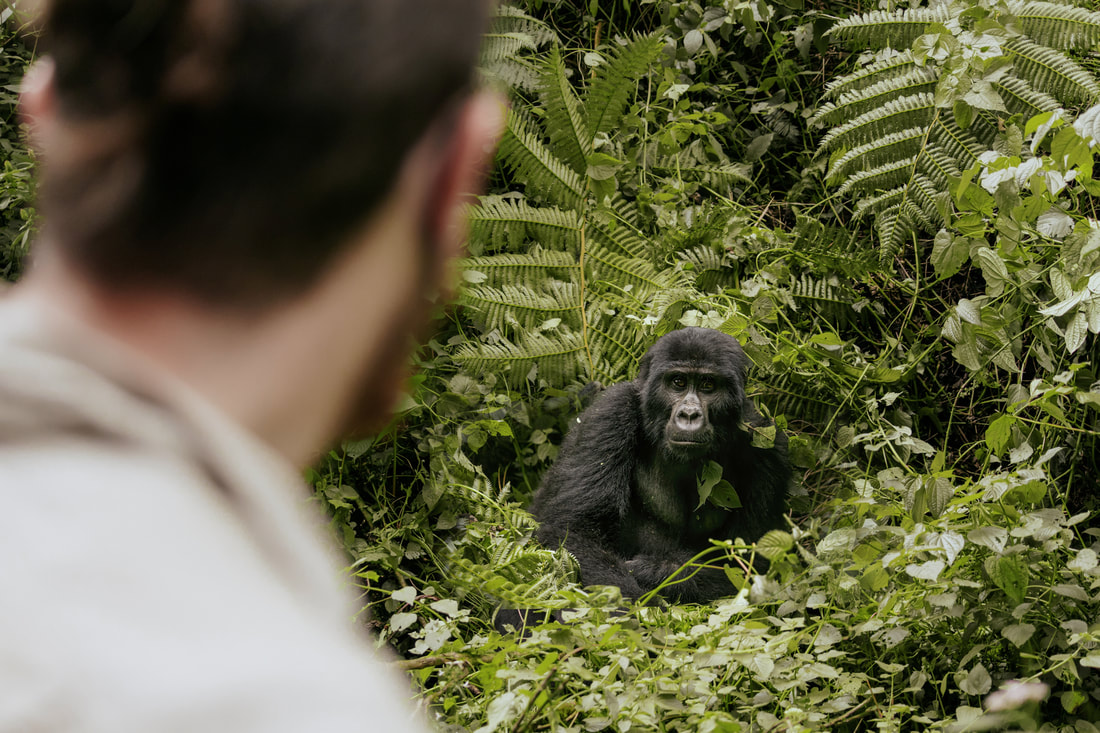
- Trek through the jungle for an up close and personal encounter with silverback gorillas at Bwindi Impenetrable Forest ($$$$)
- Drive back to Kigali or Entebbe to fly back to Nairobi Airport
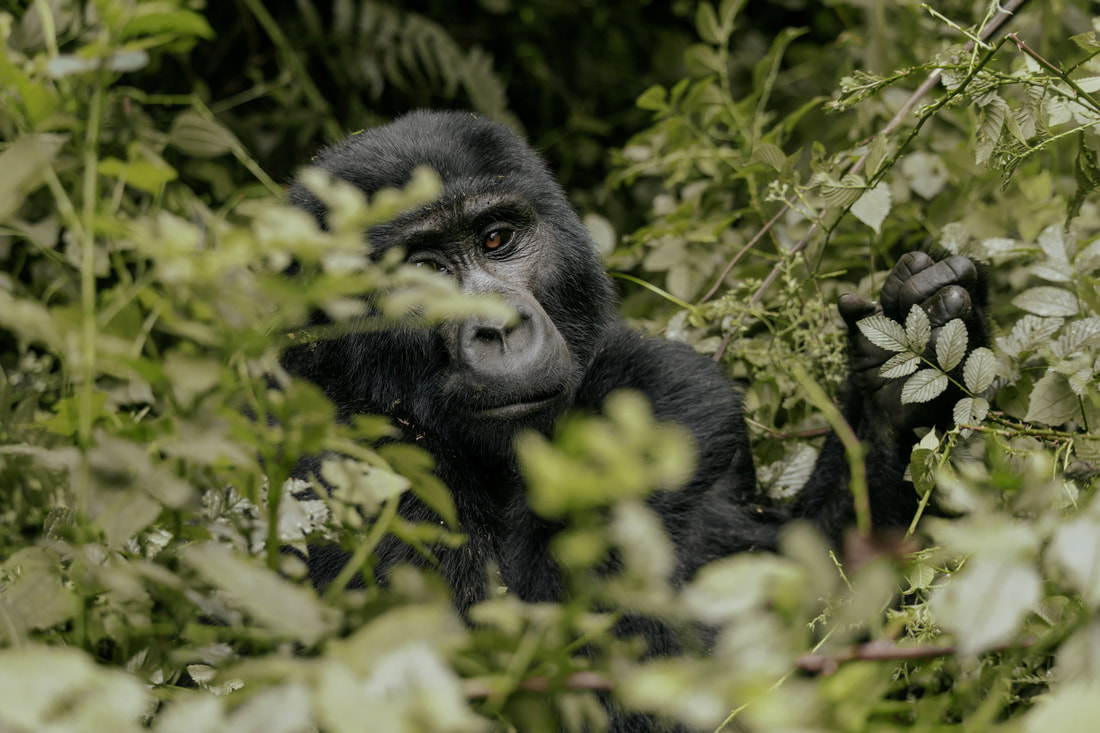
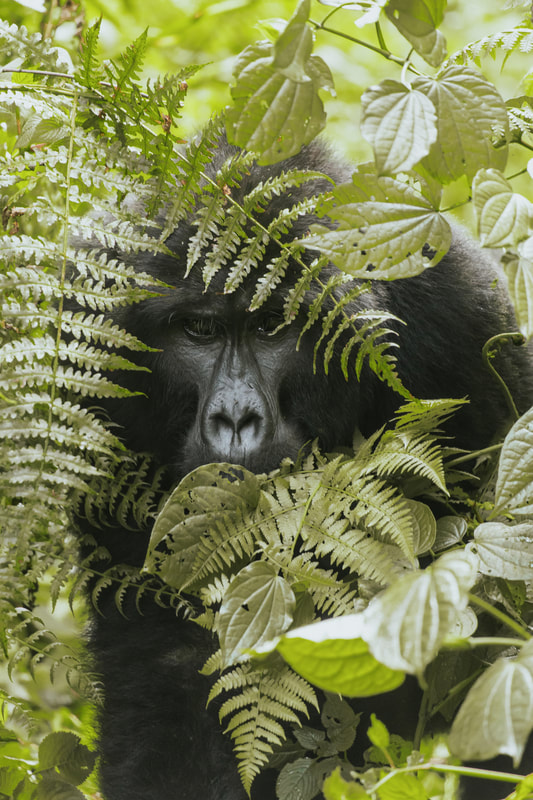
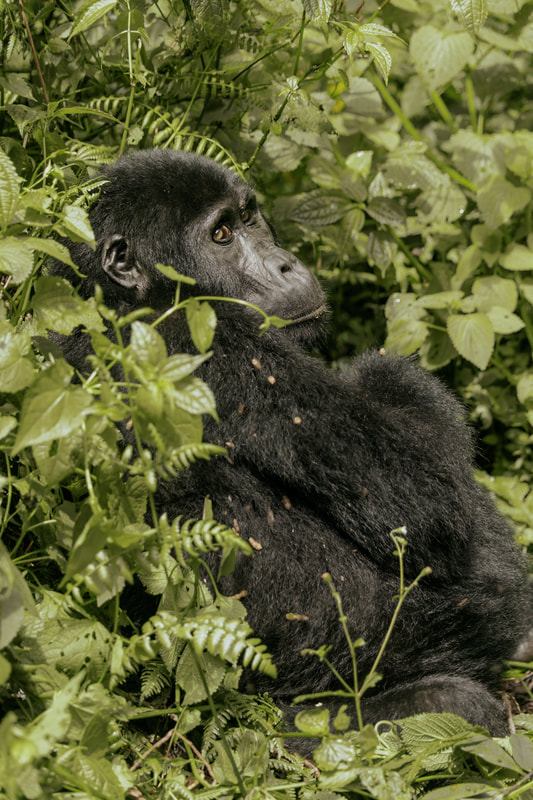
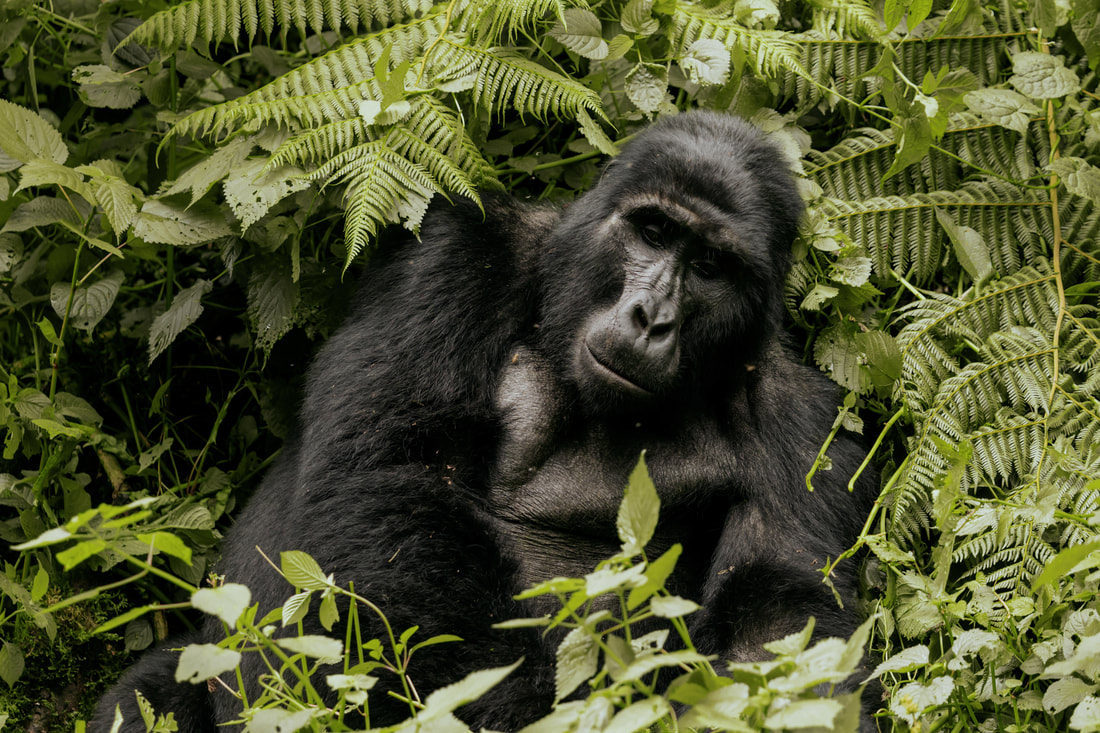
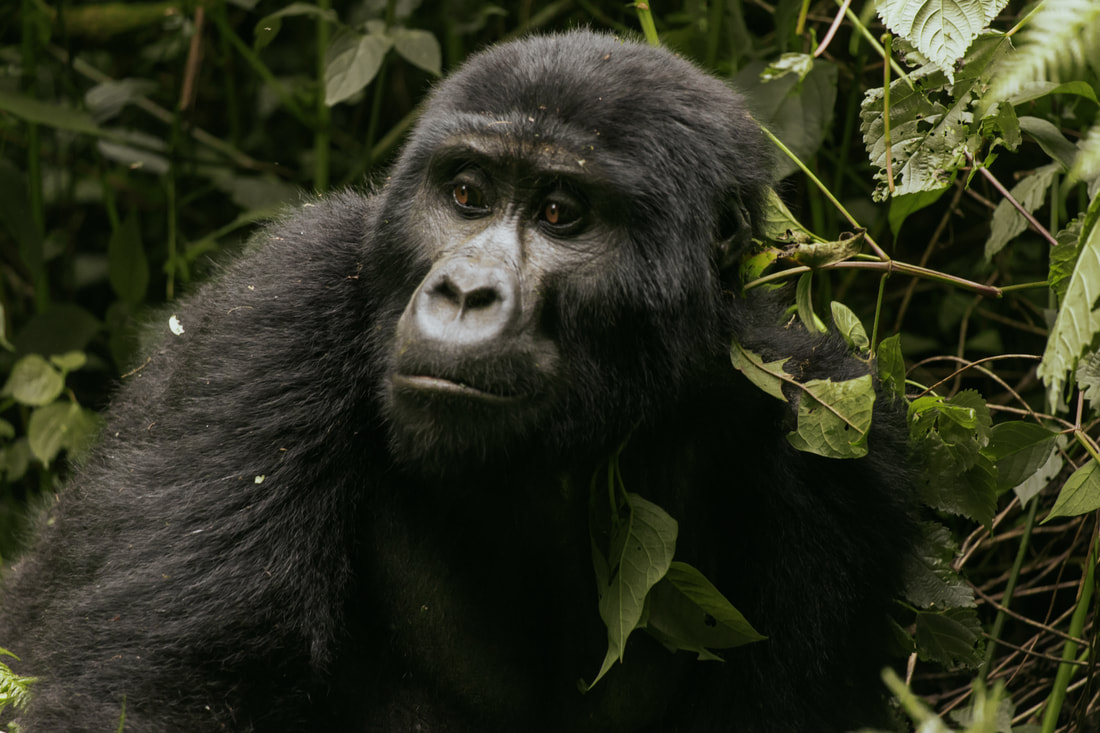
At last, the main event - the whole reason we came to Uganda, gorilla trekking! After spending the night near Bwindi National Park, we arrived early with our guide to the ranger station for an orientation and briefing. Everyone is split into groups, with each group following a specific gorilla family that has been habituated. These gorilla families have been exposed to humans over the course of 2 years so that they know that humans mean no harm. (Note: As an alternative to gorilla trekking, you can do a gorilla habituation experience where you spend 4 hours with wild gorillas instead of 1 hour with habituated gorillas. This experience is twice as expensive, as you are required to go with a larger group of guides, researchers, and guards).
How do we find the gorillas since they are living in the wild? Trackers head out early in the morning to find the gorilla families. Once they are found, they keep in contact with the guide so that each group knows where to go. But of course, the gorillas can move! We had started our slow and steady descent down the mountain, with our guide leading the way and guards cutting through the thick jungle vines and leaves with machetes. Be warned - this trail is not easy because there is no official trail! After just 30 minutes of hiking, our tracker called and said our gorilla family was fighting with another wild gorilla family. We waited for about an hour until the call came in that things had settled down and we could continue following the gorillas' trail. When we finally found the gorillas, we were able to get pretty close to them! As the gorillas moved to find new leaves to munch on, we moved with them. They were sometimes hard to see amongst the leaves, but throughout the hour that we spent with them, we had plenty of great vantage points to view and photograph the gorillas. The trackers made sure that we were all able to see the gorillas, and the guides even lifted us across the river several times when we had to cross to follow the gorillas. After the hour is up, we made our ascent back up the mountain, exhausted but so glad that we got to do this experience!
Here are some useful tips if you are considering going gorilla trekking:
- Go during the dry season. The mountain is extremely steep, and even with hiking during dry season, there were parts that were pretty slippery. Which brings us to the next point...
- Hire a porter for yourself or the two of you. Porters will hike with you, carry your bag, and lend you a hand to help you keep your balance and avoid slipping. Before the trek, the guides emphasized that hiring a porter will make your experience much more enjoyable, and that couldn't be more true. We were so thankful to not have to carry the heavy camera backpack, which not only would've weighed us down, but also would've caused us to lose balance during many of the difficult parts of the trek. Hiring a porter costs $20 USD, but of course they appreciate any tips if you think they did a great job. On the topic of tipping, there are also chances to tip the local women who perform a welcome song and dance, as well as the trackers who spend their entire day making sure that everyone is able to visit the gorillas.
- Hire a Ugandan helicopter if you are unable to make the trek. What's a Ugandan helicopter? It's essentially a team of porters who will carry you up and down the mountain on a stretcher, similar to a palanquin as if you were royalty. This costs $300, which is honestly a steal for the insane amount effort it takes to carry someone through the steep trails. A team of 20-30 people make this possible, with 6 people carrying the stretcher at a time and switching out when they are tired. One member of our hike was able to make it down the mountain to the gorillas, but unable to make it back up and needed a Ugandan helicopter. The price is the same whether you hire the porters to take you there and back, or if you need one halfway through the hike.
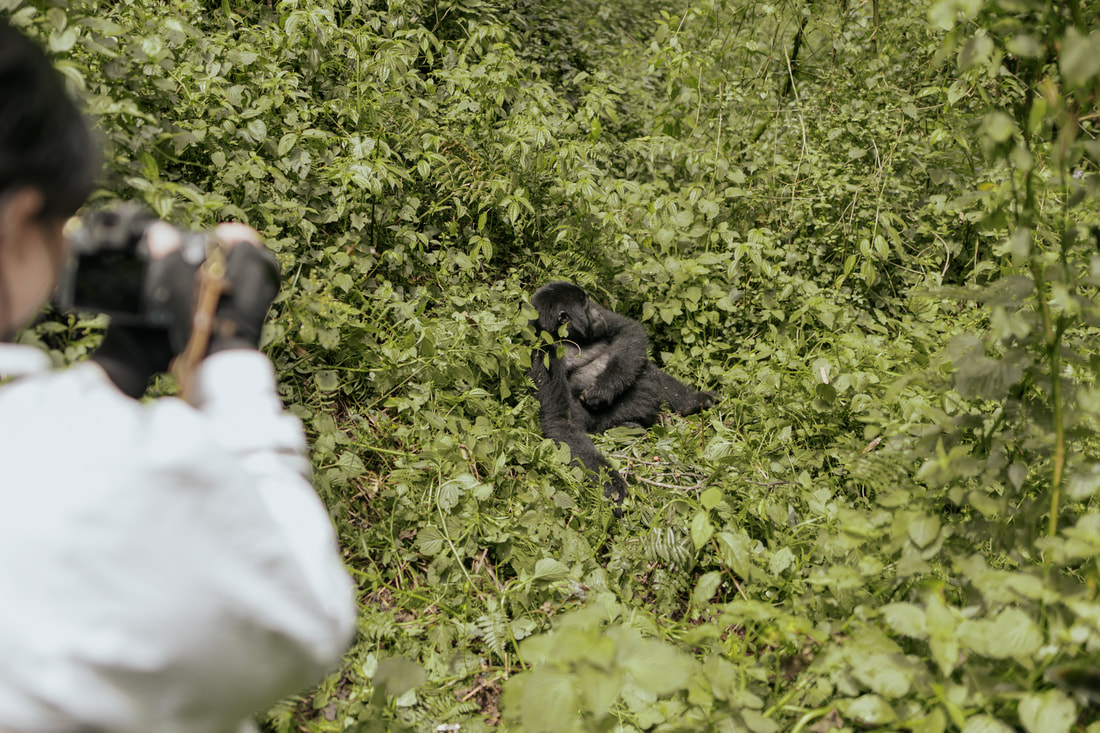
- Bring a zoom lens of at least 300mm. We primarily used the same lens that we used on our safaris, a 70-300mm f/4-5.6 lens. While we did get pretty close to the gorillas, they moved quickly and oftentimes were easier to photograph from farther away.
- Wear long sleeves, long pants, comfortable shoes, gloves, and long socks. You'll constantly be dodging vines and thorny branches, so you'll want to cover yourself. Gloves are extremely useful for grabbing onto branches if you lose your balance. Though gaiters were recommended, we found that we didn't need them as we were hiking during dry season. We only ran into mud when we got to the very bottom of the trail.
- Bring a mask. Gorillas are very susceptible to many human diseases, so in order to make sure future visitors can see the gorillas, wear a mask during the hour you are with them.
- Take photos, but also enjoy your hour with the gorillas. Time with the gorillas goes fast especially because they rarely stay still, so make sure you spend time just taking it all in!
|
|


Day 19: Nairobi, Kenya
- Fly back to Nairobi Airport
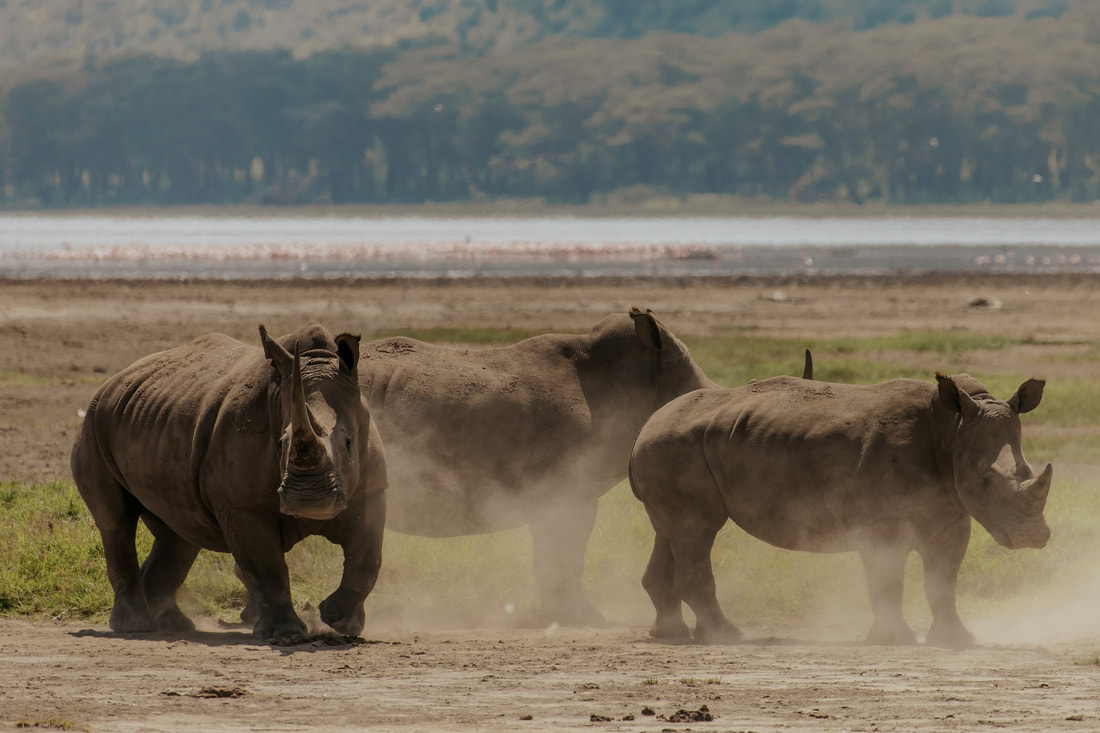
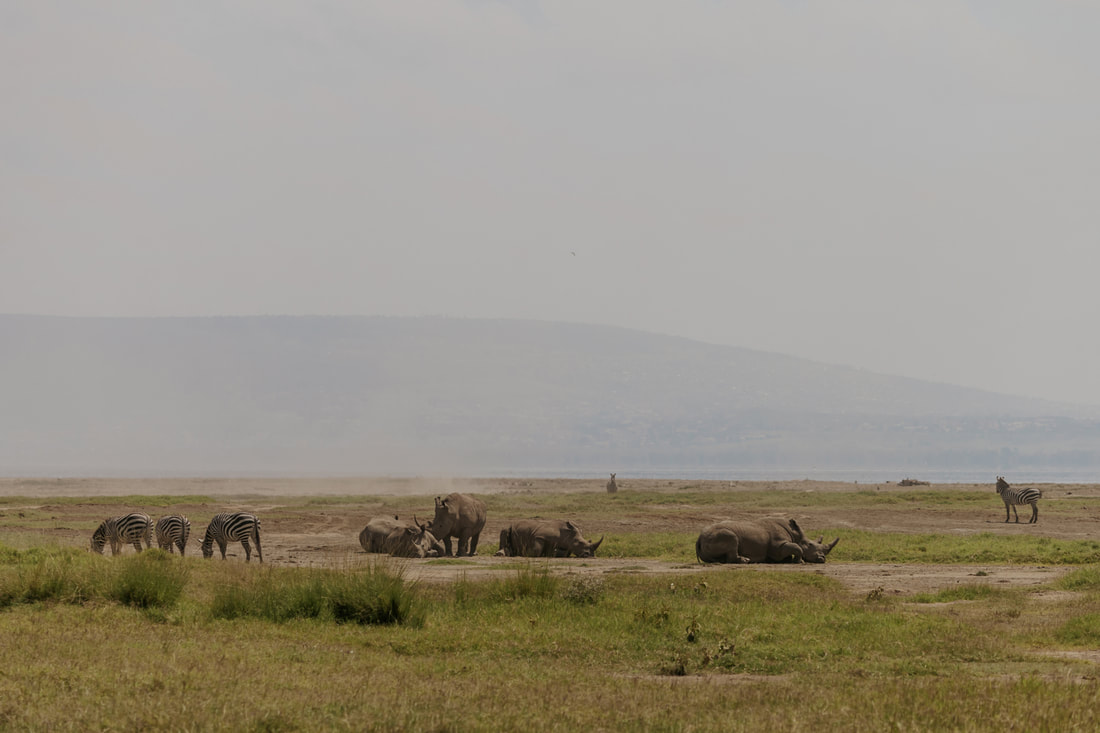
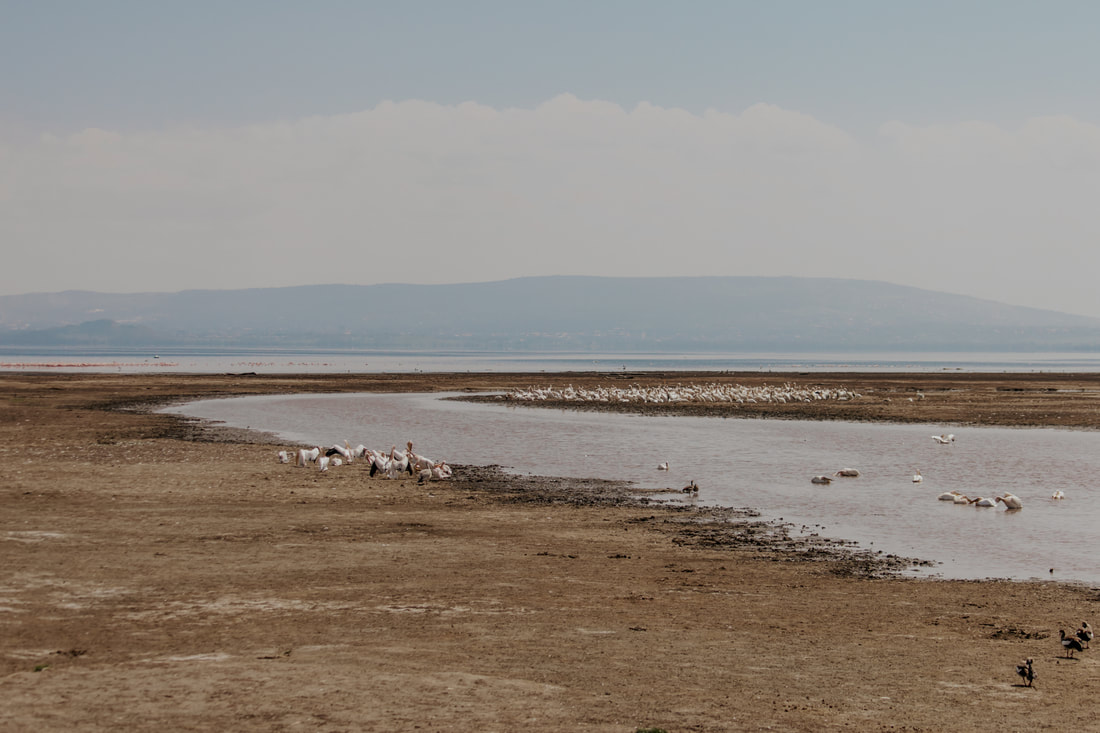
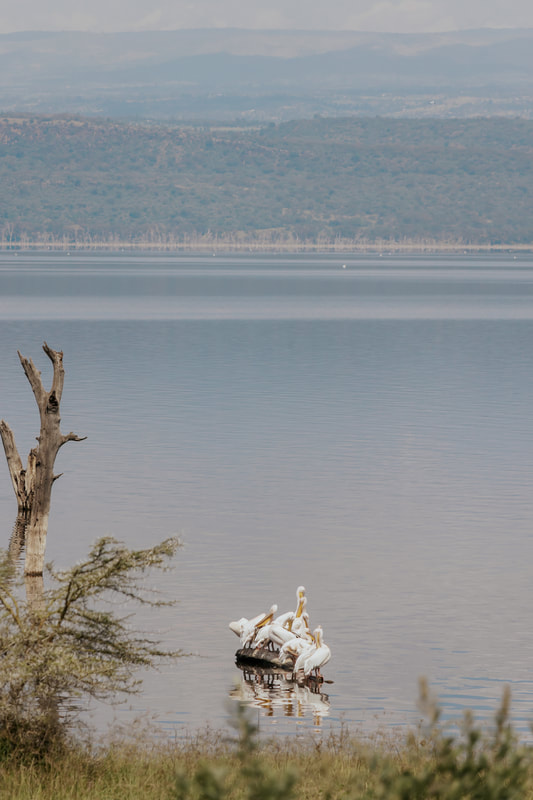
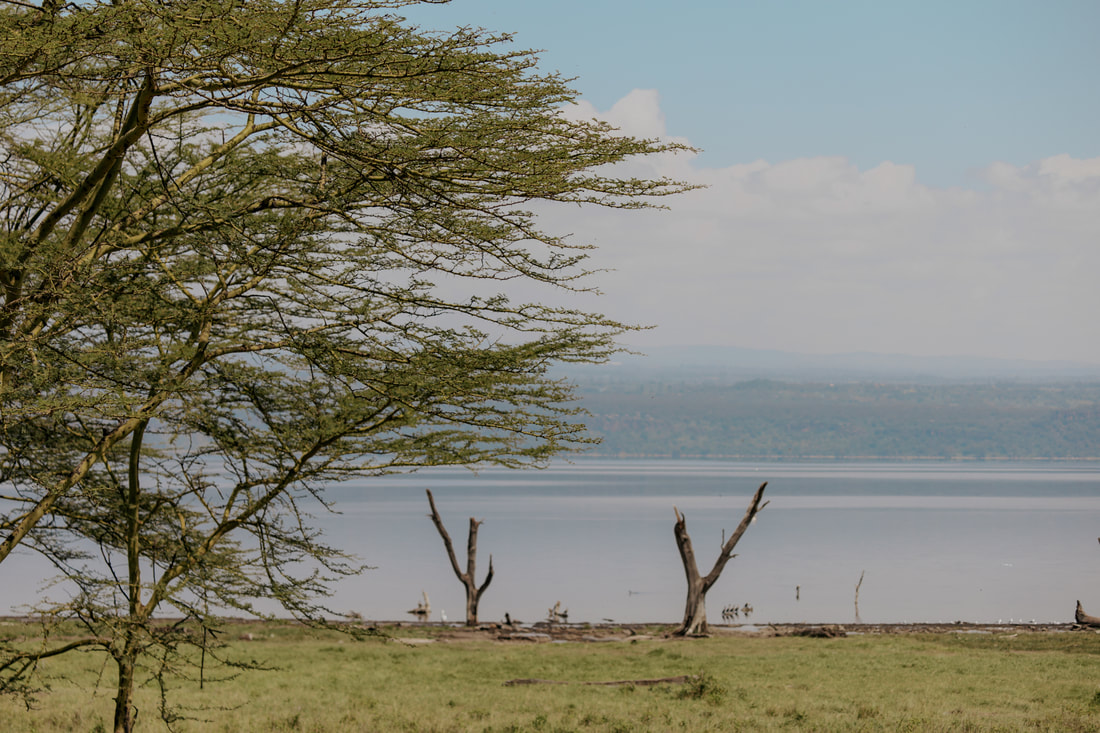
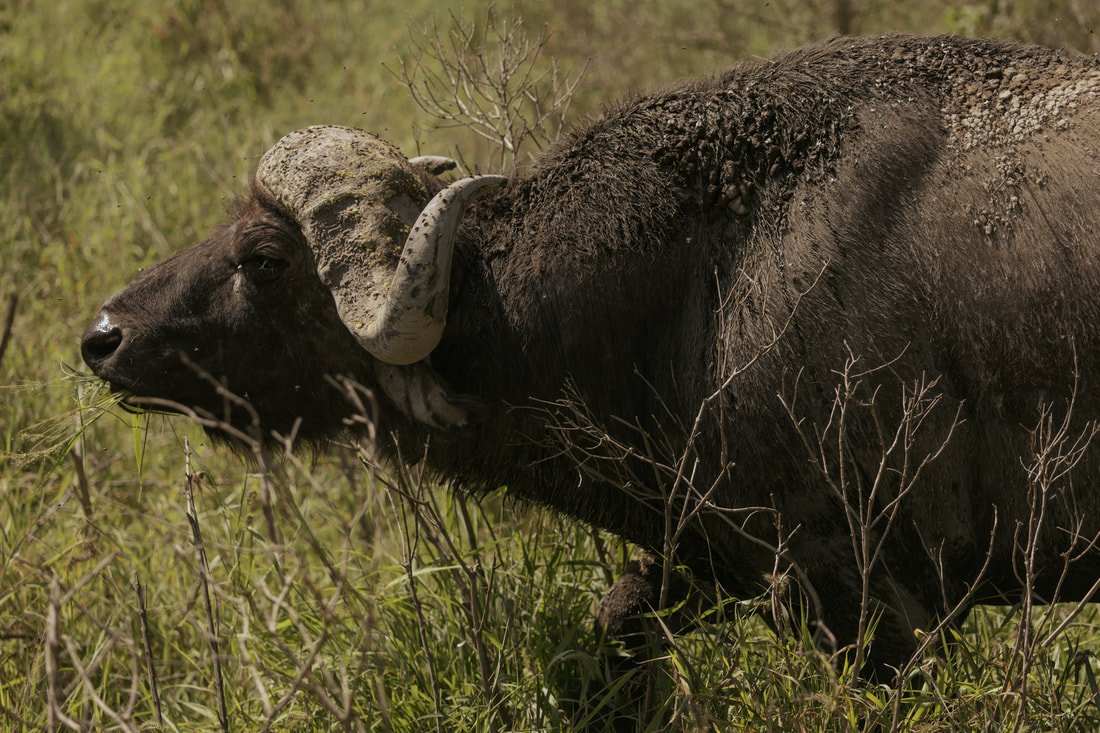
- Take a day trip out of Nairobi to spot rhinos, flamingos, buffalo, zebras, warthogs, giraffes, and lions (if you're lucky) at Lake Nakuru
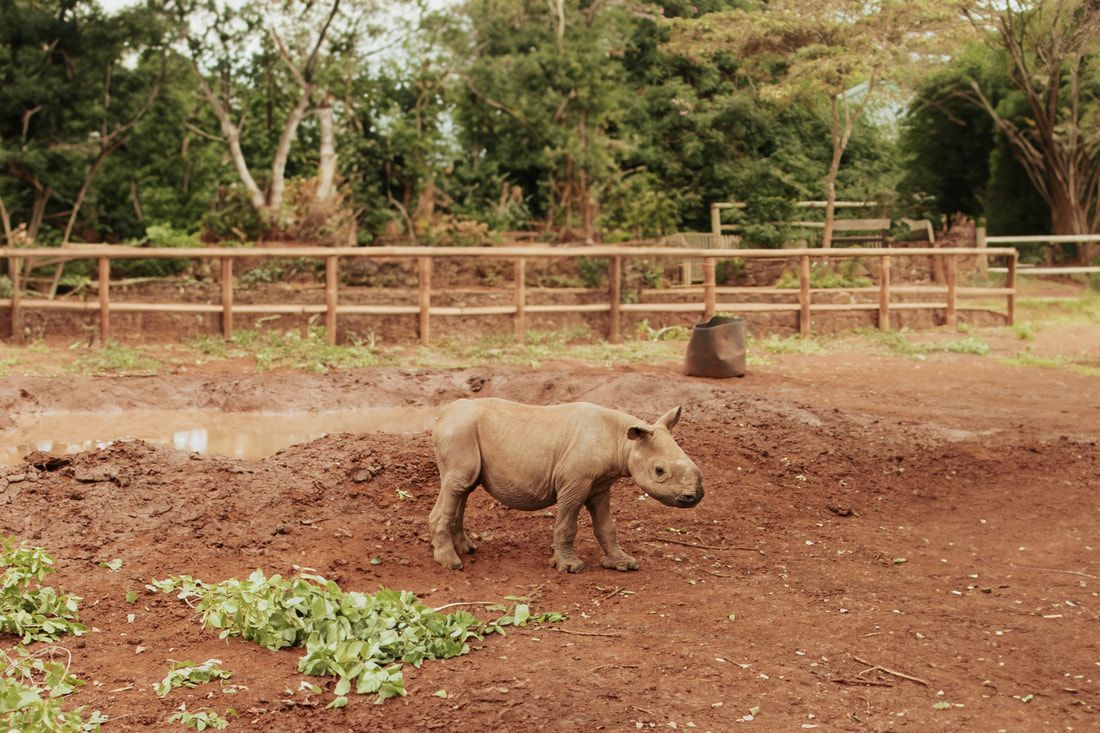
For our last day in Africa, in the 18 hour layover in Nairobi we decided to go out for one last game drive. We hired a company to pick us up from the airport and drive us to Lake Nakuru, which is about 3 hours northeast of Nairobi. While the drive is long, it's a great way to spend a day if you don't have other plans in Nairobi. The lake is known for being a rehabilitation and breeding site for rhinos, the last of the Big 5 that we didn’t see up close in the Serengeti. We saw over a dozen rhinos during our time in the park, alongside huge flocks of flamingos, packs of gazelles, and tons more. Since we arrived early in the morning and didn't need to leave until midnight, we got to spend about four hours on our game drive in the park before getting lunch and heading home - a great way to end our trip!


|
|
Day 20-21: Transit
- Fly back home
Final Thoughts
- Our favorite part of the trip by far was Giraffe Manor. Yes, it was the most expensive, luxury experience of the entire trip, but it was truly such a unique, once-in-a-lifetime experience. Nowhere else in the world can you spend a night with giraffes in such close proximity! The service and attention from the staff was phenomenal, and we felt like we had done so much in such a short period of time. This experience was in contrast to the Four Seasons Serengeti, another well-known 5-star resort. While the Four Seasons was wonderful as well, it was nowhere near as unique or memorable.
- You could easily shorten this to a 2-week trip if needed, though if you're like us coming from the US, you'll lose a lot of time simply from flying to and from Africa. If we only had 2 weeks, we would've spent only 1-2 days in Nairobi, flown into the Serengeti instead of driving from Arusha, and skipped the safari in Uganda. We also would've done all our Nairobi days at the end of our trip instead of at the beginning.
- Food left something to be desired. We ate a mix of budget meals, box lunches, and multi-course meals. None of our meals were particularly memorable, though there were some dishes here and there that we loved, like the pita bread with sweet pepper relish from the Giraffe Manor (we immediately looked up a similar recipe to try back home!) and the Goliondoi Special Pizza (bacon, ham, caramelized onion, red peppers) from Kitamu Coffee, which was a random stop for dinner that we hadn't even planned. We did also have a few drinks that were quite good from the Giraffe Manor, Four Seasons Serengeti, and Lost Soles Bar.
- Set your expectations of service level accordingly. Like we mentioned, this was the most expensive trip we had ever taken, but even with some of the more expensive tours, there were mishaps along the way. There was a lot of miscommunication between the booking operators and drivers on what we had booked and what was included which led to some stressful back-and-forth conversations.
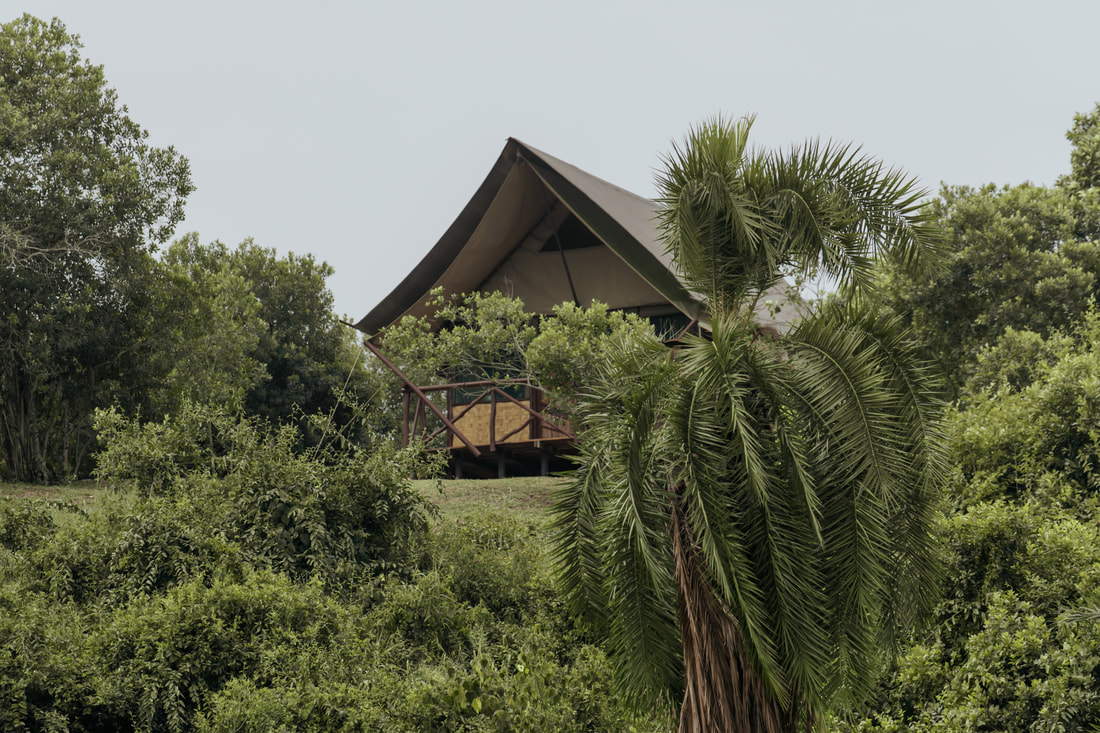
- At the same time, the local people are incredibly kind! When our shuttle bus broke down, our fellow passenger offered us a ride to our hotel as they were locals to the area. At one of the tented lodges we stayed at, they welcomed us with singing and dancing, and were genuinely so kind and inviting throughout our entire stay. We had to find a last minute stay in Kigali due to a change in flight, and we ended up booking a homestay where the owners gave us free rides to and from the airport (even for one that was at 3:40 AM in the morning!) and invited us to dinner with their friends that night. We loved hearing about their story and learning about their experience in Rwanda, on top of being so full from the shared family style dinner.
Would we come back to Africa? After this 3-week trip, we definitely feel like we're all safari-ed out, but we are now super intrigued to go to Namibia! This country in South Africa is known for its sand dunes and desert landscapes, which seems like a perfect blend of both wildlife and landscape photography for our next adveture. But until then, we hope you enjoyed our itinerary and travel tips!
0 Comments
Your comment will be posted after it is approved.
